You can either watch this video tutorial, or follow the instructions below.
https://www.youtube.com/watch?v=qTsA1QAdlZw
Laser engraving is a process of using a laser beam to create permanent marks on a surface, such as wood, metal, glass, or canvas. Laser engraving can be used for artistic, industrial, or personal purposes, such as creating custom designs, logos, signs, or painted canvases.
Some advantages of laser engraving is that it can produce high-quality and detailed images on many different materials, including layered painted canvas. A painted canvas is a type of fabric that has been coated with paint, usually acrylic or oil, to create a colorful and artistic background. Laser engraving on a layered painted canvas can create a contrast between the painted top layer and the underlying canvas colors, resulting in a high-quality, unique, and eye-catching effect.
What You Need
• A laser engraver. Ideally, you should opt for the diode laser, as they are suitable for engraving in high detail on layer-painted canvases.
• Work platform hold-down clamps. These will help to ensure your canvas stays in place during the laser engraving process. They are not always needed, but they do provide the security of knowing your projects won't move or shift during the engraving process.
• A laser engraving software such as Luban, to import, edit, and send your image process to the laser engraver. Snapmaker Luban is a free, open-source CAM software developed by Shenzhen Snapmaker Technologies Co., Ltd. It is specially designed and optimized for Snapmaker machines.
• A paint of your choice to coat the canvas. You can use spray paint or brush paint, depending on the desired effect. You can also use multiple colors and layers of paint to create more depth and variety in your artwork.
• A canvas of your preferred size and shape. You can buy ready-made canvases from craft stores or online.
General Steps
The general steps to laser engrave on layered painted canvases are as follows.
Painting the Canvas
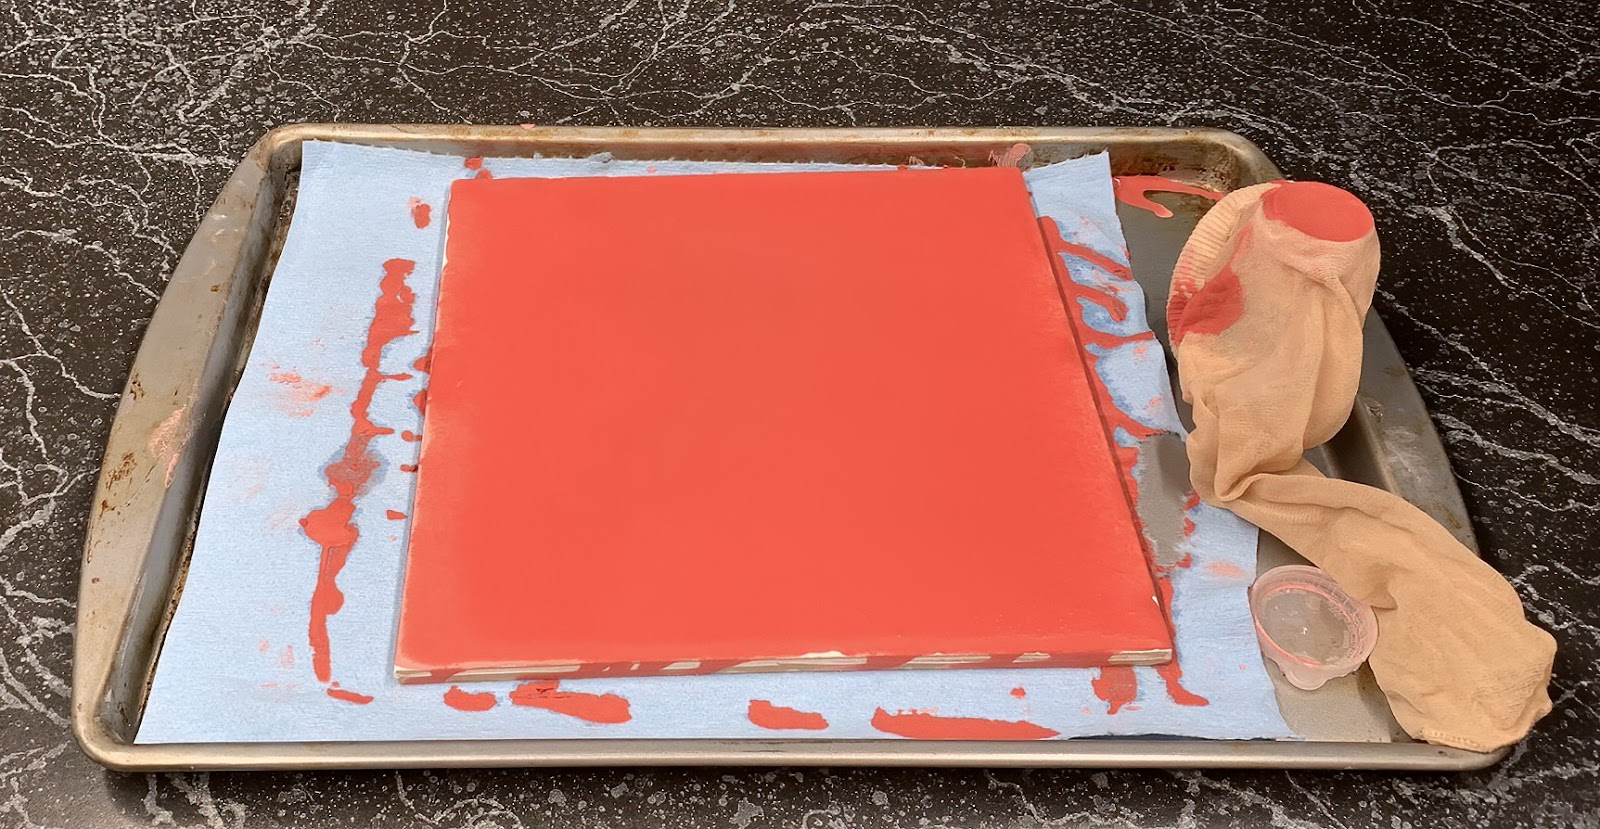
Prepare the canvas by applying one or two coats of your base paint (I recommend flat white to help the color stand out) on the canvas and let it dry completely. For best results, you should apply one layer of paint in two directions, from a distance between 6-12” above the canvas, in smooth, thin applications. This will ensure a nice even finish. You should apply your first thin application on the canvas in a vertical motion, moving across the canvas from left to right, then apply another thin layer in a horizontal motion across the canvas from top to bottom. Depending on what type of paint you choose, drying times can vary. Most aerosol paints typically dry in 15 to 30 minutes.
After having applied one or two layers of your base paint on the canvas, you can now apply your first layer of the colored paint that you chose and let it dry completely. As mentioned above, use the same method.
After applying your first layer of the colored paint on the canvas, you can now apply your second layer of the colored paint that you chose and let it dry completely. As mentioned above, use the same method.
After applying your second layer of the colored paint on the canvas, you can now apply your third layer of the colored paint that you chose and let it dry completely. As mentioned above, use the same method.
After applying your third layer of the colored paint on the canvas, you can now apply your final top layer of the paint color that you chose (in most cases black is a suitable color for first attempts) and let it dry completely. As mentioned above, use the same method. This is the final layer, so for best results, I suggest looking at the top of the canvas, at eye level, and look for any dry spots. With light shining above the canvas, you can see the wet paint shimmering from the light. You can easily identify if there are any unpainted areas, as there will be a dip/dry spot in the wet surface. As stated, depending on the paint you choose, drying times can vary, and most aerosol paints typically dry between 15 and 30 minutes.
Generating the G-code and Engraving
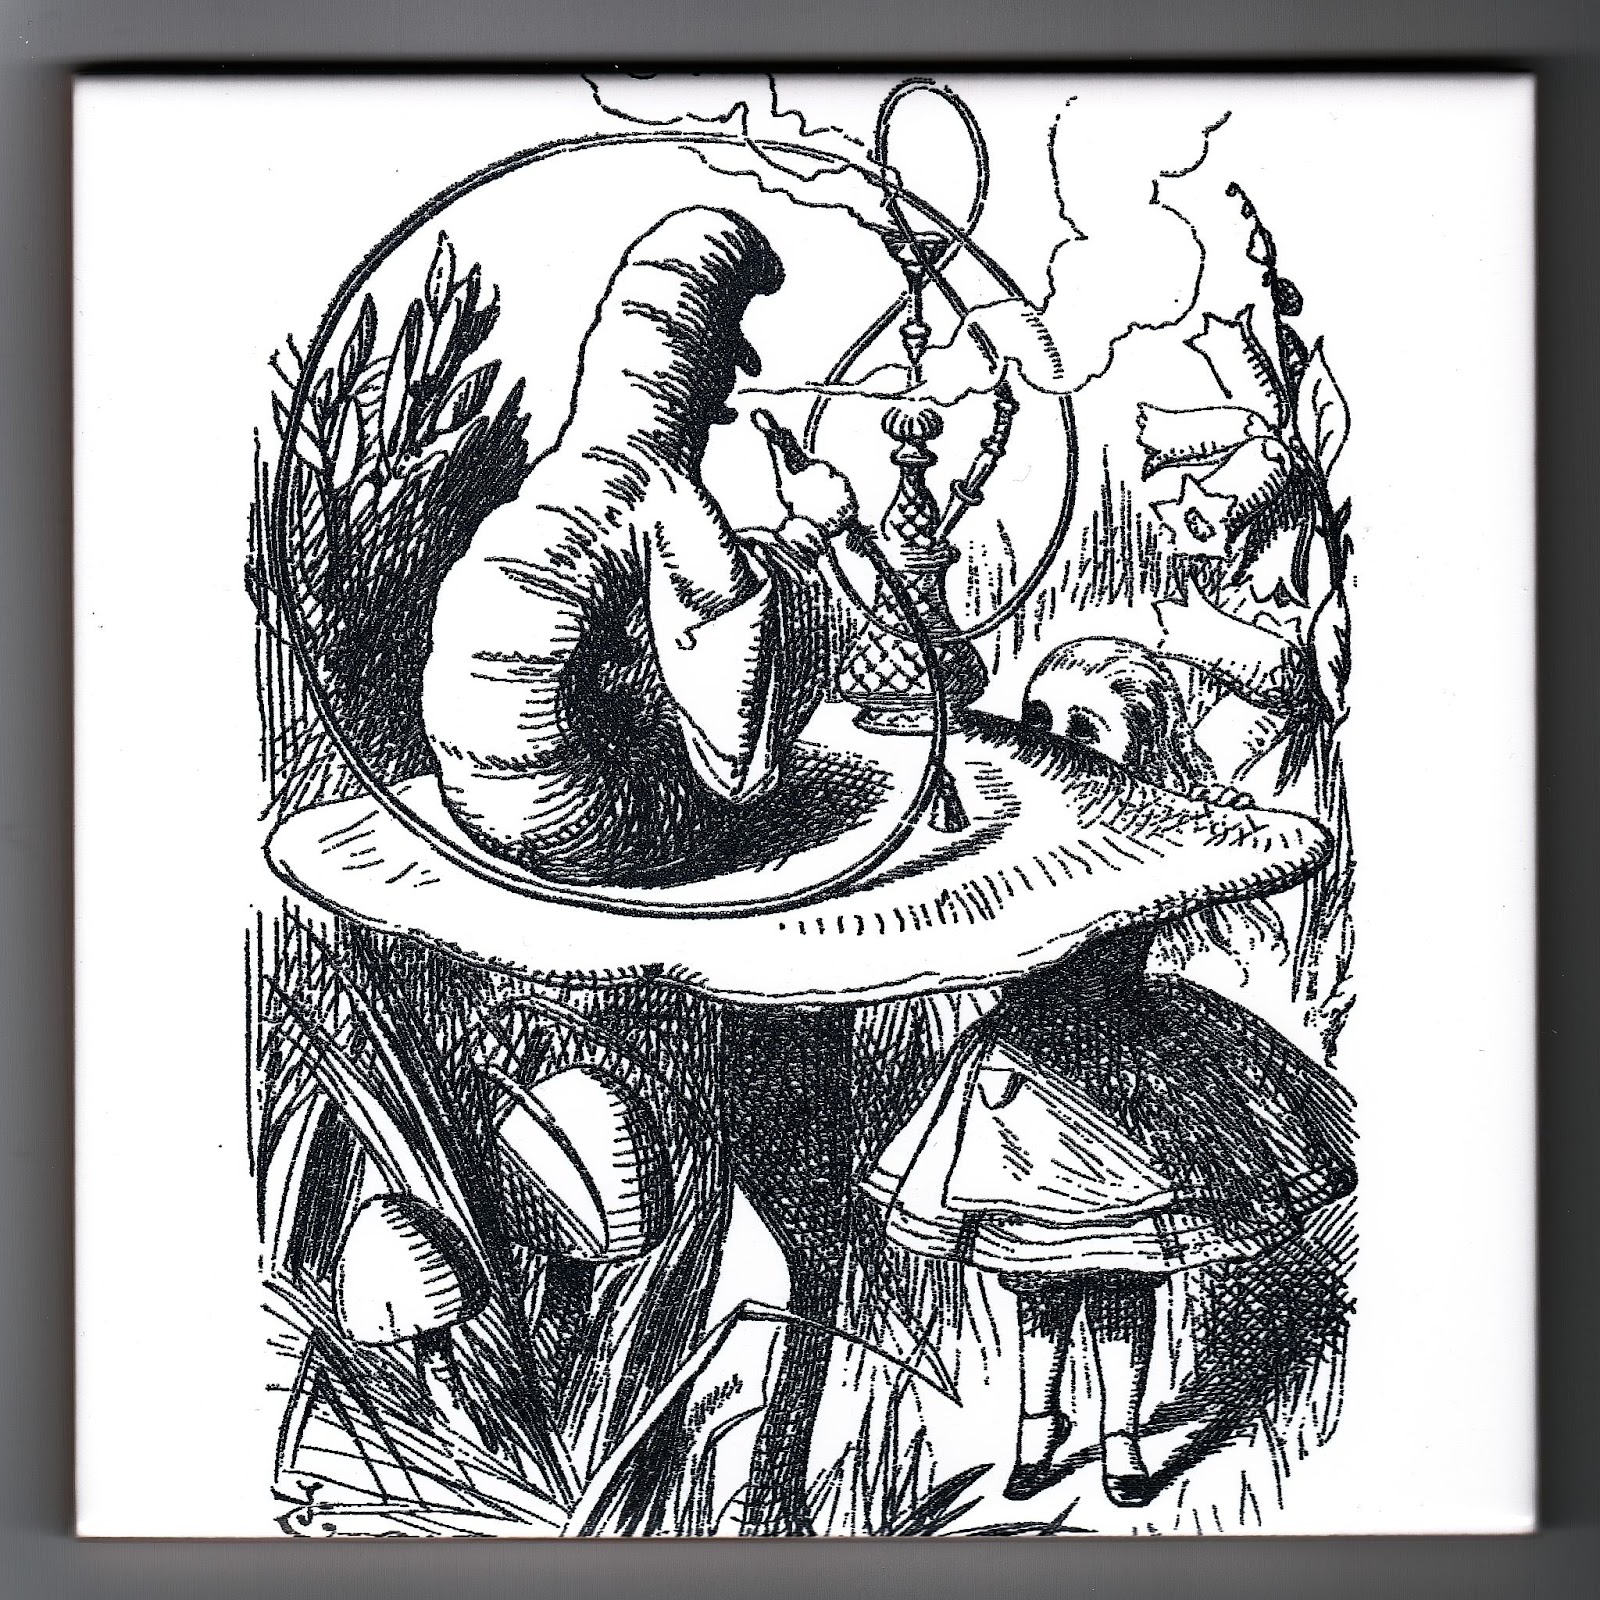
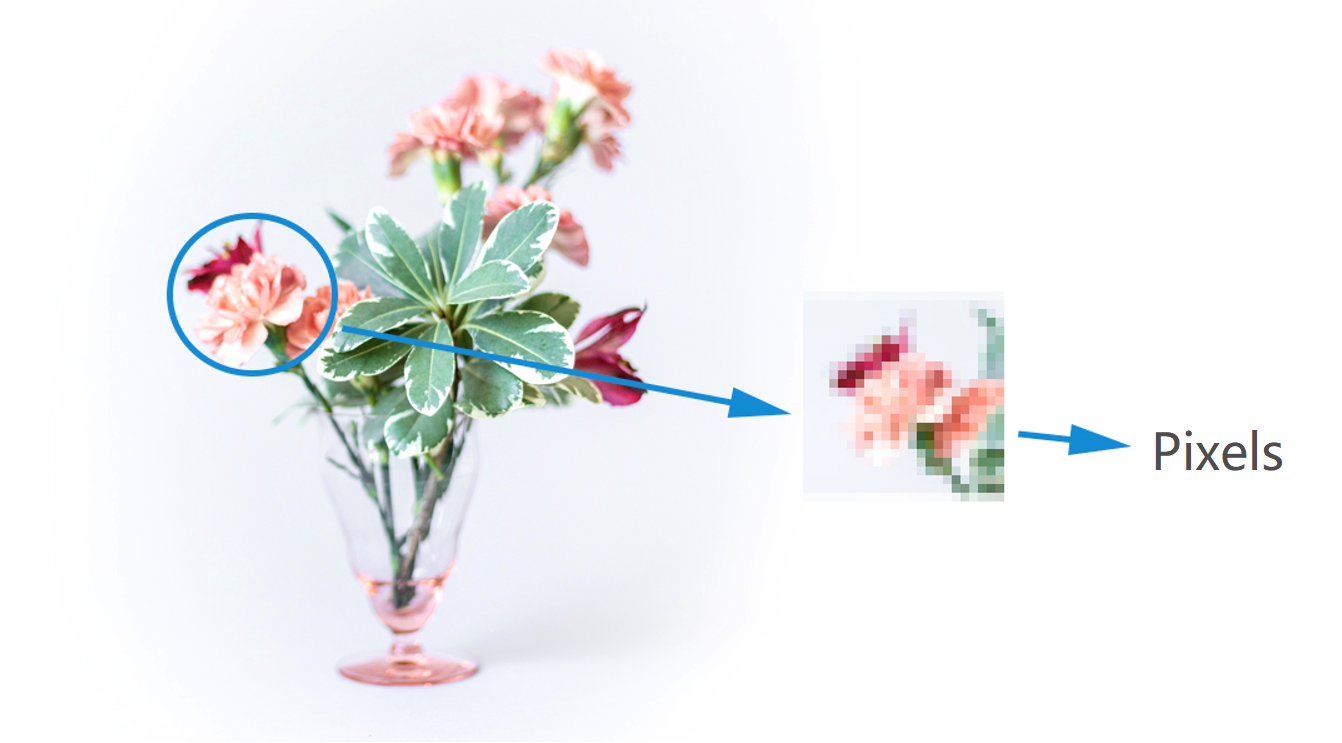
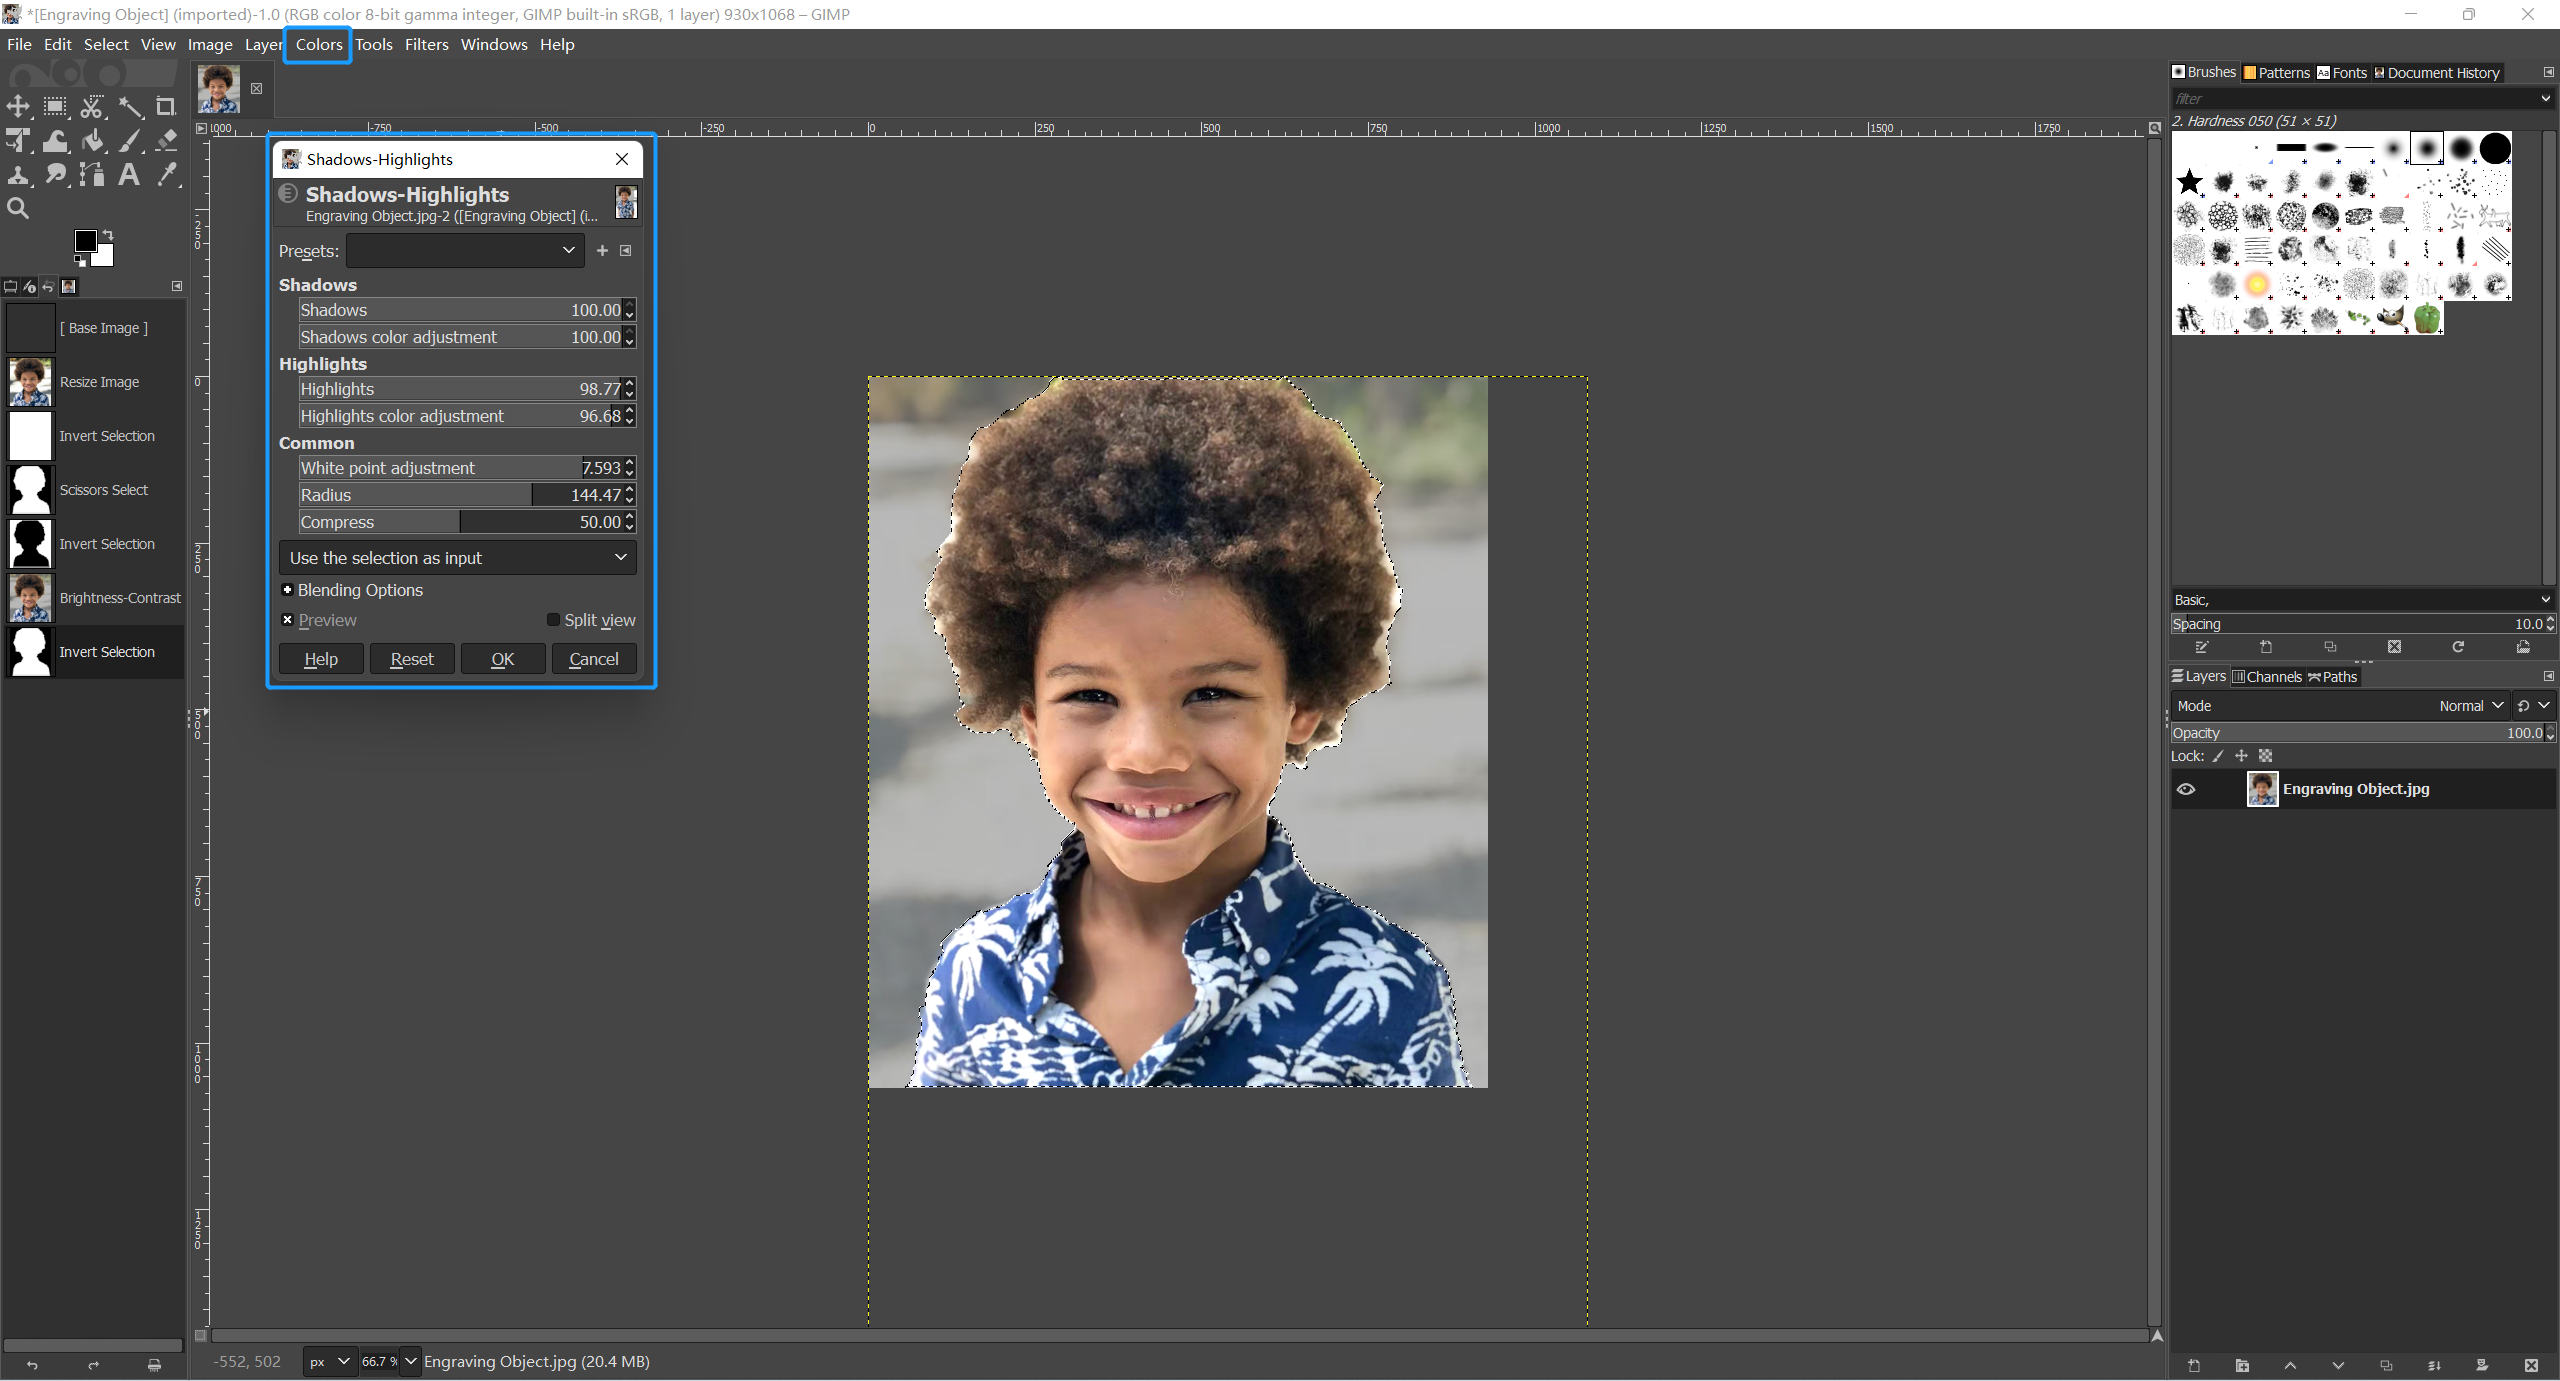
While your final layer of paint is drying, you can now import your selected image to the laser engraving software and adjust the settings according to the size, resolution, and mode of your image. You can choose from different image modes, such as Grayscale. You can also use online tools, such as ImagR1, to process your image and optimize it for laser engraving.
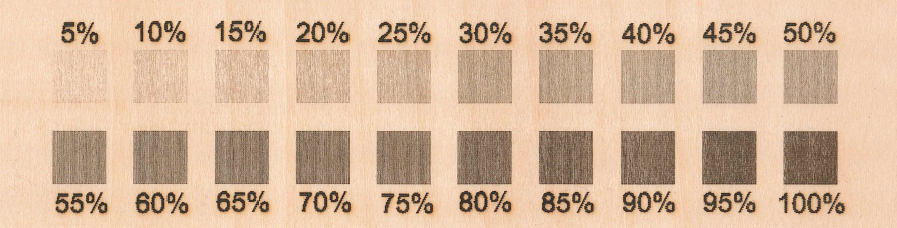
In your laser software, import the image you intend to use. After the image is imported and displayed on your screen, you may need to adjust the image settings. Adjust the settings such as the X and Y position to get the image centered. Adjust the size of your image to match that of your canvas selection. In the Processing Mode image settings, Grayscale and Black and White work best. If you have painted the final layer of your canvas a dark color such as black, invert the image. You can further adjust the contrast, brightness, white clip, and grayscale conversion algorithm. For your first few attempts, you should stick with the default settings, as they will give you optimal results.
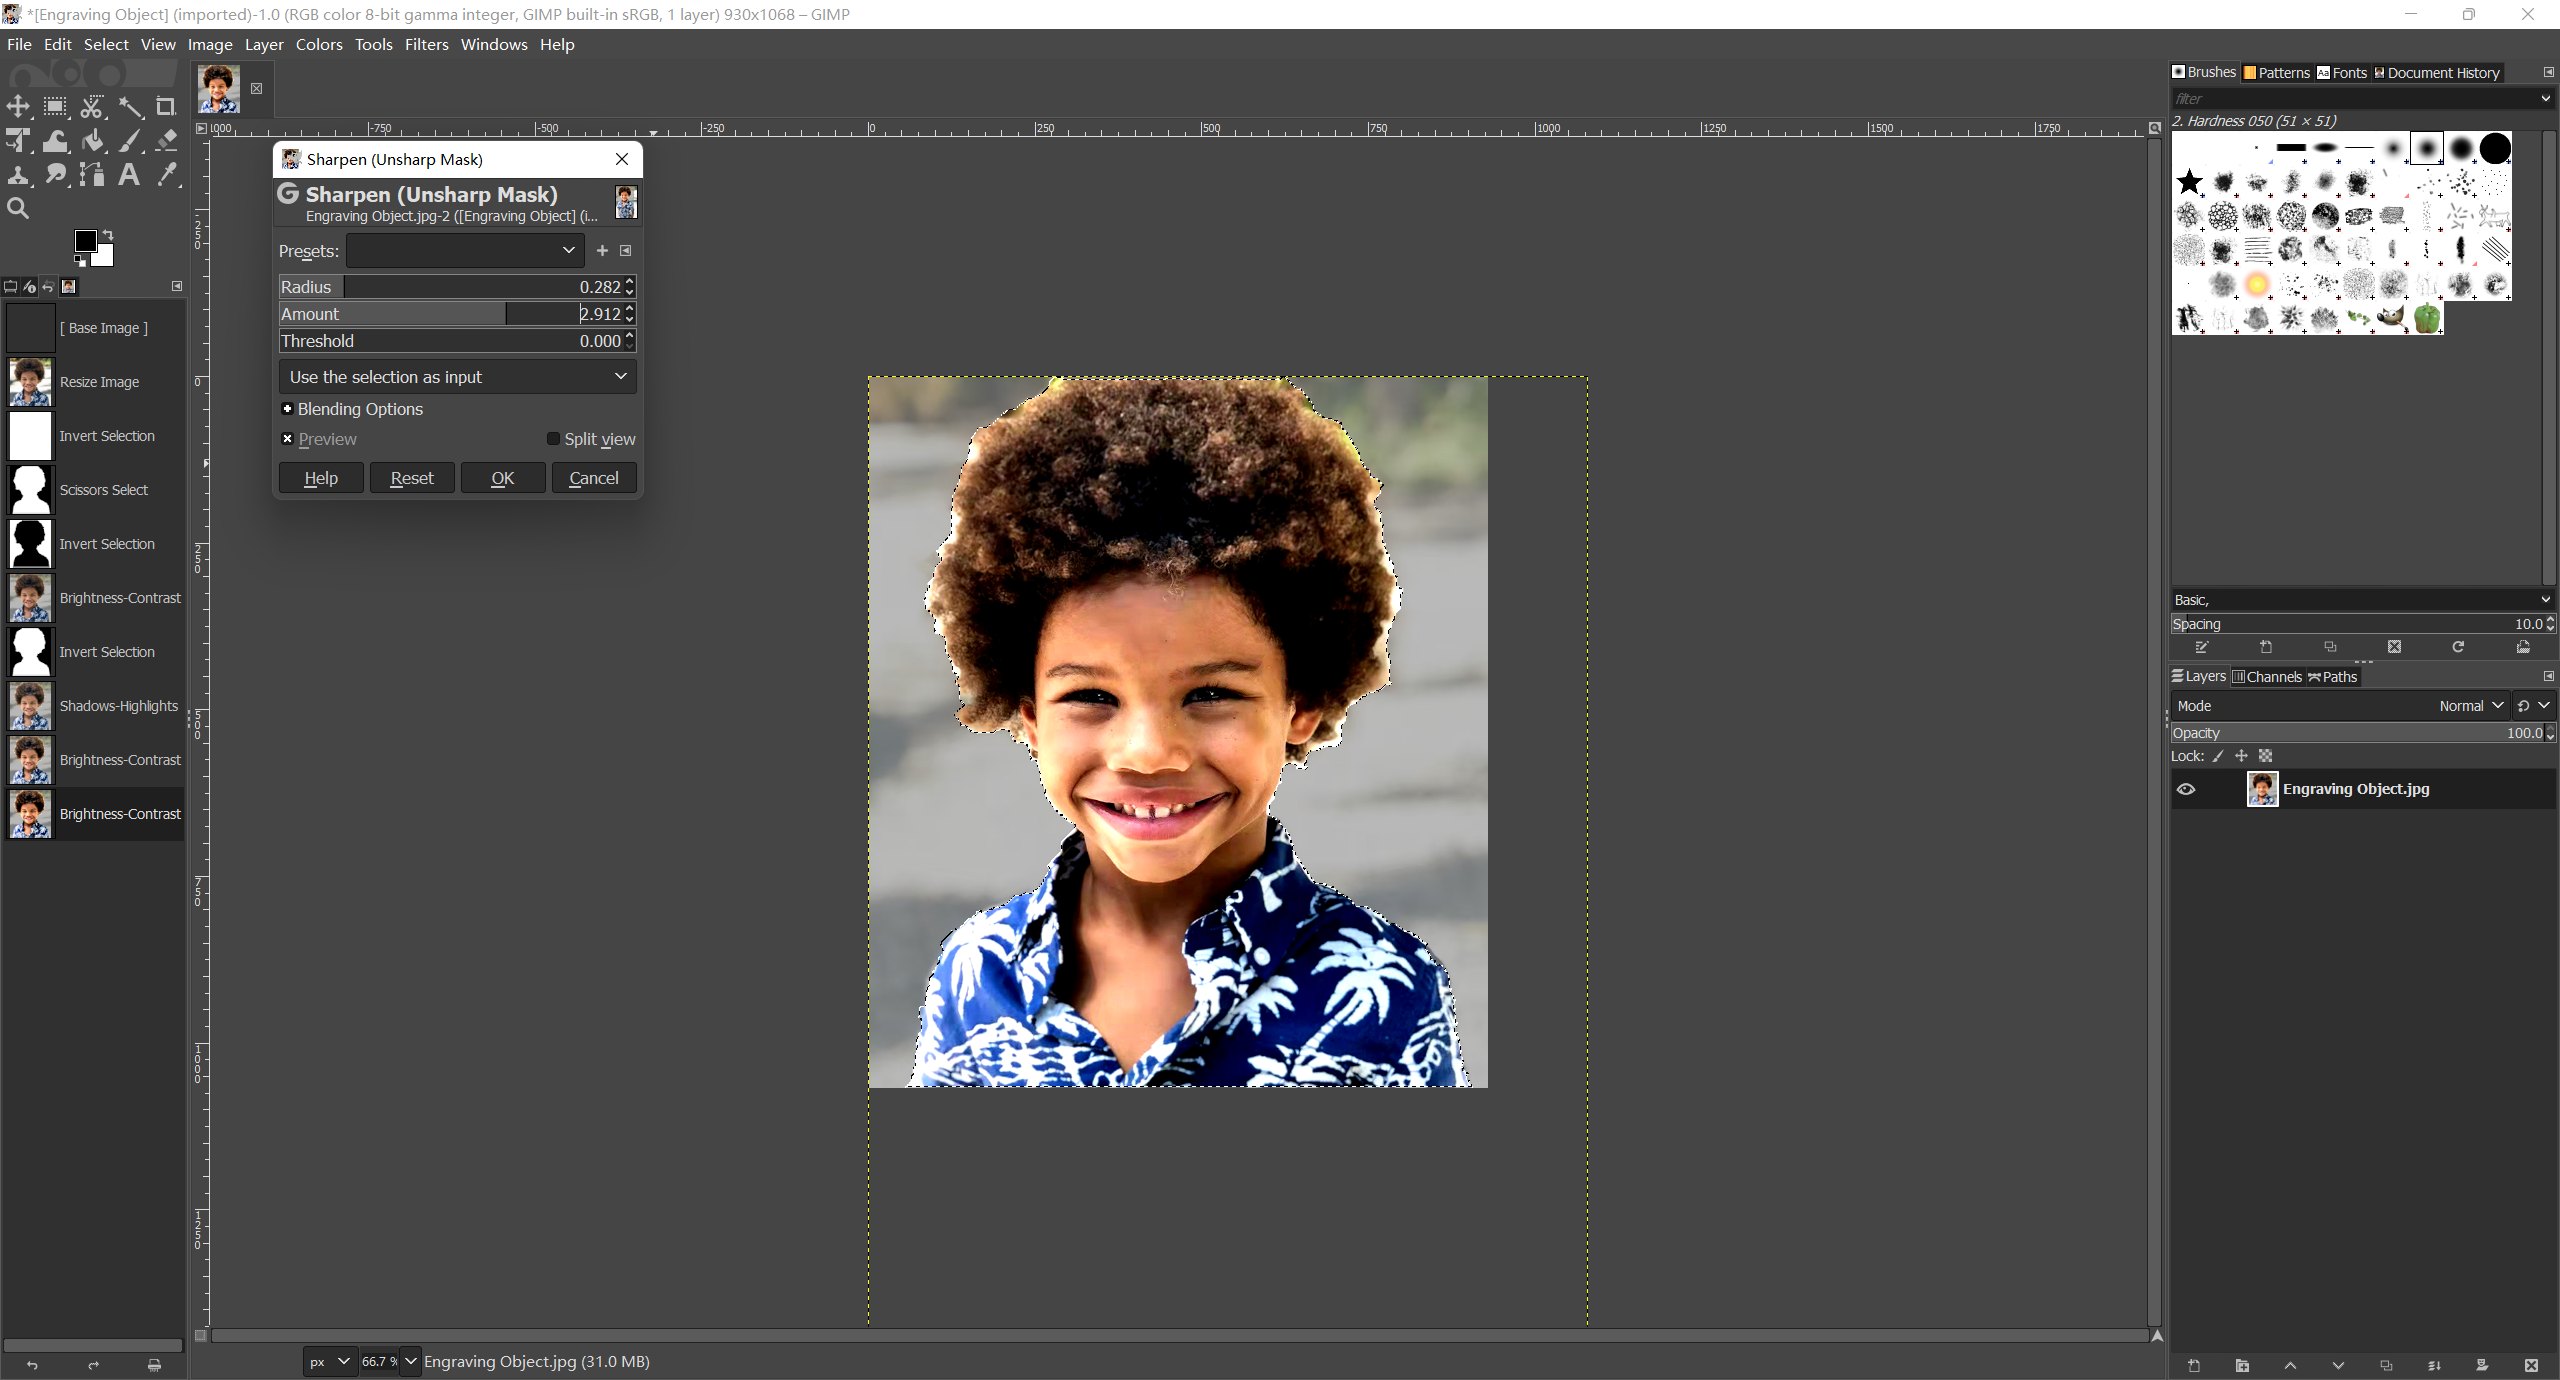
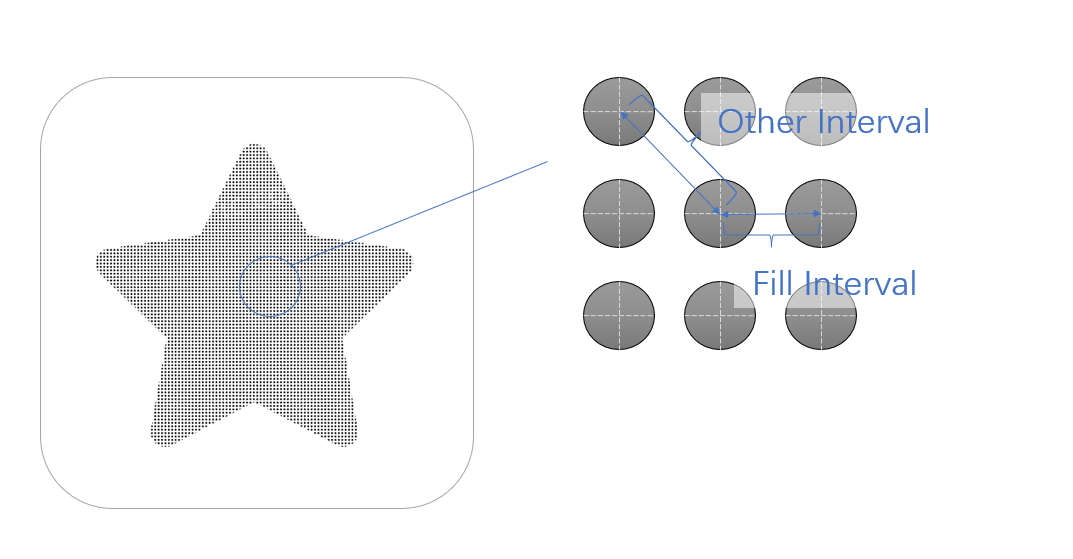
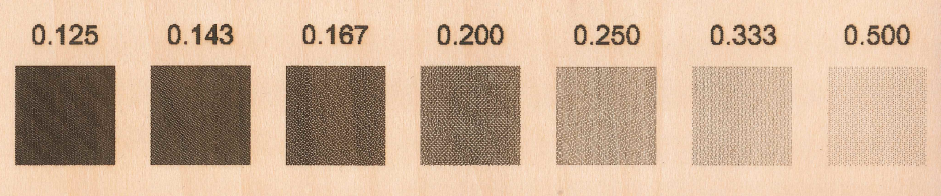
After all of your image settings are complete, you can now click Next, and this will take you to the Toolpath process, where you can fine-tune the image toolpath settings. For the highest level of detail, Dot-filled Engraving is the best choice. It takes longer but gives the best results. The best Method of choice is Fill. The best Movement Mode is Dot. For your Fill Interval, this is highly dependent on your image size, in most cases the default setting should work fine, 0.14mm. Your Jog Speed can be left at the default setting of 3,000 mm/min. You can also stick with the default Dwell Time of 5 ms/dot. Now when it comes to Power, this can vary a bit depending on the image. I would suggest using laser power between 35% and 45% for the 10W diode laser, and even less on the higher-power lasers. You can use a test canvas to experiment with different settings and find the optimal settings for your project.
You can now select Generate G-code and see your final image to be engraved, and the estimated time for the project. This is your last opportunity to fine-tune your settings. If you are satisfied with how everything looks, you can now export the project to the flash drive.
Place the painted canvas on the laser platform and make sure the painted side is facing up and the canvas is lying flat on the work platform.
Now you can align your laser module, using the touchscreen, with the canvas, according to your image origin position, and adjust the position of the laser using the calibration target for the laser, to be at the proper height above the canvas.
Next, you can run your laser boundary, to further check if the work origin is proper. Make adjustments as needed. Once you are satisfied with the placement, you can start the laser engraving process.
Once the engraving process has started, monitor the progress and the results.
Cleaning the Finished Work
After the engraving is done, remove the canvas from the laser and wipe it with a water-dampened paper towel to remove all residue. Then, wipe it with a dry paper towel to remove the leftover moisture, and let it dry. You may need to repeat this process a few times until you get your machine settings dialed in.
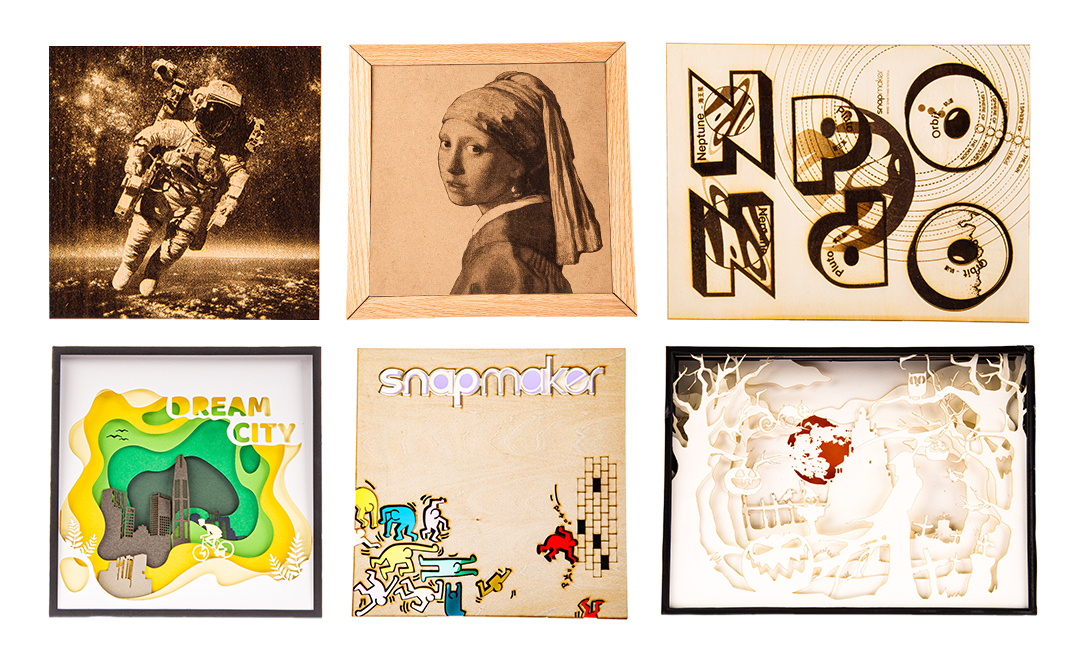
Finished Work