
You might unfortunately find your printer’s nozzle is covered with a mass of extruded filament. The reasons for this issue can be varied. For most cases, if the first layer fails to stick to the bed and the nozzle keeps printing in the air, it will easily lead to a blob of extruded filament on the hot end.
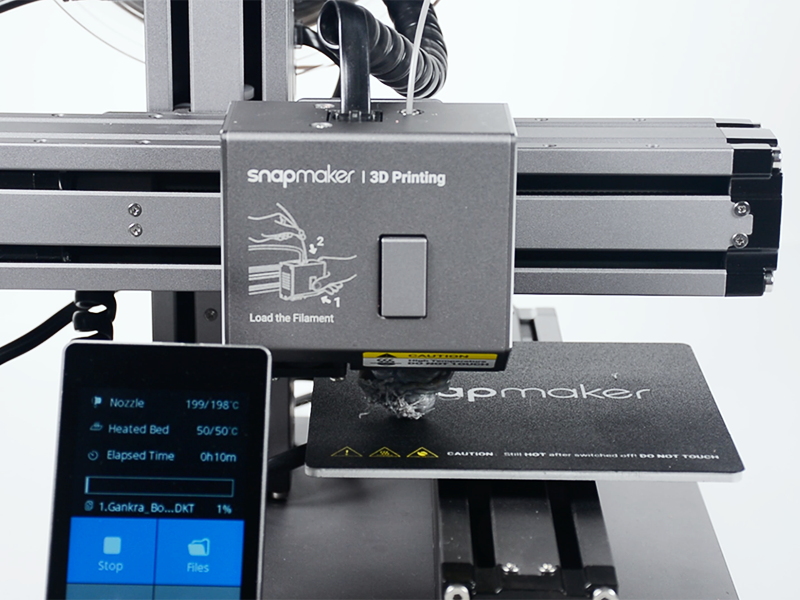
Removing the blob of filament on the hot end is simple with a few steps and appropriate tools.
Tools you need:
Screwdriver, pliers, cloth, tweezers, tape.
Step 1
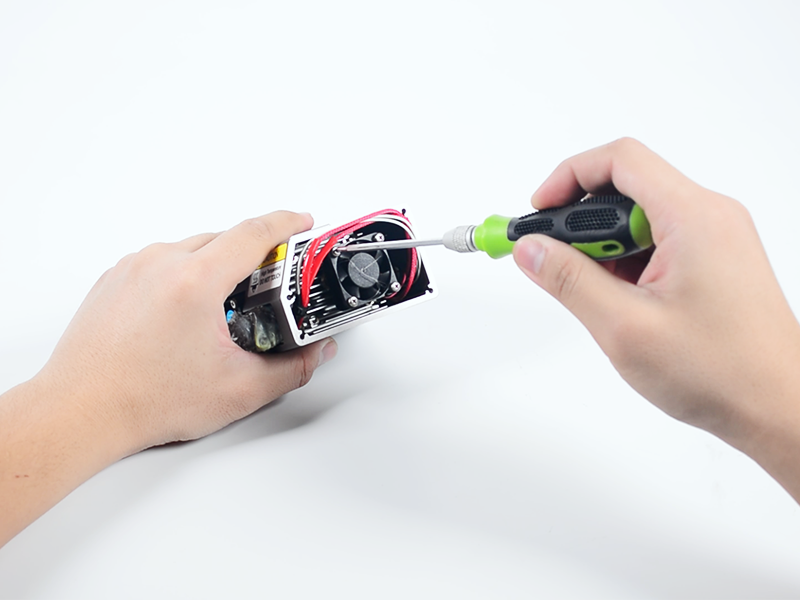
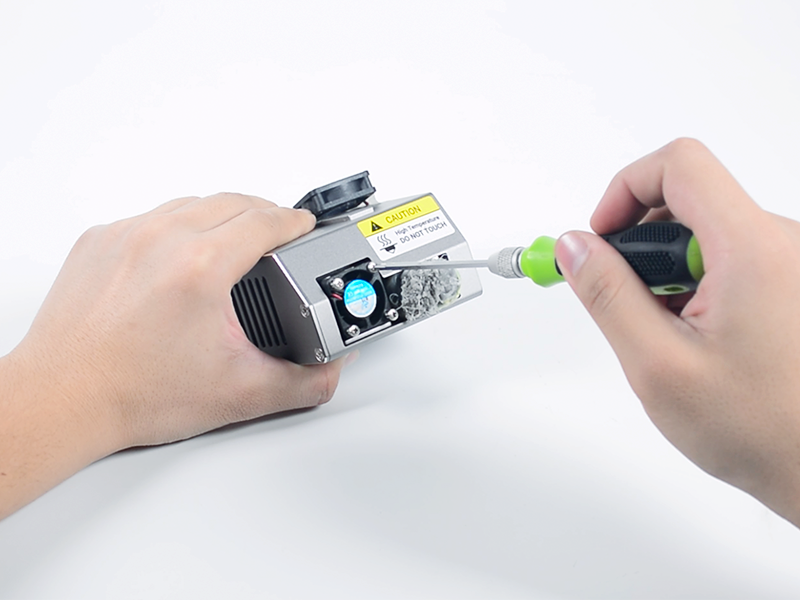
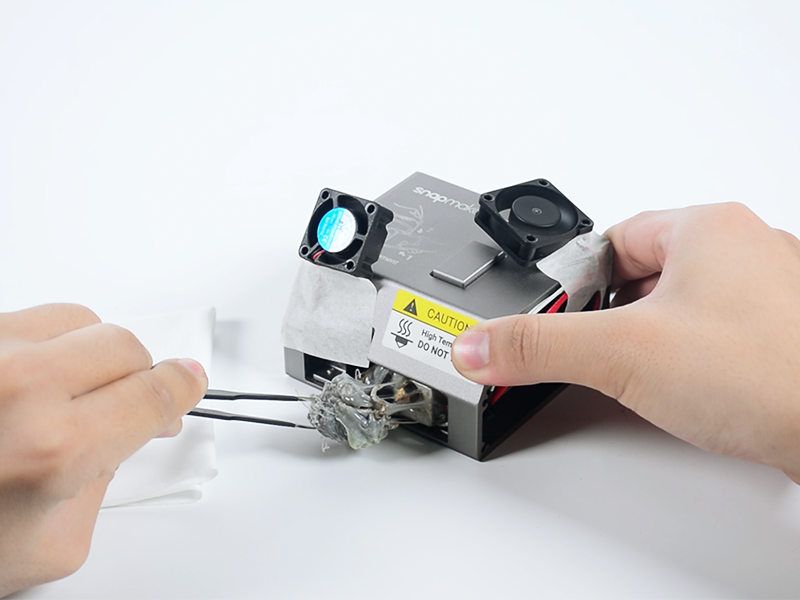
Detach the side cover and fans
- Pull out the filament when the nozzle is hot.
- Turn off the power, and then detach the 3D printing module.
- Detach the side cover and two fans* inside the module.
* If the nozzle is filled with filament badly, you will need to detach all parts next to the nozzle for a thorough cleaning.
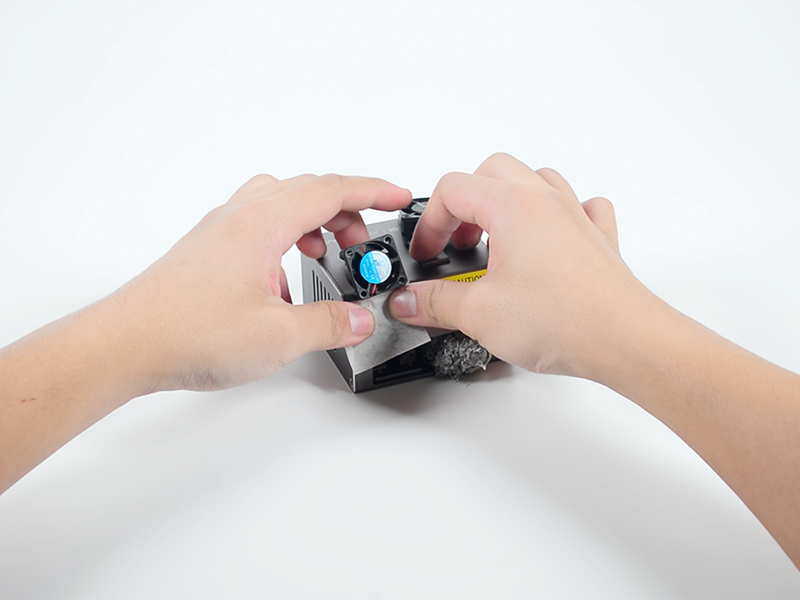
- Use adhesive tape to hold the fans in place for easier cleaning of the hot end.
Step 2
Remove the blob of filament
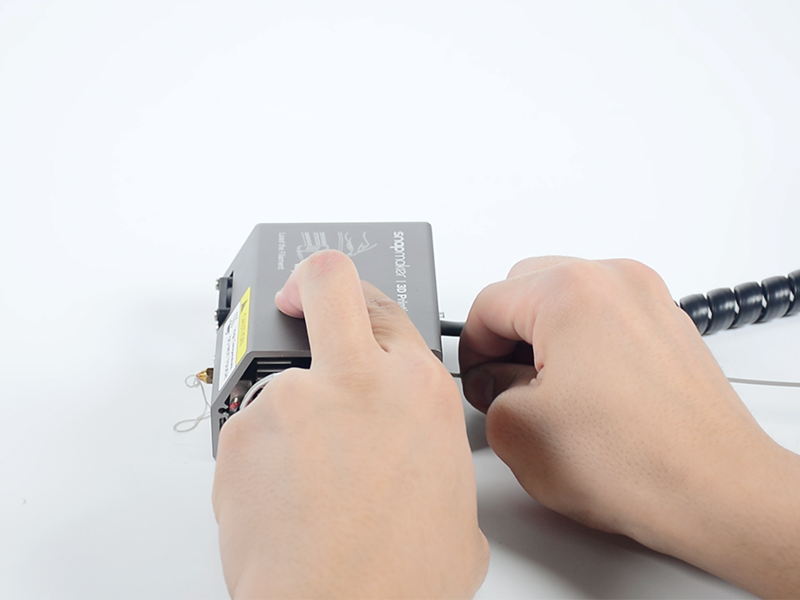
- Connect the 3D printing module to the printer.
- Turn on the power.
- Increase the nozzle temperature to 240℃ by choosing Controls > Change Filament > Temp +10℃ on the touchscreen.
* If the nozzle can’t heat up properly, the heating tube and/or the thermistor might be damaged. You can heat up the blob of filament using a heat gun or hair dryer. For the replacement parts of heating tube and thermistor, you can buy them on our website and follow the instructions in this video tutorial to resolve this issue.
- Use tweezers to remove the blob of filament
- Use a piece of cloth to clean around the hot end more thoroughly.
* Be aware that the nozzle is very hot, and you need to lower the nozzle temperature to 210℃ before using the cloth to clean it.
- After cleaning, wait for the nozzle temperature to go down to around 30℃.
- Turn off the power and disconnect the 3D printing module.
Step 3
Assemble and test
Lastly, you shall do a quick test to check that the extruder can extrude the filament smoothly.
- Tear off the tape and install the fans to where they were.
- Connect the 3D printing module to the printer and then turn on the power.
- Insert a small amount of straight filament.
If it doesn’t extrude properly in the test, you will need to check whether the nozzle is clogged. You can follow the instructions in this guide to fix it: What should I do if the filament is broken in the 3D Printing Module?
Congratulations! Now you get a clean hot end and your 3D printing module works perfectly again. As a perfect first layer helps to avoid a caked hot end, you might be interested in reading the article to get the first layer stick well to the bed: What should I do if the first layer does not stick to the heated bed?
Feel free to contact us for more help. Email your questions to support@snapmaker.com with “Troubleshooting” in the title. We are always available to help you out.
Visit our website to learn more about Snapmaker 3-in-1 3D Printer.
Visit our online store to get Addons, Materials, Parts and Accessories for your Snapmaker.