
7.1 First Layer Does Not Stick
Possible Causes
- The calibration is done improperly.
- The printing parameters are improper.
- The Print Sheet is dirty and thus uneven.
- The nozzle bore or tip is dirty.
- The filament is damp.
- The ambient temperature is too low.
Solutions
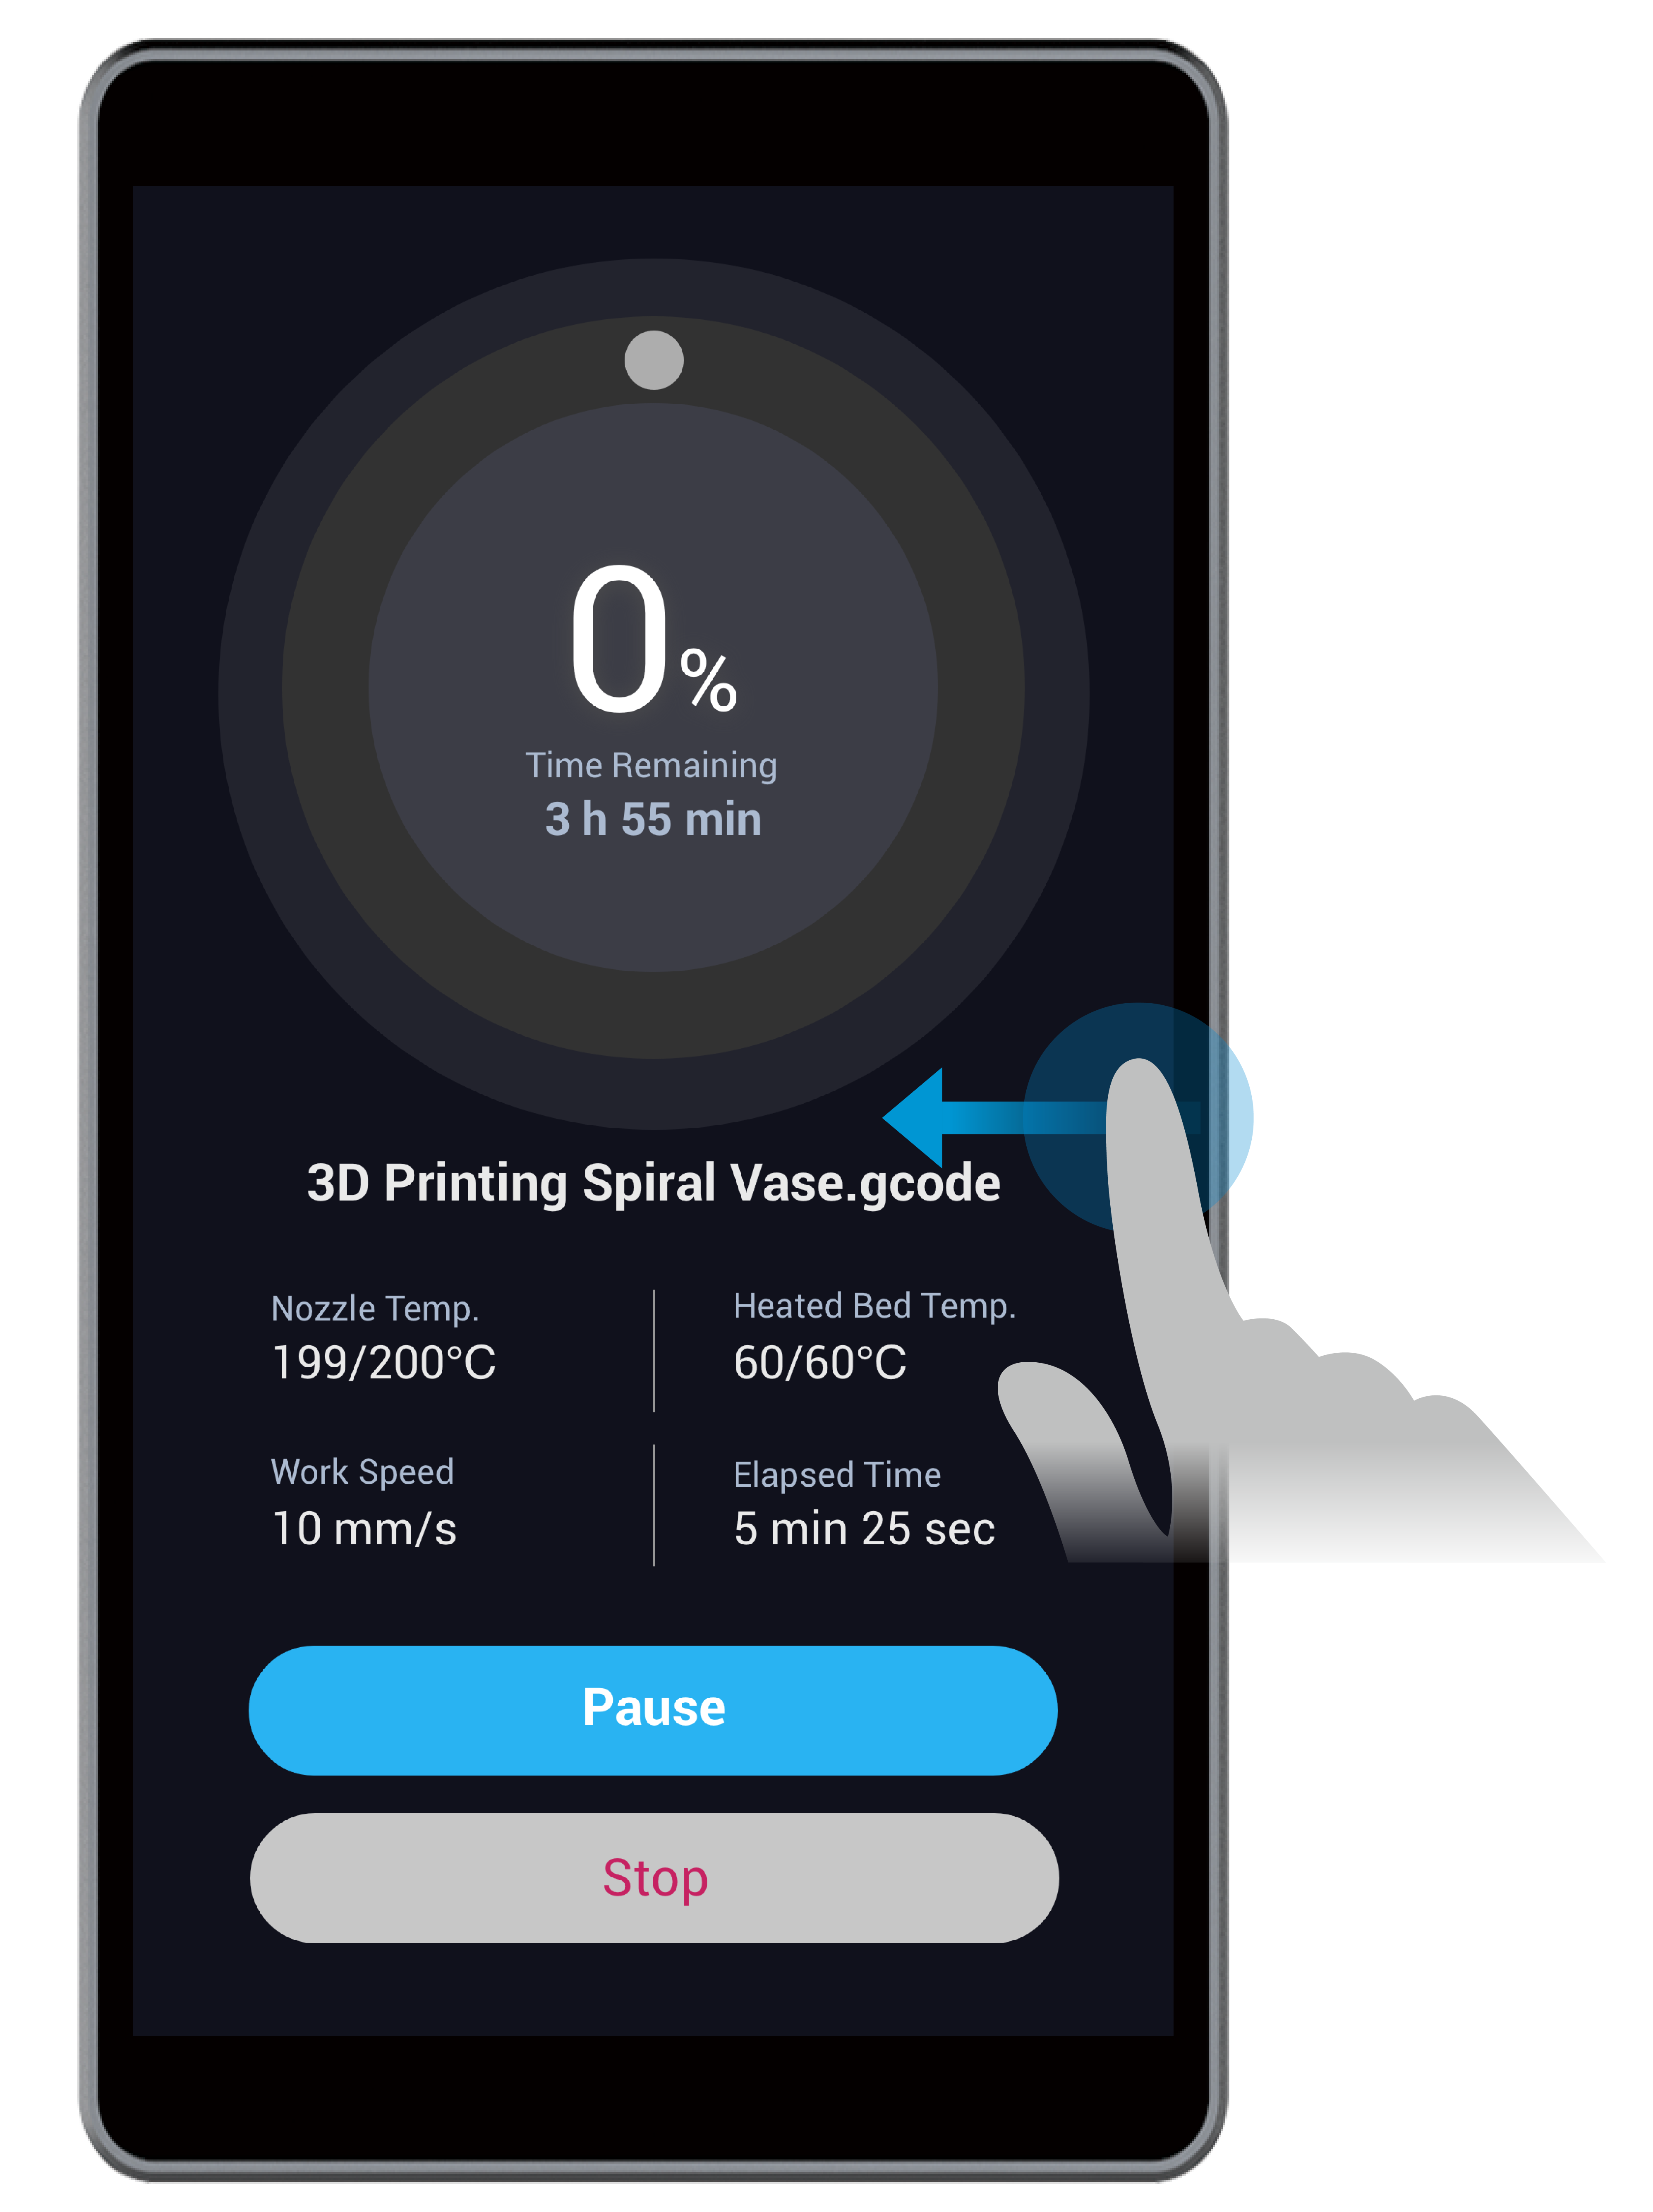
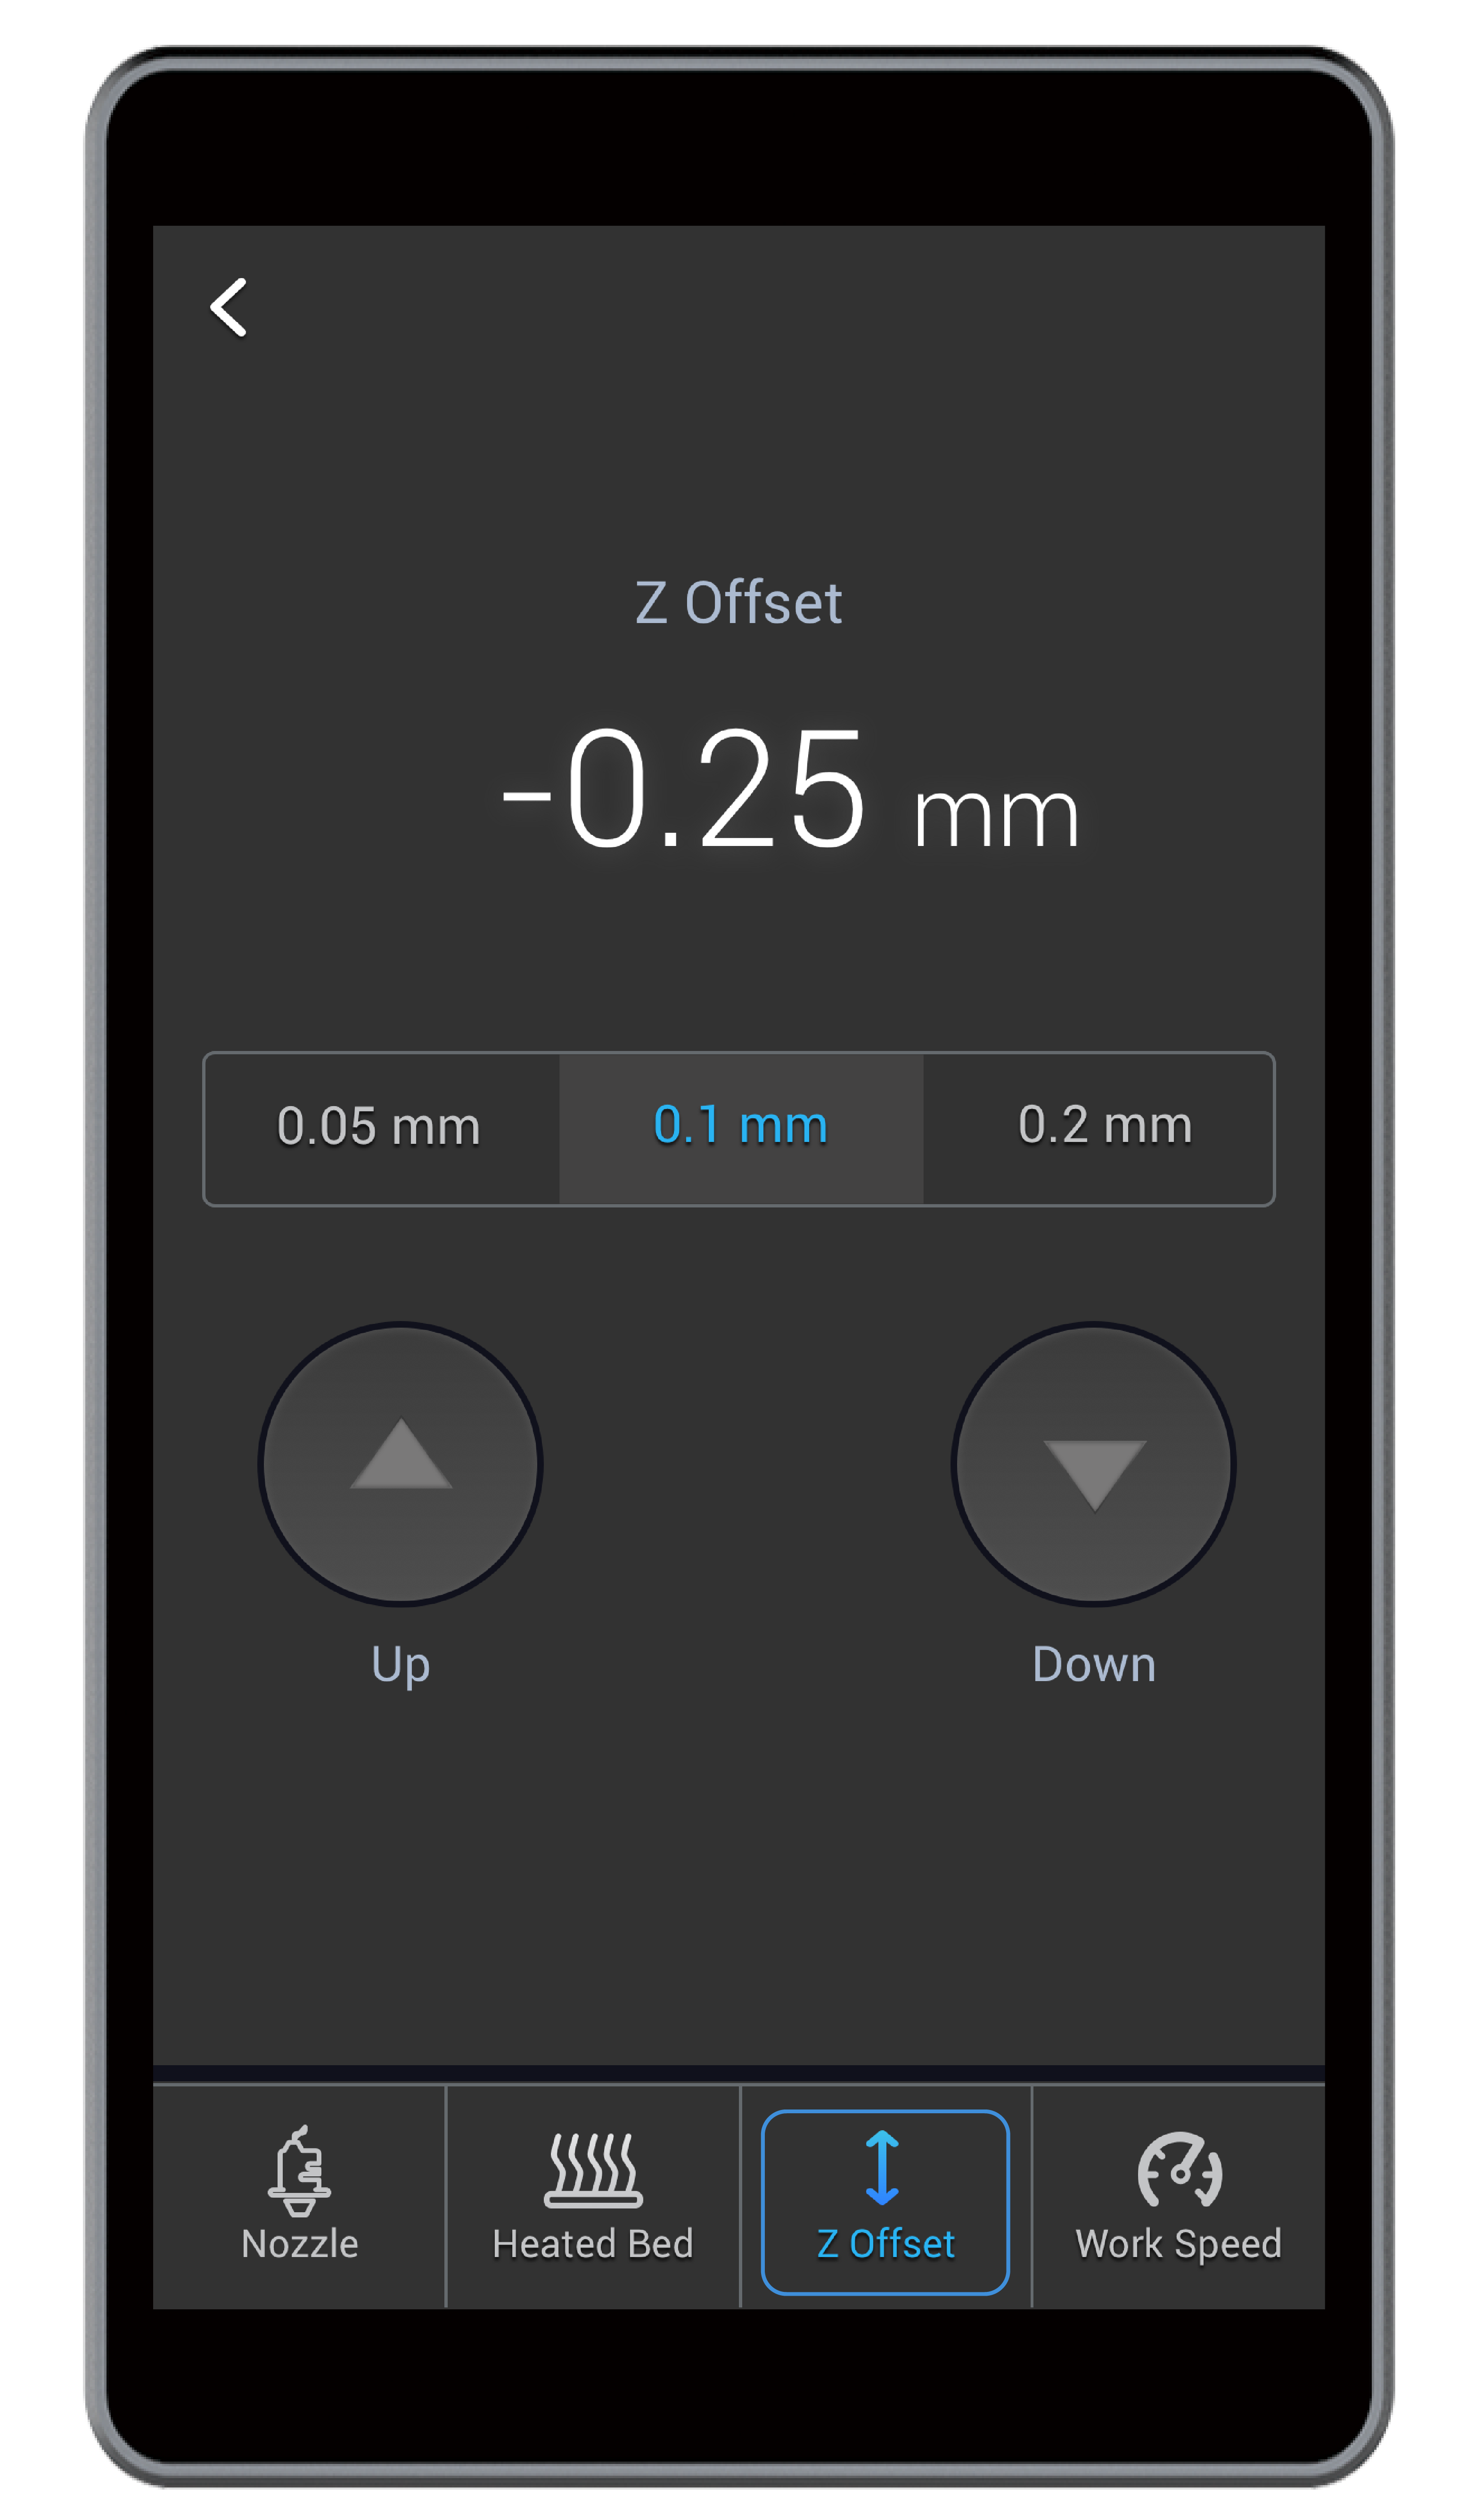
- Recalibrate the Heated Bed. If the problem persists, start a new printing job. Right before the filament comes out, swipe left on the Touchscreen and tap Z Offset at the bottom. Tap Up or Down to adjust the nozzle height.
- Recalibrate the Heated Bed using the Heated Leveling mode.
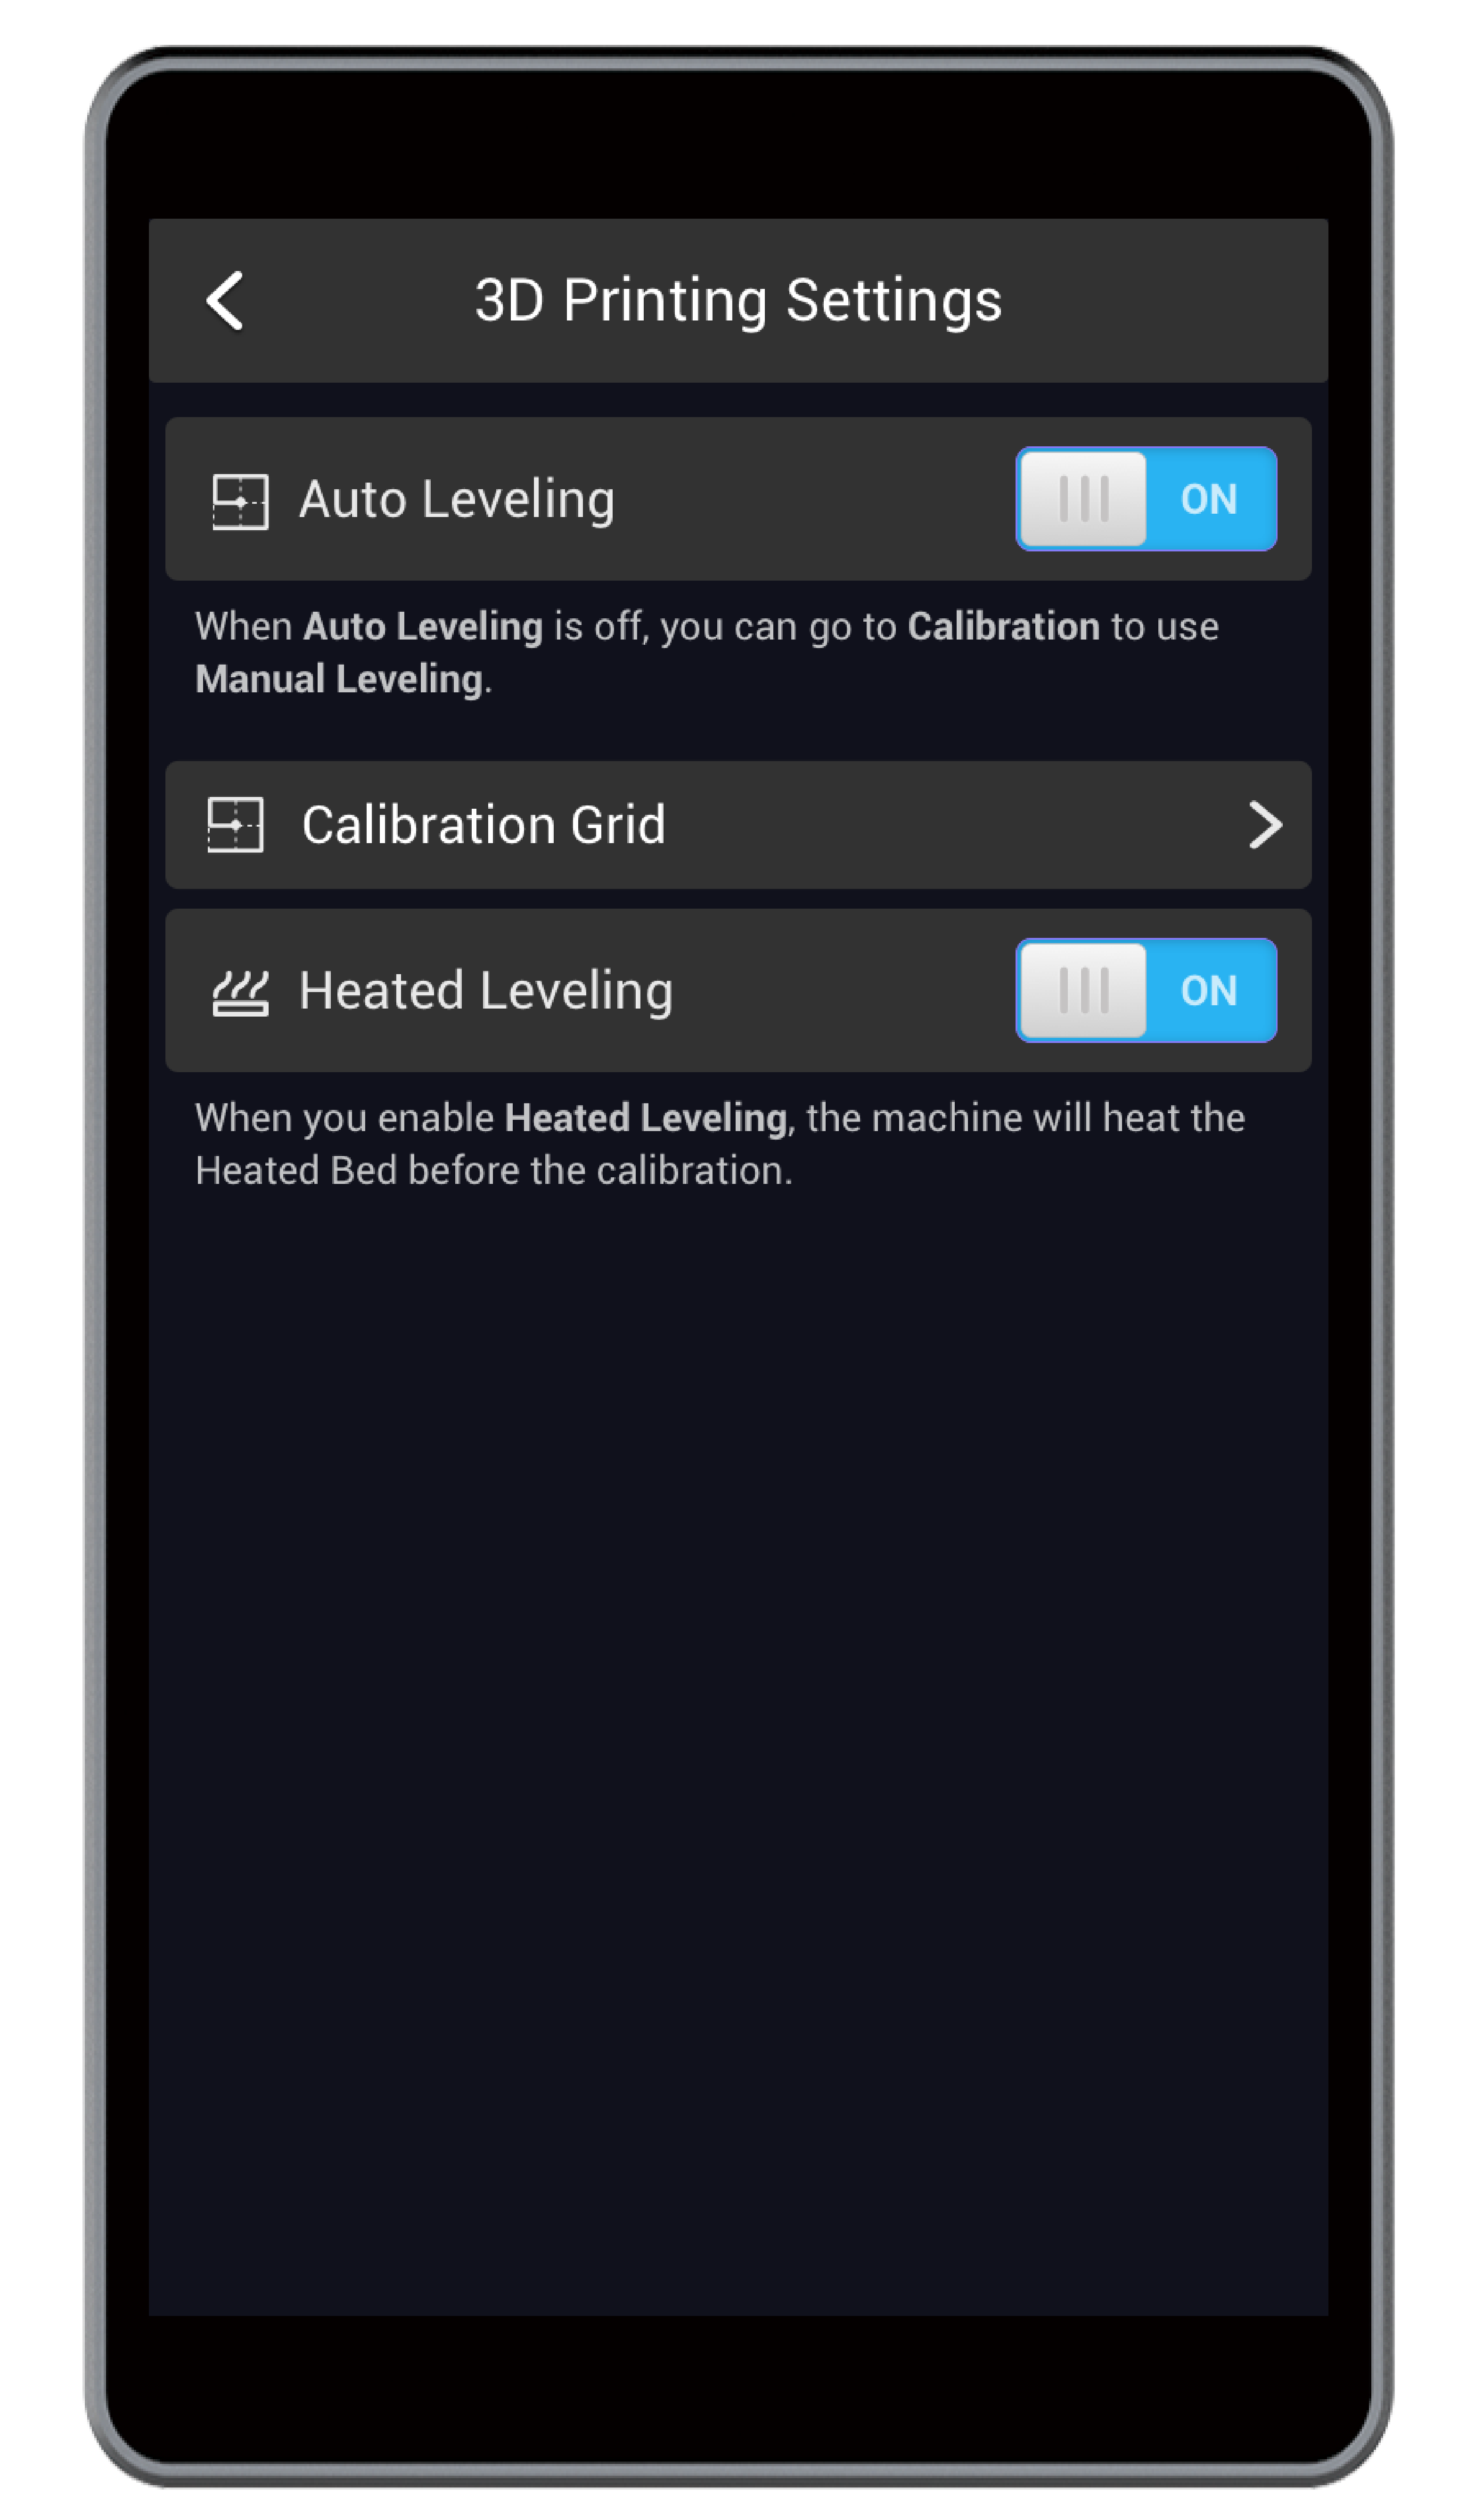
a. In the APP List Screen, tap Settings > 3D Printing > Auto Leveling > Heated Leveling to toggle on the Heated Auto Leveling mode.
b. Return to the APP List Screen, and tap Calibration > Start to run the Heated Auto Leveling mode.
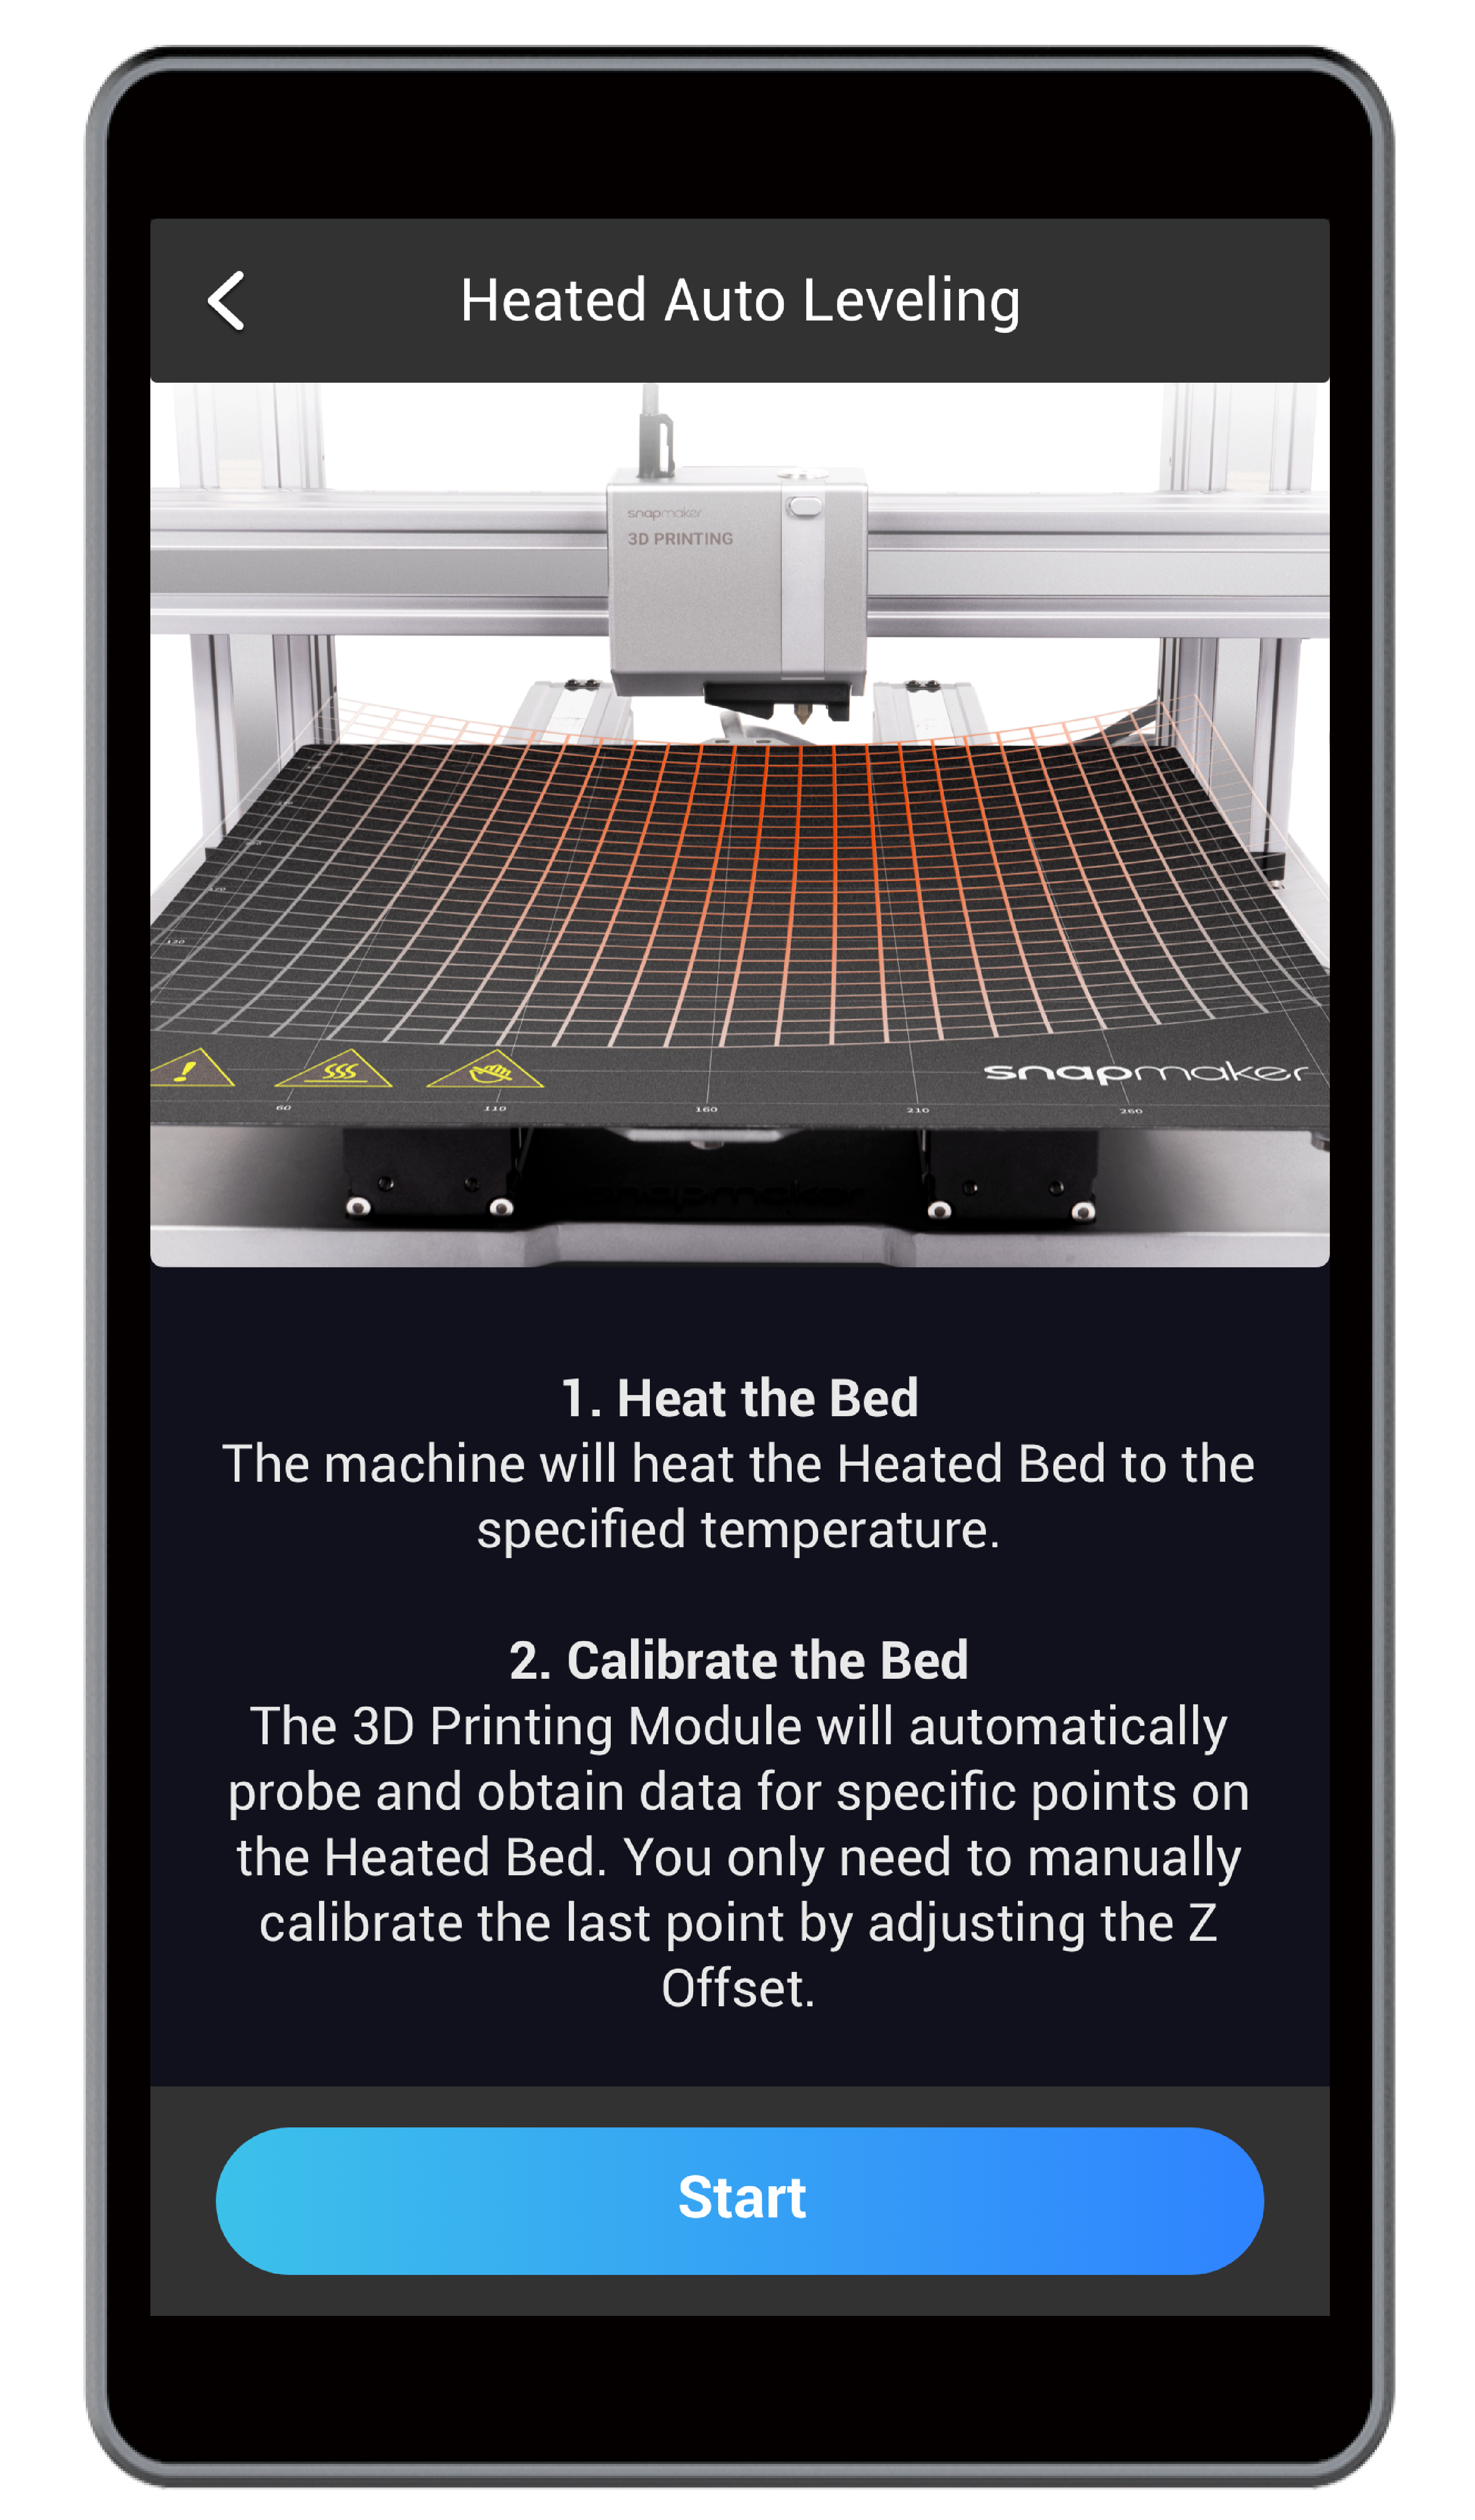
c. Slide the scale bar to the recommended temperature as indicated by the Touchscreen. After the Heated Bed reaches the target temperature, tap Calibrate.
d. Wear heat-resistant gloves before touching the Heated Bed.
e. Manually calibrate the last point using the Calibration Card as in 4.2 Level the Heated Bed. After the calibration is completed, tap Save.
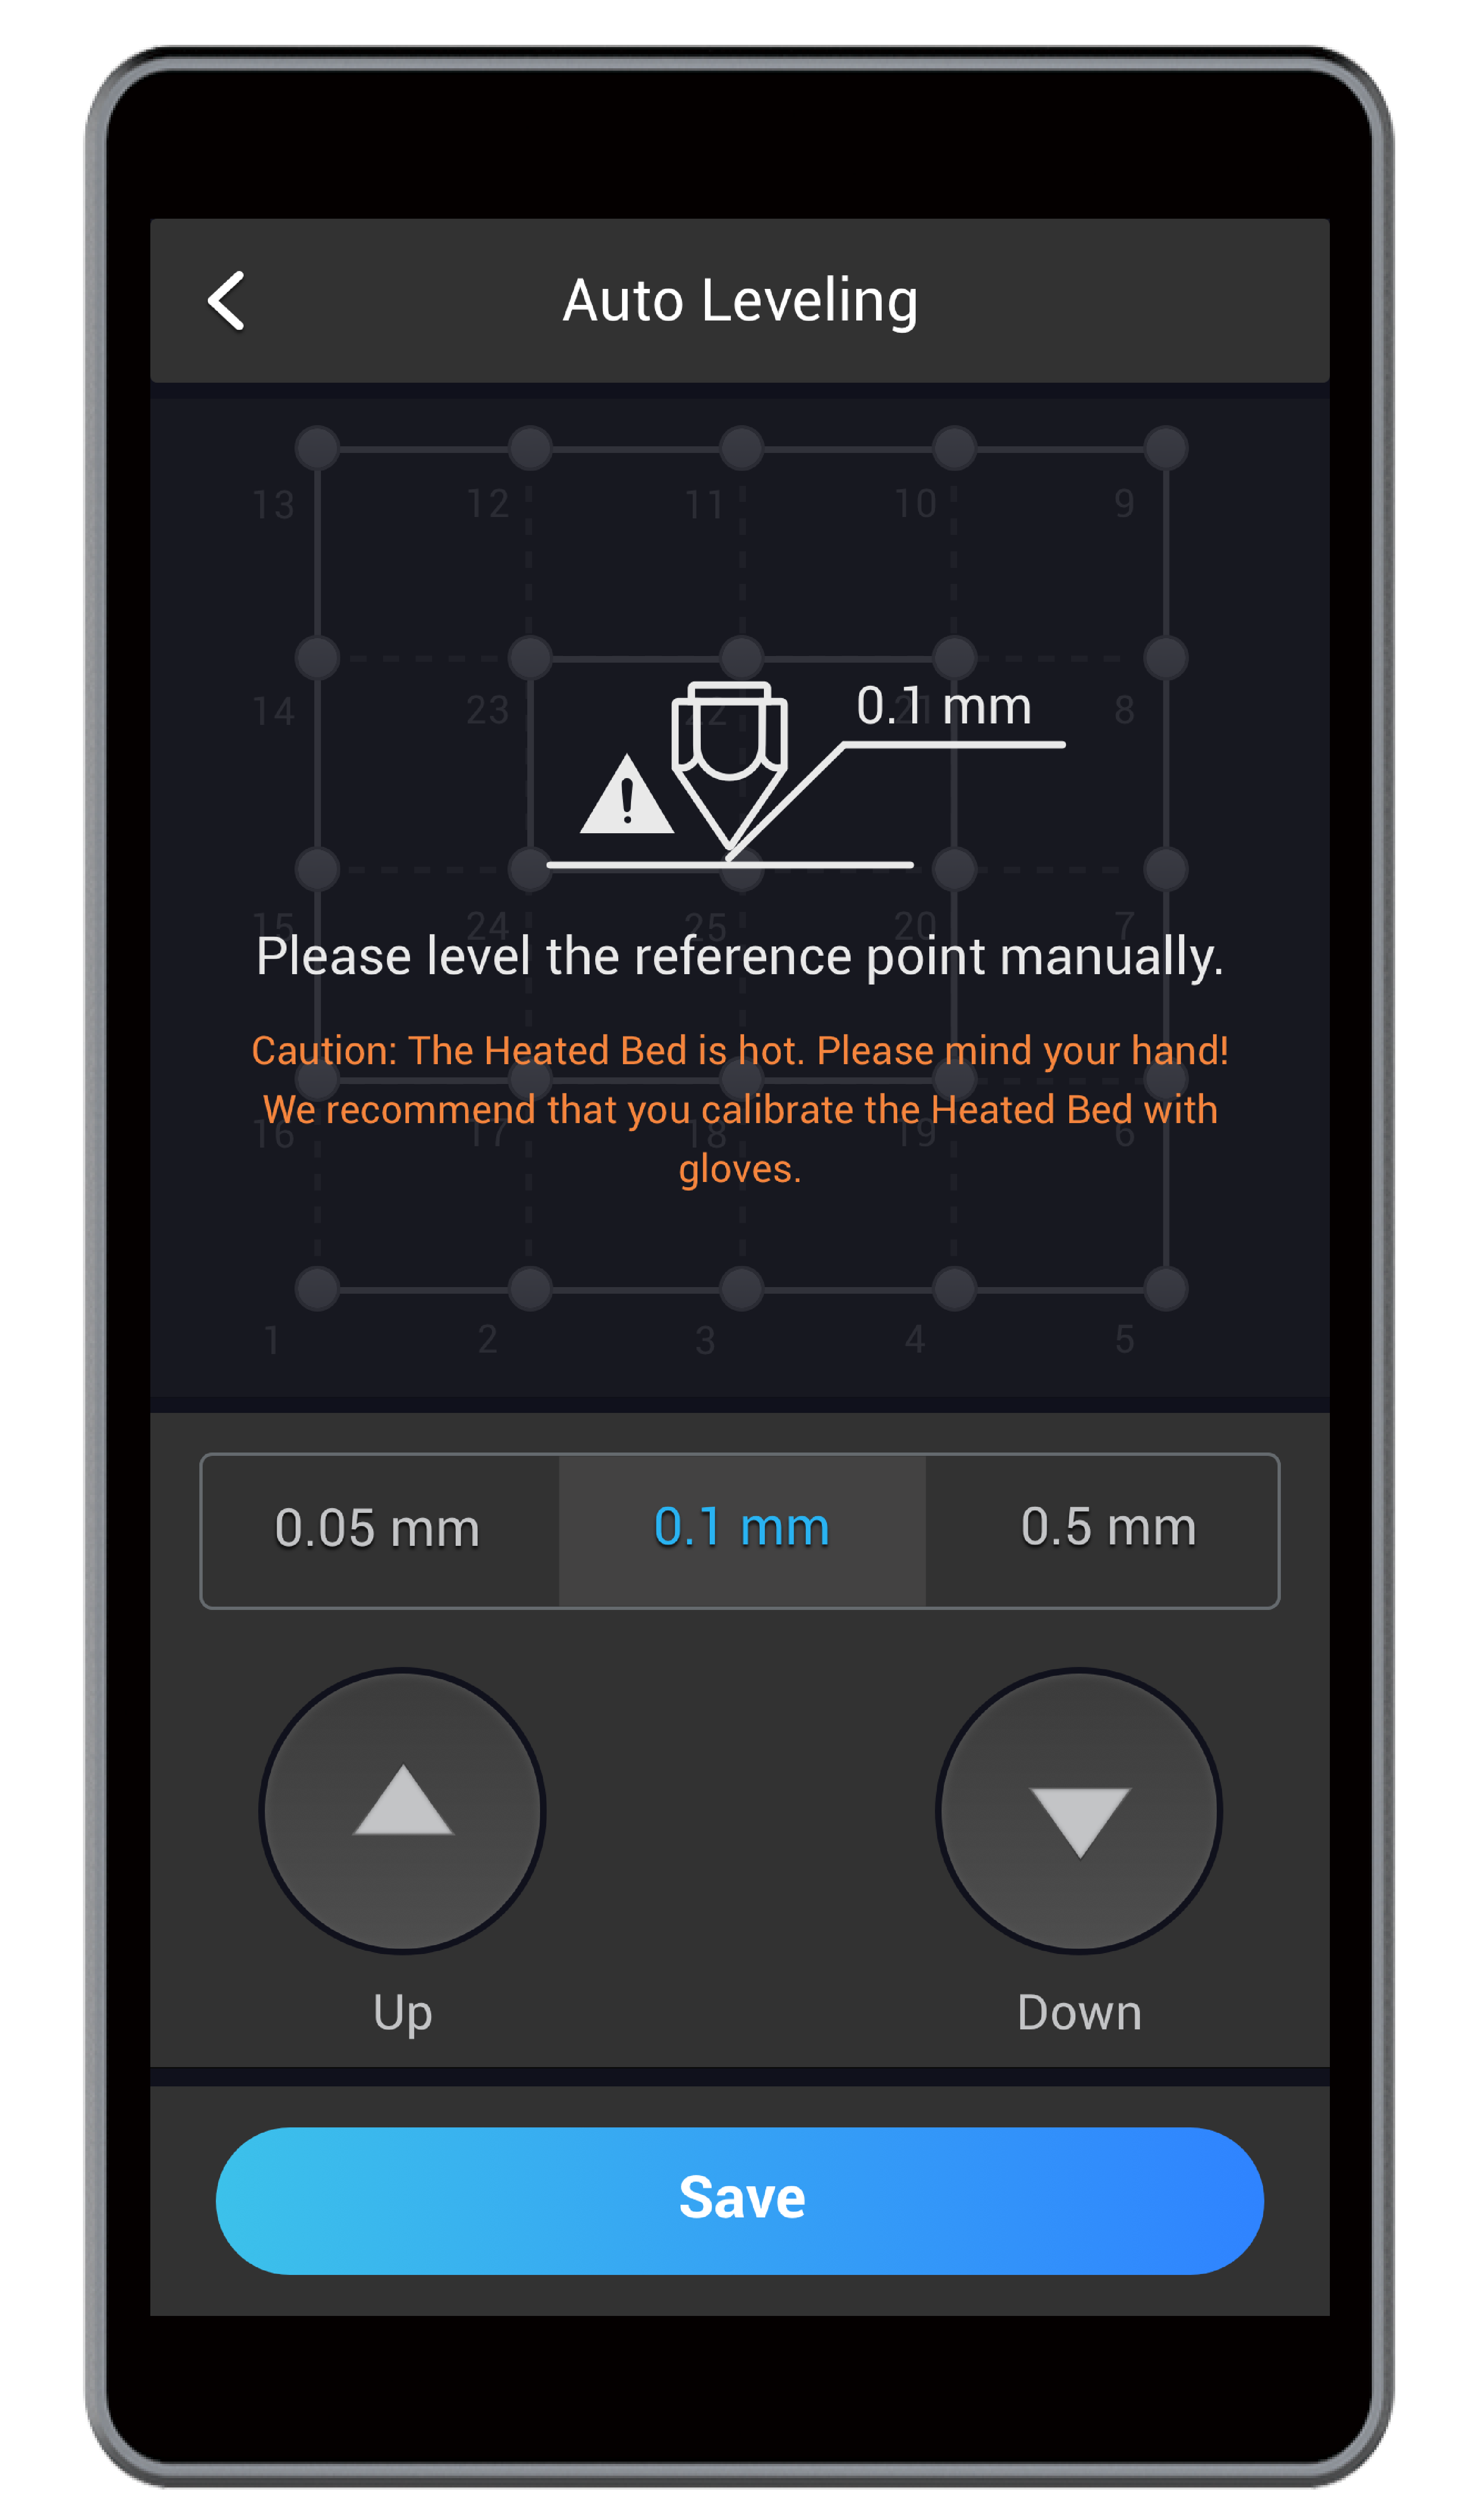
![]() Caution the hot Heated Bed. Always wear heat-resistant gloves while using the Heated Auto Leveling mode or Heated Manual Leveling mode.
Caution the hot Heated Bed. Always wear heat-resistant gloves while using the Heated Auto Leveling mode or Heated Manual Leveling mode.
- Reset the printing parameters on Luban, including:
- Set the Heated Bed Adhesion Type as Raft. Raft can effectively improve the first layer adhesion. Also, you can increase the line count to improve adhesion.
- Lower the Initial Layer Print Speed.
- Increase the Initial Layer Height.
- Increase the Initial Layer Line Width.
- Set a proper Heated Bed temperature as required by each filament.
- Set a proper orientation and angle for the model to maximize its contact area with the Print Sheet.
- Clean the Print Sheet to keep it free of dust, cured filaments, tapes, or other foreign matters.
- Clean the nozzle bore to keep it free of blockage and foreign matters.
- Dry the damp filament or buy new filaments.
- Raise the ambient temperature using an air conditioner, enclosure, or heater.
- If poor adhesion persists, coat the Heated Bed with masking tapes or solid glues before printing.
7.2 Warping
Possible Causes
- The first layer does not stick to the Print Sheet.
- The filament you use has high shrinkage, and is prone to warping during printing.
- The ambient temperature is too low.
Solutions
- See 7.1 First Layer Does Not Stick.
- Should you use ABS, here is a video tutorial to walk you through how to 3D print with ABS filament. Alternatively, you can change a filament with low shrinkage like PLA and PETG.
- Raise the ambient temperature around the 3D printer using an air conditioner, enclosure, or heater.
7.3 Toolhead Hits the Heated Bed
Possible Causes
- The Y axes are assembled incorrectly.
- The X axes are assembled incorrectly.
- The 3D Printing Module is assembled incorrectly.
- The Support Platform is assembled upside down.
- The probe sensor wiring is worn out.
- The probe sensor is malfunctioning.
Solutions
- Check if the Y axes are perfectly mounted onto the grooves of the Base Plate. If not, place the Y axes right into the grooves.

- Check if the screws for fixing the X axis with Z-axis sliders are installed into the correct holes.

- Check if the screws for attaching the 3D Printing Module are installed into the correct holes.

- Check if the Support Platform is correctly installed (see 6.2.2 Check the Support Platform). If not, reassemble the Support Platform.
- If the problem persists, contact us at support@snapmaker.com.
7.4 Filament Does Not Come Out
Possible Causes
- The nozzle is blocked.
- The filament has poor quality ranging from impurities to inconsistent diameters.
- The filament is not supported by the 3D printer.
- The gear is malfunctioning.
- The hot end is malfunctioning.
Solutions
- If the nozzle is blocked, see 6.2.4 Check the Nozzle.
- Replace it with a quality filament.
- Your 3D printer supports PLA, ABS, PETG, TPU, Wooded PLA, etc. Check if the filament is supported by Snapmaker 2.0 3D printers. If not, replace it with a supported filament.
- Open the 3D Printing Module to check if the gear can rotate. If it rotates normally, replace the hot end; if not, contact us at support@snapmaker.com.
- Replace the hot end as in step 4. If the problem persists, contact us at support@snapmaker.com.
7.5 Blobs on Nozzle
Possible Causes
- The first layer fails to stick to the Print Sheet.
- The filament has poor quality ranging from impurities to inconsistent diameters.
Solutions
To begin with, heat the nozzle up to 230°C (446°F), and replace the hot end with a spare one provided in the box.
- See 7.1 First Layer Does Not Stick.
- Replace it with a quality filament. If the problem persists, contact us at support@snapmaker.com.