5.1 Maintenance Schedule
|
Tasks |
Frequency |
See |
|
Clean the Laser Engraving and Cutting Platform |
Each time after use |
5.2 |
|
Clean the Laser Lens Protector |
Once a week |
5.3 |
|
Clean the Camera and Camera Light |
Clean when they do not work properly |
5.4 |
|
Clean the Red Laser Emitter |
Clean when it does not work properly |
5.5 |
5.2 Clean the Laser Engraving and Cutting Platform
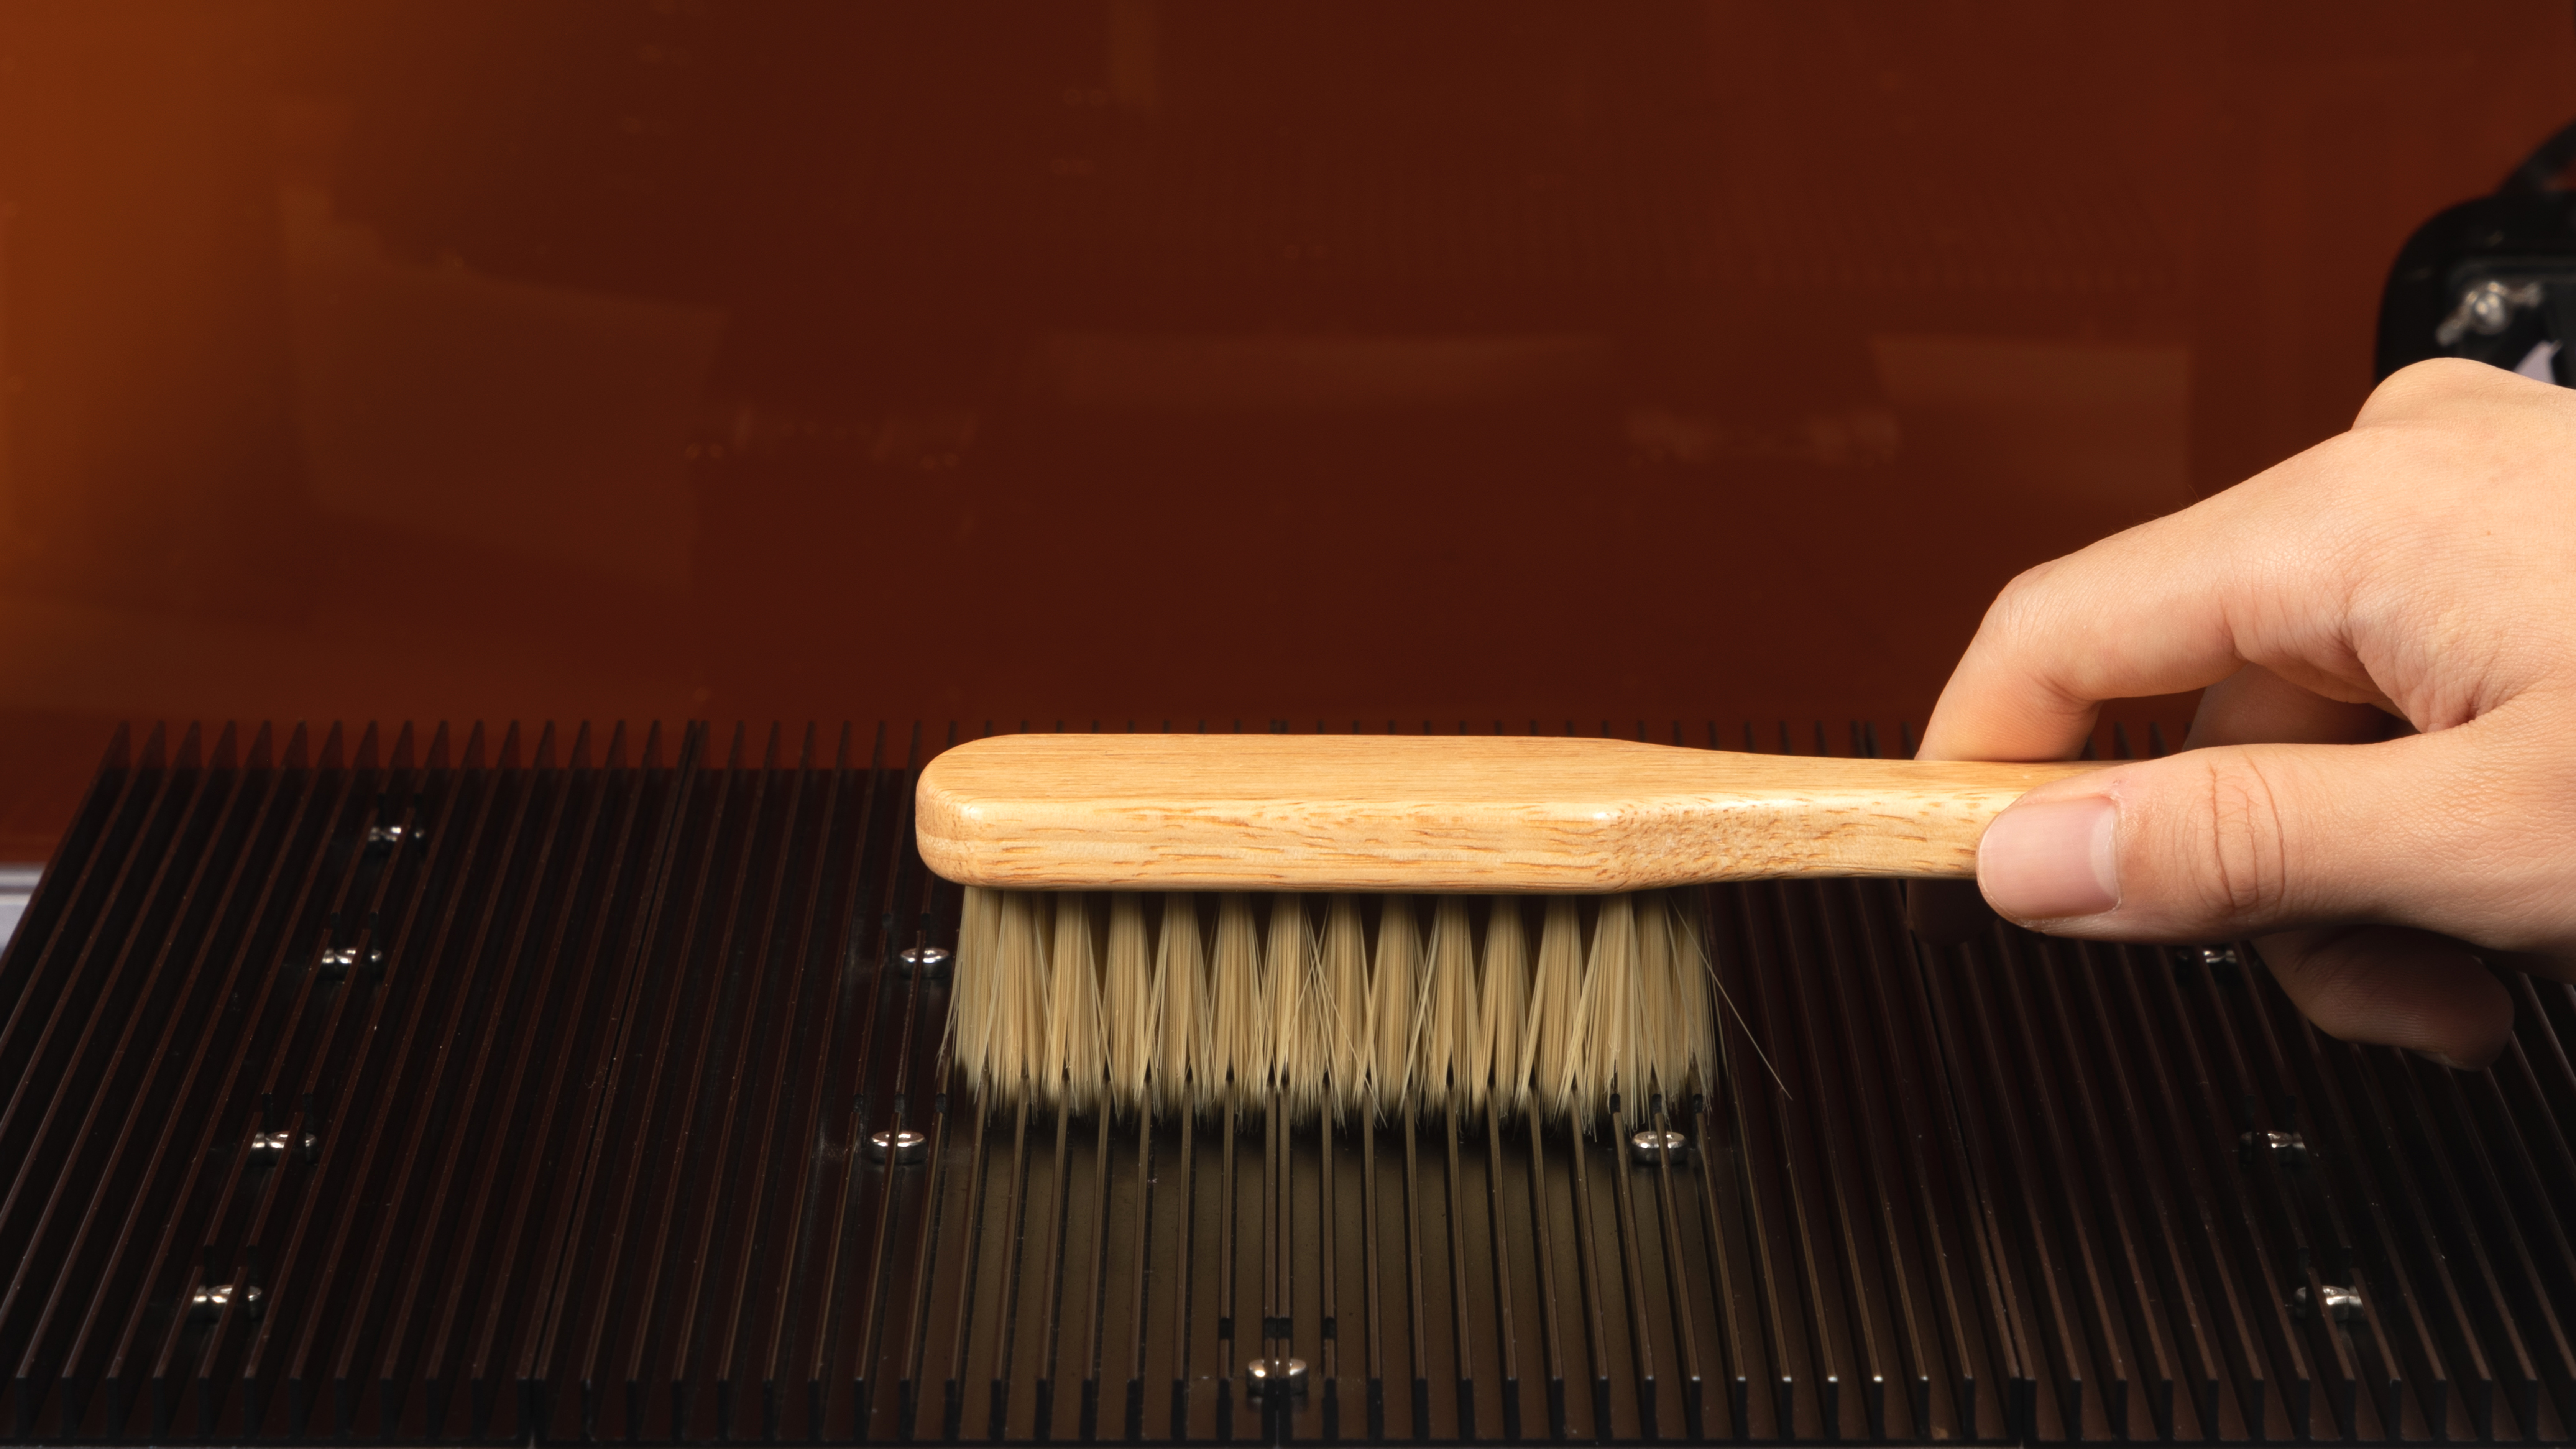
After each laser job, debris may accumulate on the laser engraving and cutting platform. Without cleaning, the accumulated debris may make it hard to stably fasten a material, thus damaging the laser engraving and cutting effect, or even may cause fire during laser engraving and cutting.
To avoid the above risks, you need to clean the laser engraving and cutting platform after each laser job. The cleaning method is as follows:
(1) Prepare a bristle brush or a small vacuum cleaner.
(2) Clean the laser engraving and cutting platform along its gutters.
![]() To facilitate cleaning, you can disassemble the laser engraving and cutting platform and install it back on the machine after cleaning.
To facilitate cleaning, you can disassemble the laser engraving and cutting platform and install it back on the machine after cleaning.
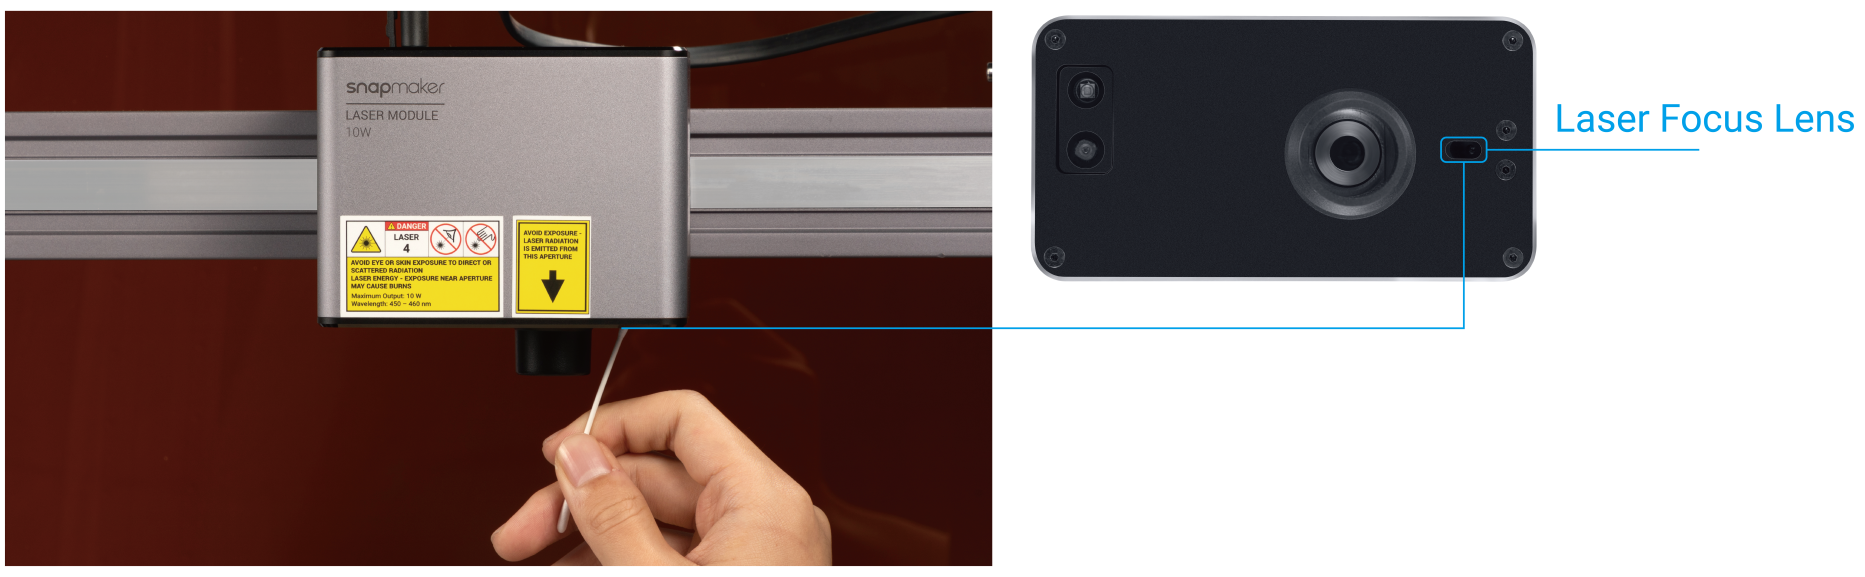
5.3 Clean the Laser Lens Protector
After the 10W Laser Module has been used for a period of time, dust and grease may accumulate on the laser lens protector, which will significantly decrease the engraving and cutting capability of the laser. To maintain the laser capability, you need to clean the laser lens protector in time. We recommend you to clean it once a week by taking the following steps:
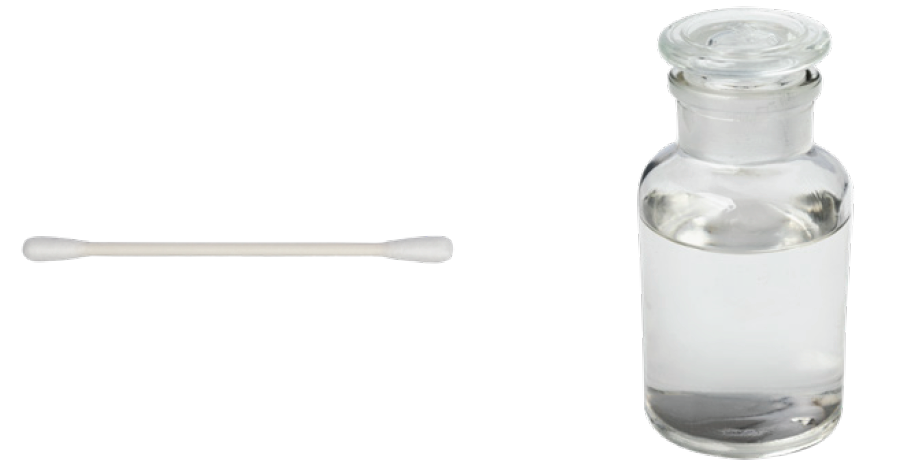
(1) Prepare the required clean tools: cotton swabs and ethyl alcohol (purity > 99%).
(2) Turn off the machine, and disassemble the 10W Laser Module from the machine.
(3) Dampen a cotton swab with ethyl alcohol, and then stick it into the air concentrator hood of the 10W Laser Module. Wipe the surface of the laser lens protector from center to margin clockwise.
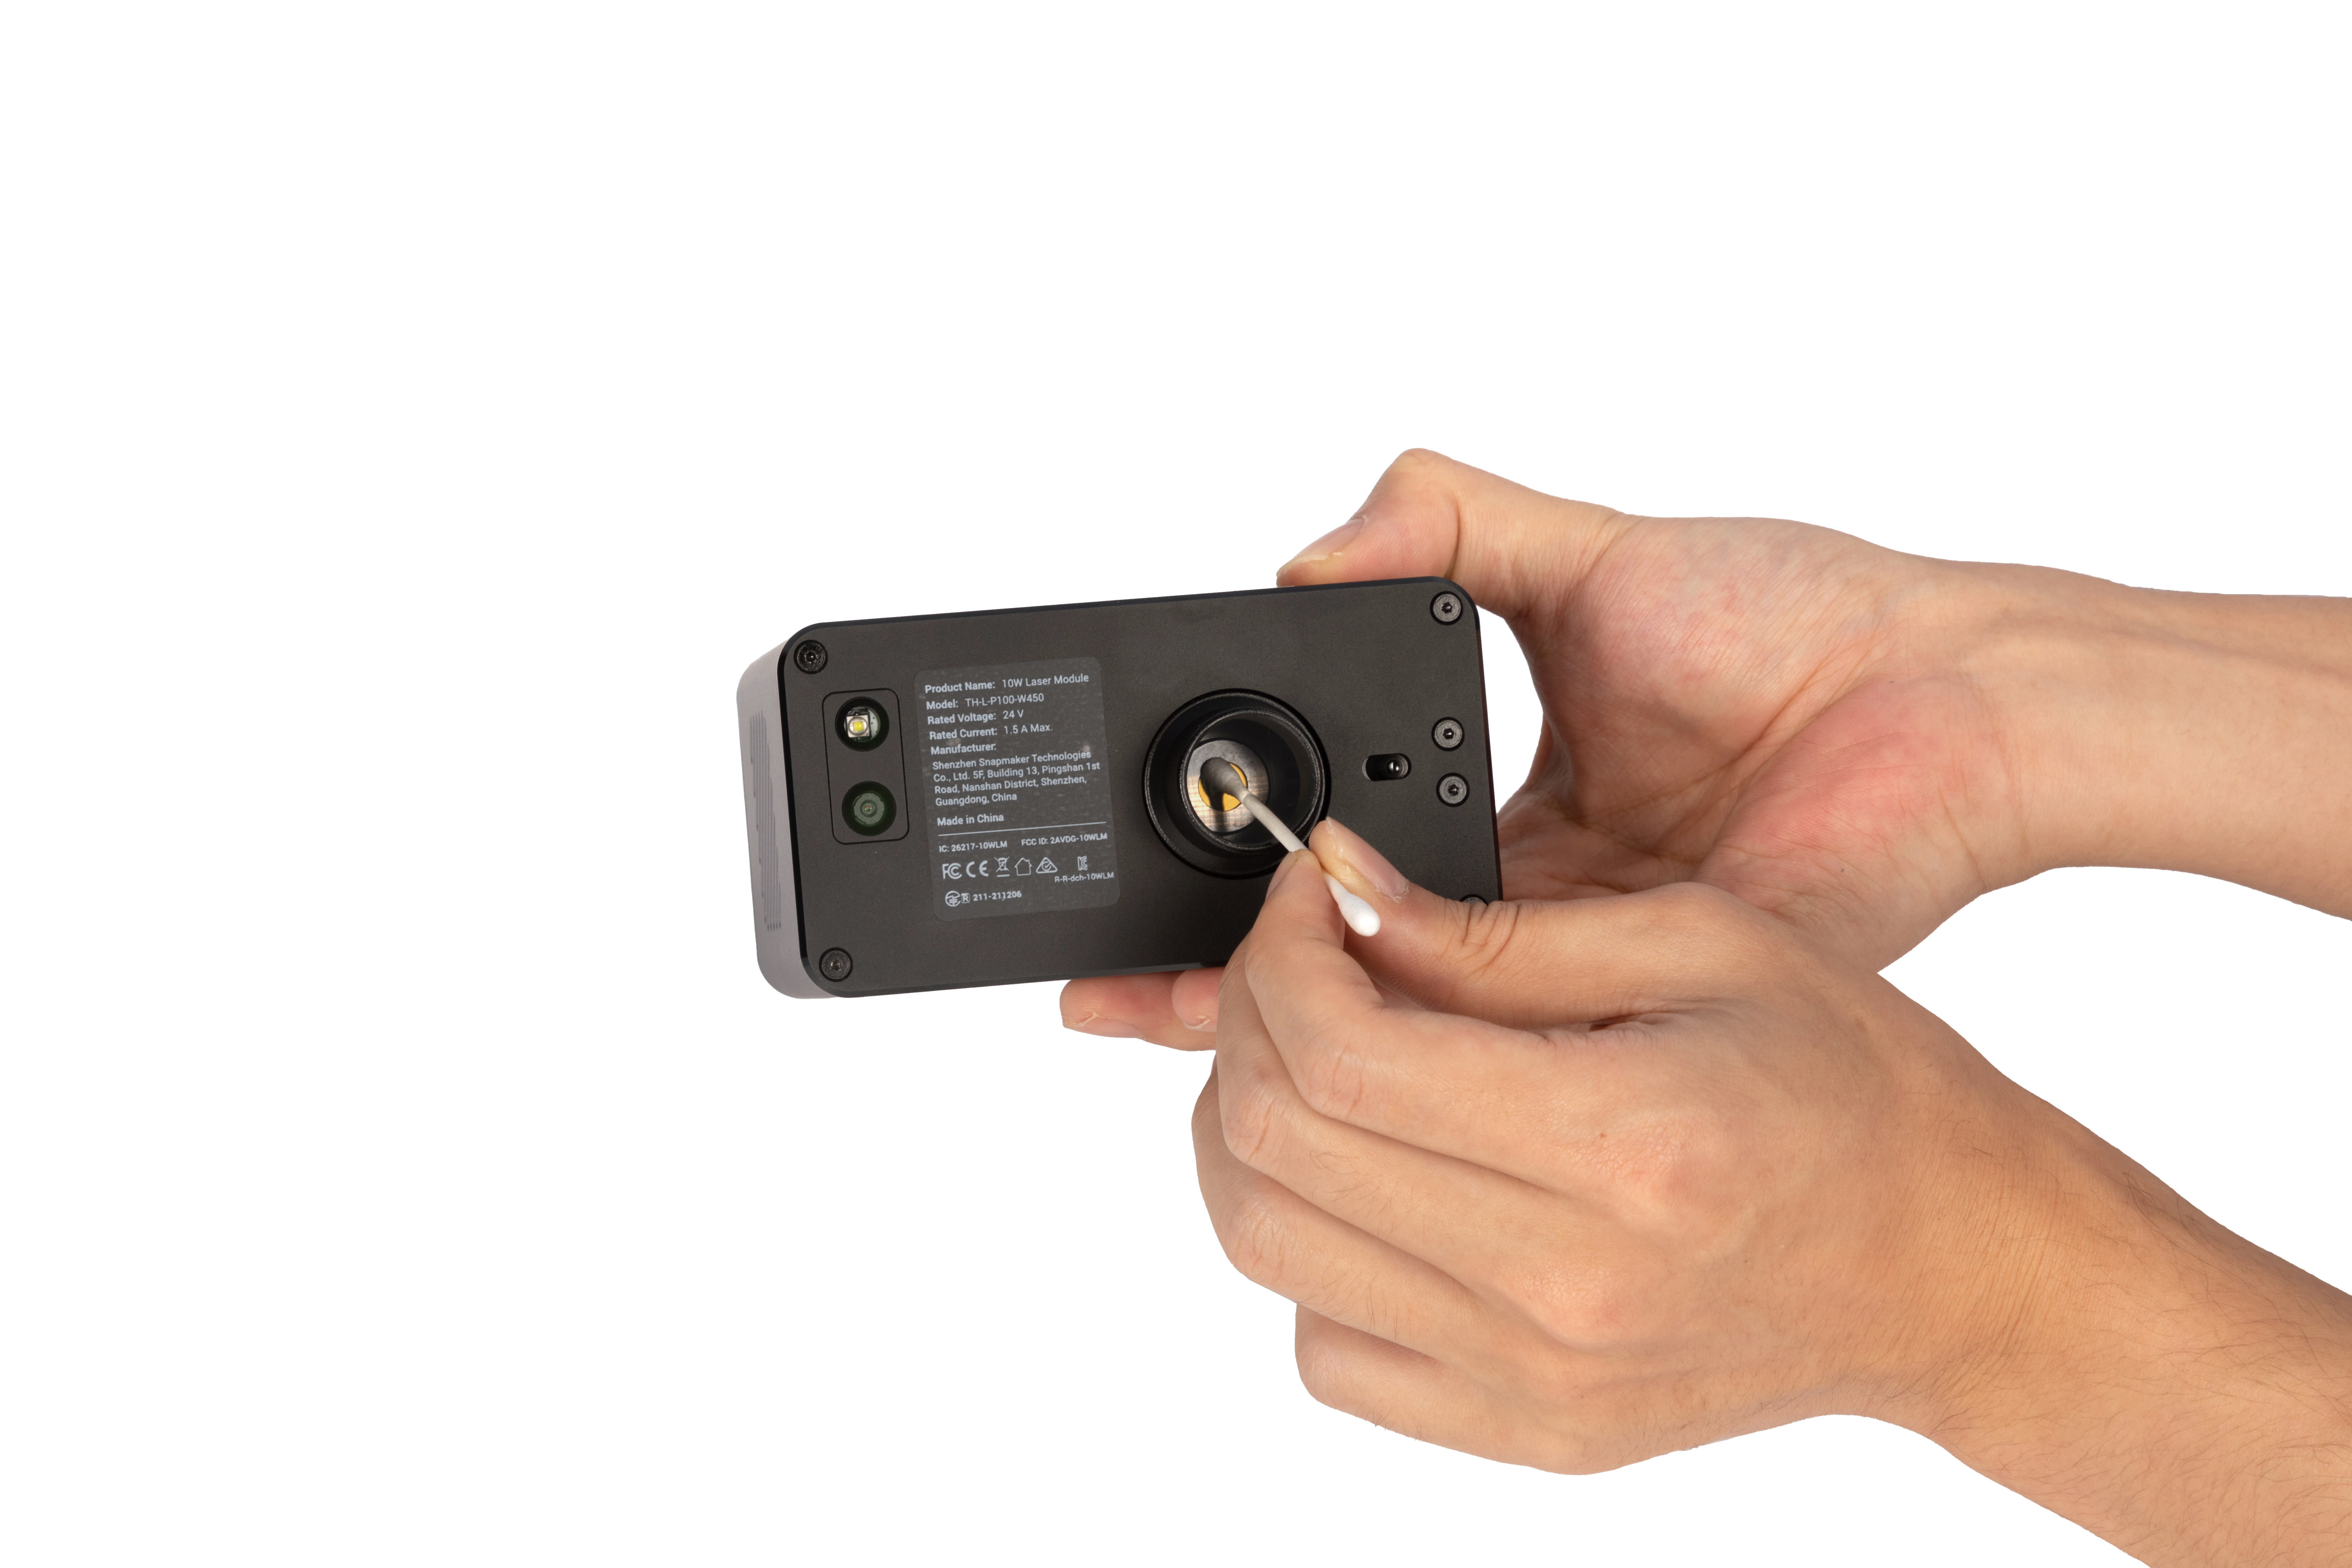
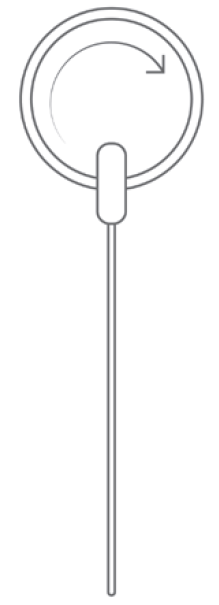
![]() The cotton swab is a single-use tool. If there is dust or grease remaining on the laser lens protector after you wipe it once, take a new cotton swab and repeat step 3) to wipe the laser lens protector again.
The cotton swab is a single-use tool. If there is dust or grease remaining on the laser lens protector after you wipe it once, take a new cotton swab and repeat step 3) to wipe the laser lens protector again.
(4) The clean work is done till no dust, grease, or water is on the surface of the laser lens protector.
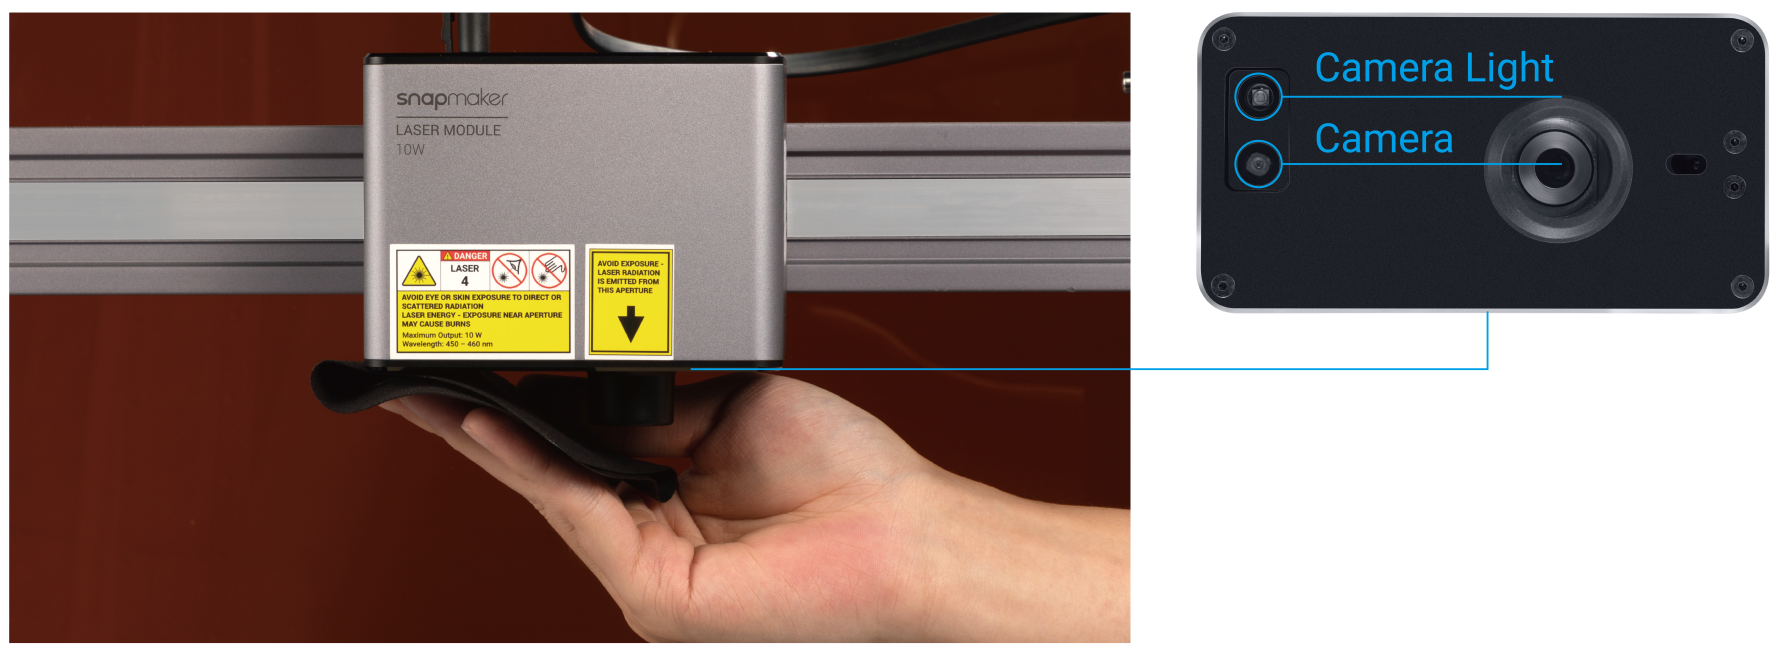
5.4 Clean the Camera and Camera Light
After the 10W Laser Module has been used for a period of time, dust and grease may accumulate on the surface of the camera and camera light, which will cause trouble in using the features of Camera Capture and automatic thickness measurement.
If you find the camera-captured image blurry, you need to clean the camera and camera light.
Before cleaning, turn off the power. We recommend you use a piece of soft cloth. Dampen the cloth with PH neutral detergent or water and wipe the surface of the camera and camera light. Avoid scraping the surface when wiping.
5.5 Clean the Red Laser Emitter
After the 10W Laser Module has been used for a period of time, dust and grease may accumulate on the surface of the red laser emitter, which will cause trouble in using the feature of automatic thickness measurement.
If you find the result of automatic thickness measurement inaccurate and the red dot is weak, you need to clean the surface of the red laser emitter.
Before cleaning, turn off the power. We recommend you use thin cotton swabs. Dampen a cotton swab with PH neutral detergent or water and wipe the surface of the red laser emitter. Avoid scraping the surface when wiping.