
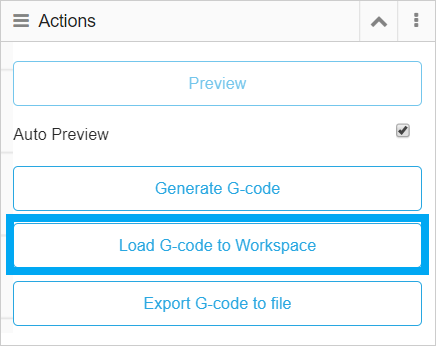
1. Enter CNC G-code Generator ![]() , then click Load G-code to Workspace.
, then click Load G-code to Workspace.
2. Find out where the carving will be by setting the work origin. The work origin corresponds to the (0, 0) coordinate origin in the software. For example, if the center of the image corresponds to the coordinate origin in the software, you can click X-/X+/Y-/Y+ to move the CNC bit above the center of the material.

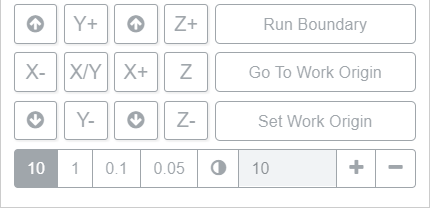
Note: We use another machine Snapmaker 2.0 A150 as an example in above figure.
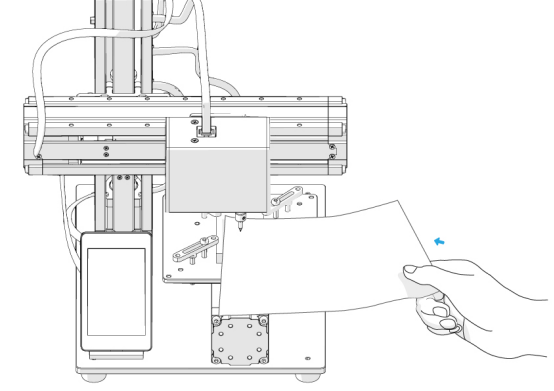
3. By clicking Z-, adjust the distance between the CNC bit and the material to about 5mm. Then place the calibration card or a piece of A4 paper between the CNC bit and the material.
4. By clicking Z-/Z+, keep adjusting the height of the CNC bit until there is slight resistance when you pull out the calibration card, and it should be wrinkled when you push it forward. Click Set Work Origin.
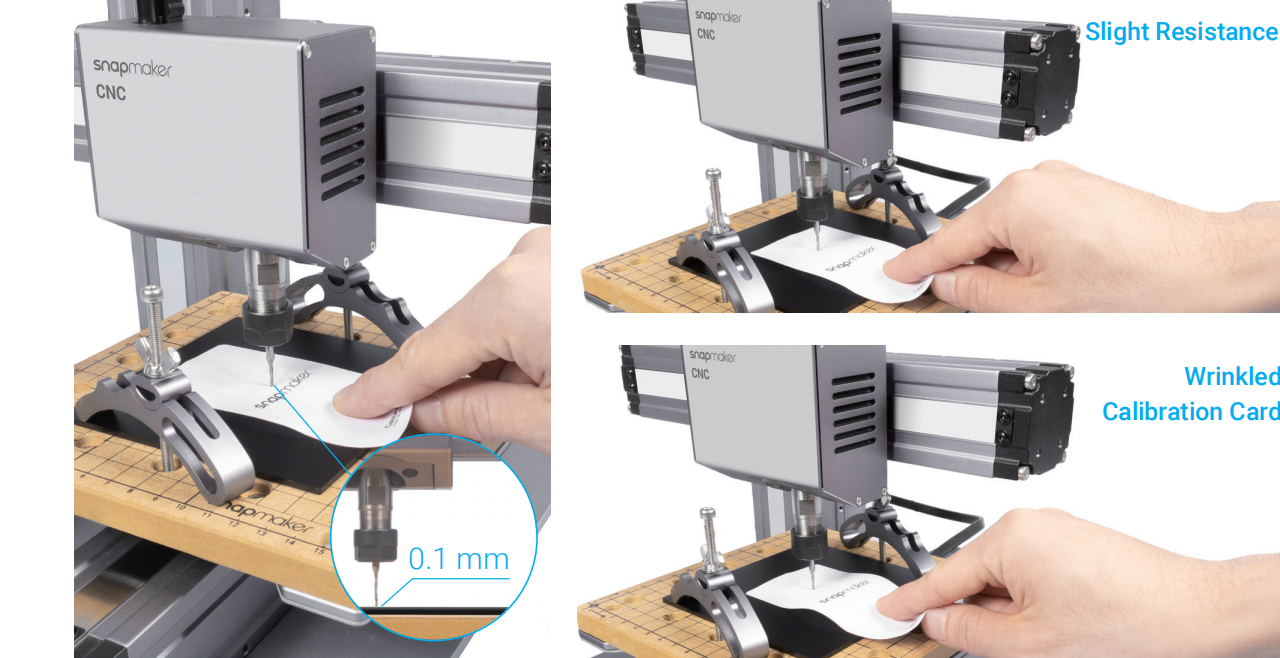
Note 1: The work origin can only be set on the surface of the material.
Note 2: We use another machine Snapmaker 2.0 A150 as an example in above figure.
5. Lift the CNC bit above the fixtures by clicking Z+, then click Run Boundary to check if the work origin is proper. If not, reset the work origin and run boundary again.
6. By clicking Z-, you can lower the CNC bit to run boundary again at different heights.
Caution: If the CNC bit runs into any parts of the machine, power off the machine immediately. Change the CNC bit if it is damaged.