Bit Assistant
How It Works: Bit Assistant
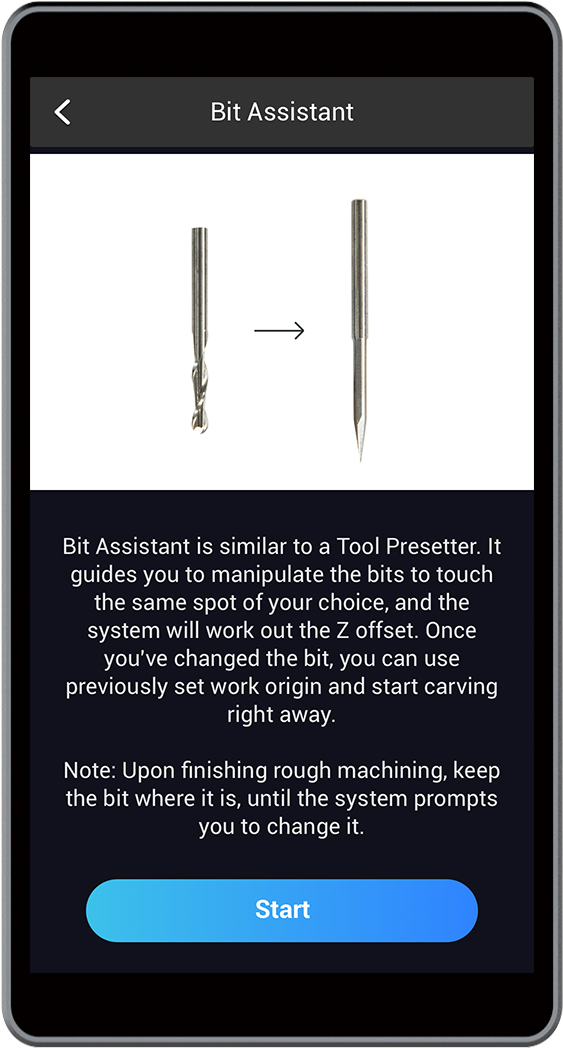
If you carve something complex using more than one CNC bit, Bit Assistant can simplify the procedures of resetting the work origin. Normally, if you change a CNC bit, you have to reset the work origin. Whereas, under the guidance of Bit Assistant, what you need to do is to touch the same spot on the material respectively with the old bit and new one. Touching the same spot with two bits helps the machine measure the length difference between the two bits. With the length difference measured, the machine can calculate the Z-axis offset and automatically locate the new work origin, without changing the X, Y, and B origins.
How to Use the Bit Assistant
Before using the Bit Assistant, you should generate multiple G-code files and transfer them to Touchscreen. In each G-code file, choose the specific bit you want to use.
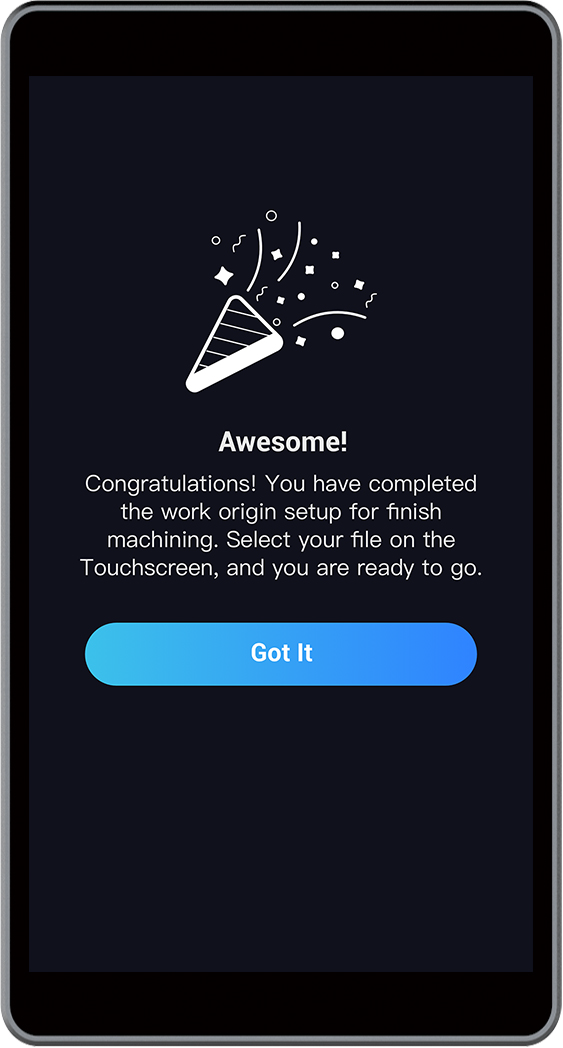
After the first G-code file is finished, tap Complete on the Touchscreen. Do not remove the first CNC bit yet. Here are the steps to use the Bit Assistant:
a. Manipulate the First Bit to Touch the Material
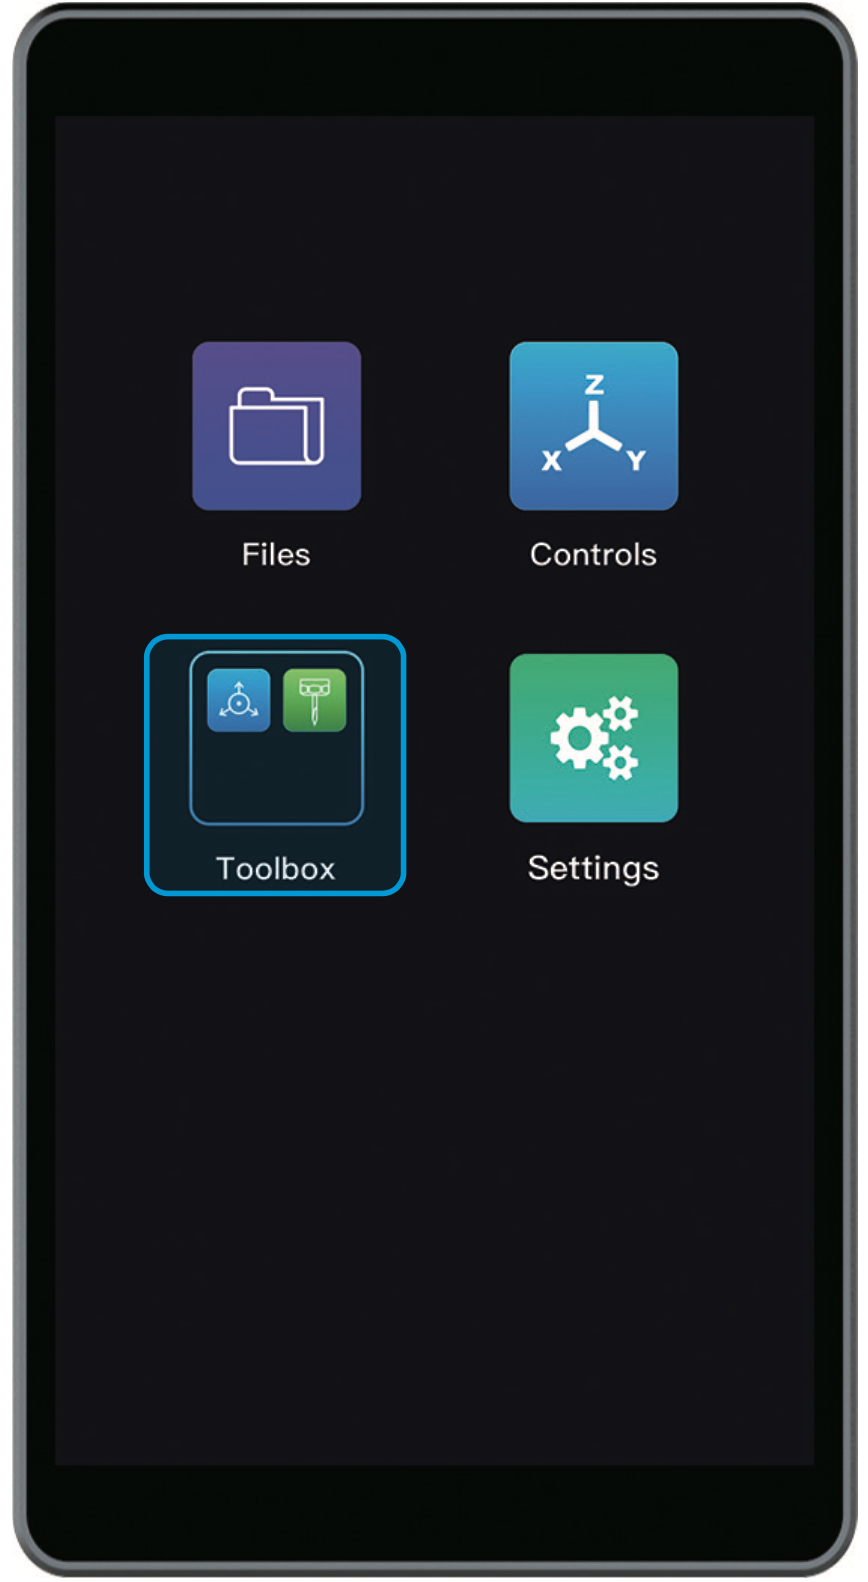
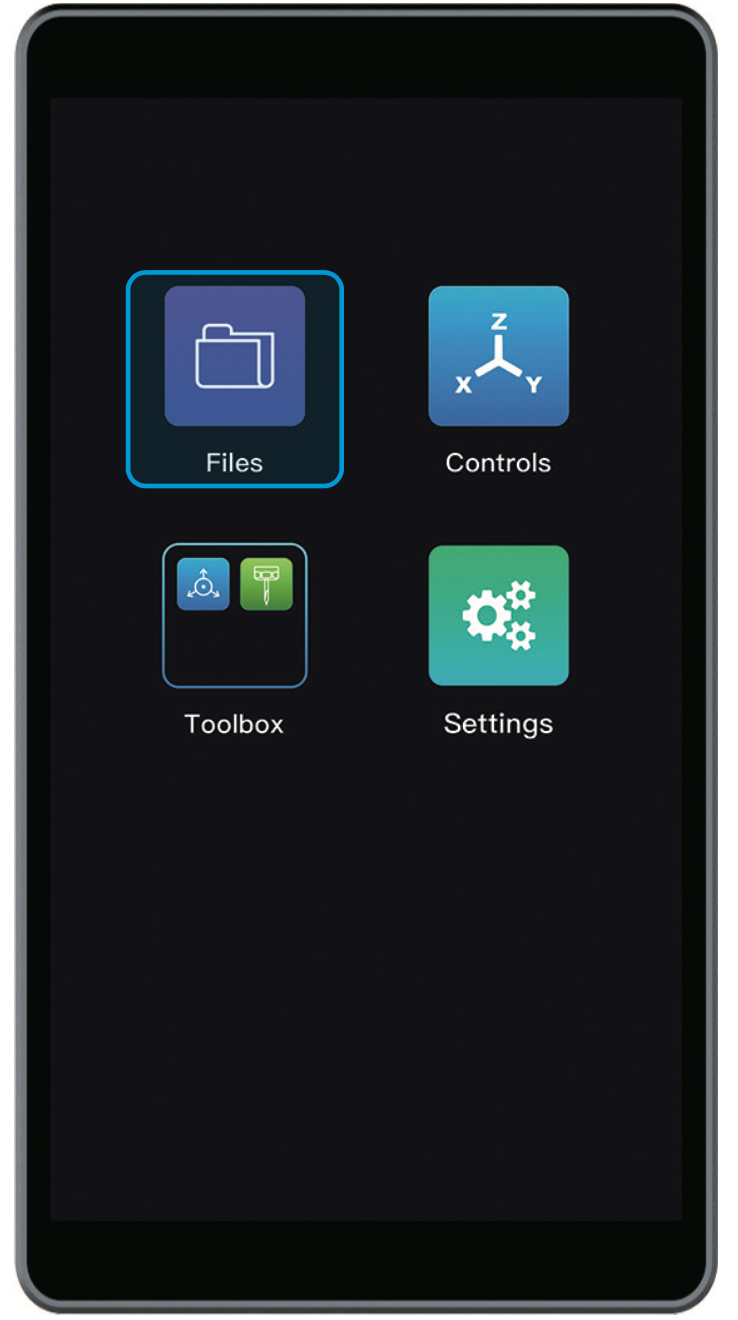
Tap Toolbox on the APP List Screen, and select Bit Assistant. Read on-screen instructions on how to change a bit and reset the work origin.

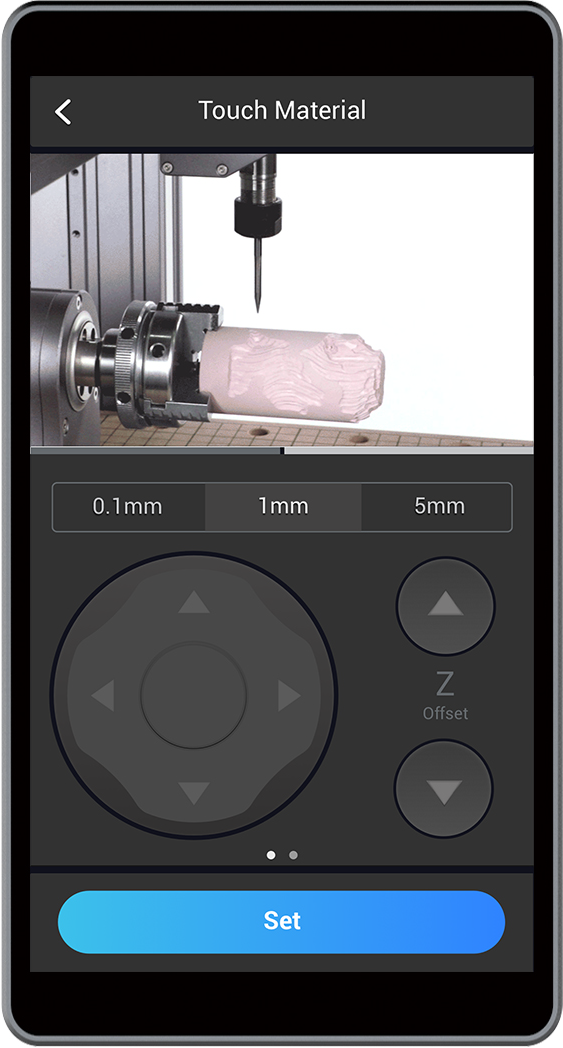
Use the X, Y, Z, or B Offset to manipulate the bit tip to touch the material surface. Place the Calibration Card between the bit tip and the material. Keep adjusting the Z Offset until you feel slight resistance when pulling out the card. Tap Set to save the current height.

![]() If the CNC bit bumps into the machine, turn off the machine immediately or press the Emergency Stop Button
If the CNC bit bumps into the machine, turn off the machine immediately or press the Emergency Stop Button ![]() .
.
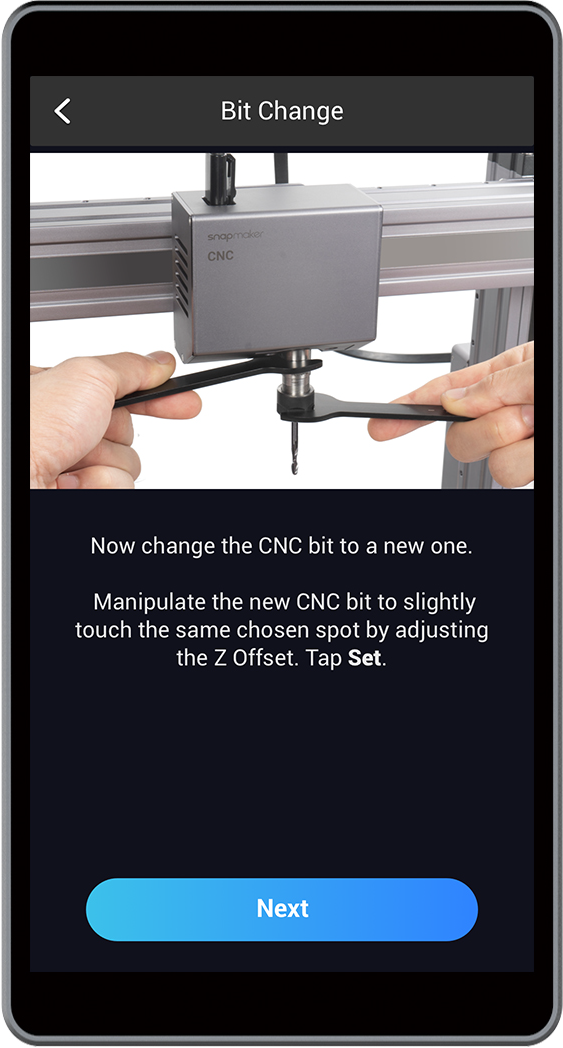
b. Replace the First Bit with a New One
Ensure that the CNC module is lifted to enough height so that you can change the bit. Remove the first CNC bit using open-end wrenches, and replace it with a new one.
![]() Caution the sharp CNC bit.
Caution the sharp CNC bit.
c. Manipulate the New Bit to Touch the Material
Use the Z Offset to manipulate the new bit to touch the same spot on the material surface. Tap Set to finish resetting the work origin. In this step, you are not allowed to move the X, Y, and B axes, so the X, Y, and B offsets are not available on the screen.
![]()
![]() If the CNC bit bumps into the machine, turn off the machine immediately or press the Emergency Stop Button
If the CNC bit bumps into the machine, turn off the machine immediately or press the Emergency Stop Button ![]() .
.
d. Select the New G-code and Start Carving
For the following steps, tap Files and see 7. Start Carving.

How to Use the 3-jaw Chuck
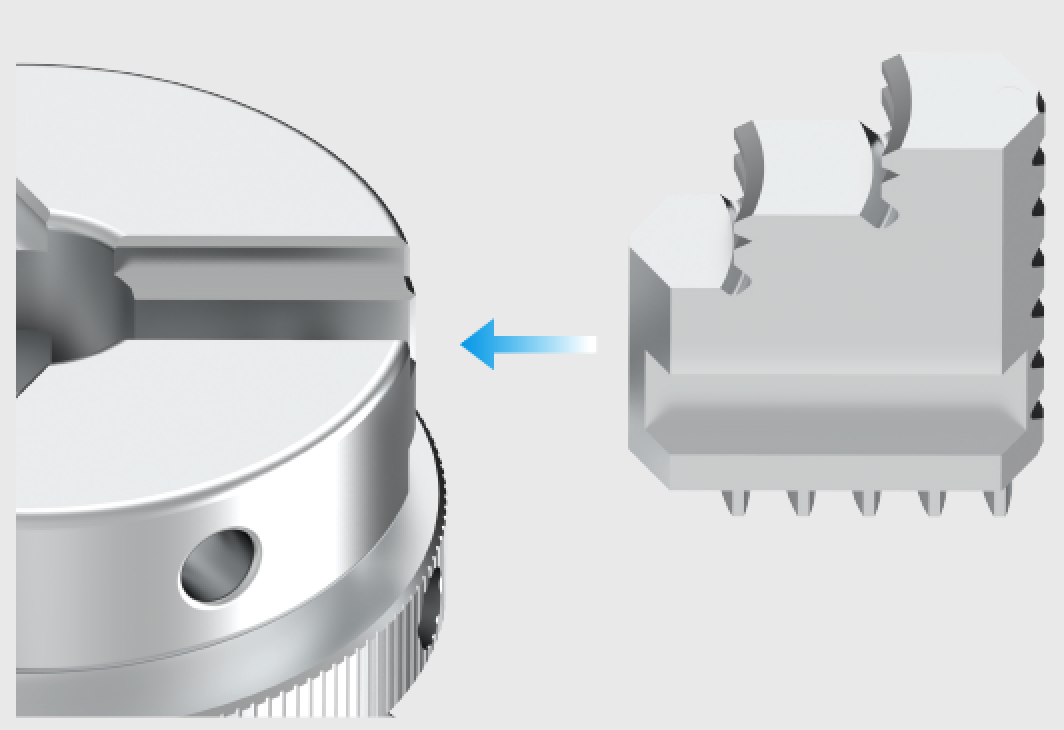
The 3-jaw Chuck consists of three reversible jaws, and each can be installed in either way. The way you install the jaws affects how the Chuck clamps materials. In this section, you will learn how to install and use the jaws, lending more fun to your making journey.
![]() Caution the sharp jaws during installation and use.
Caution the sharp jaws during installation and use.
① How to Install the Jaws
By default, the jaws are installed for inward-clamping. If you want to reinstall it into outward-clamping, disengage the three jaws first, and see b. Outward-clamping.

Inward-clamping Outward-clamping
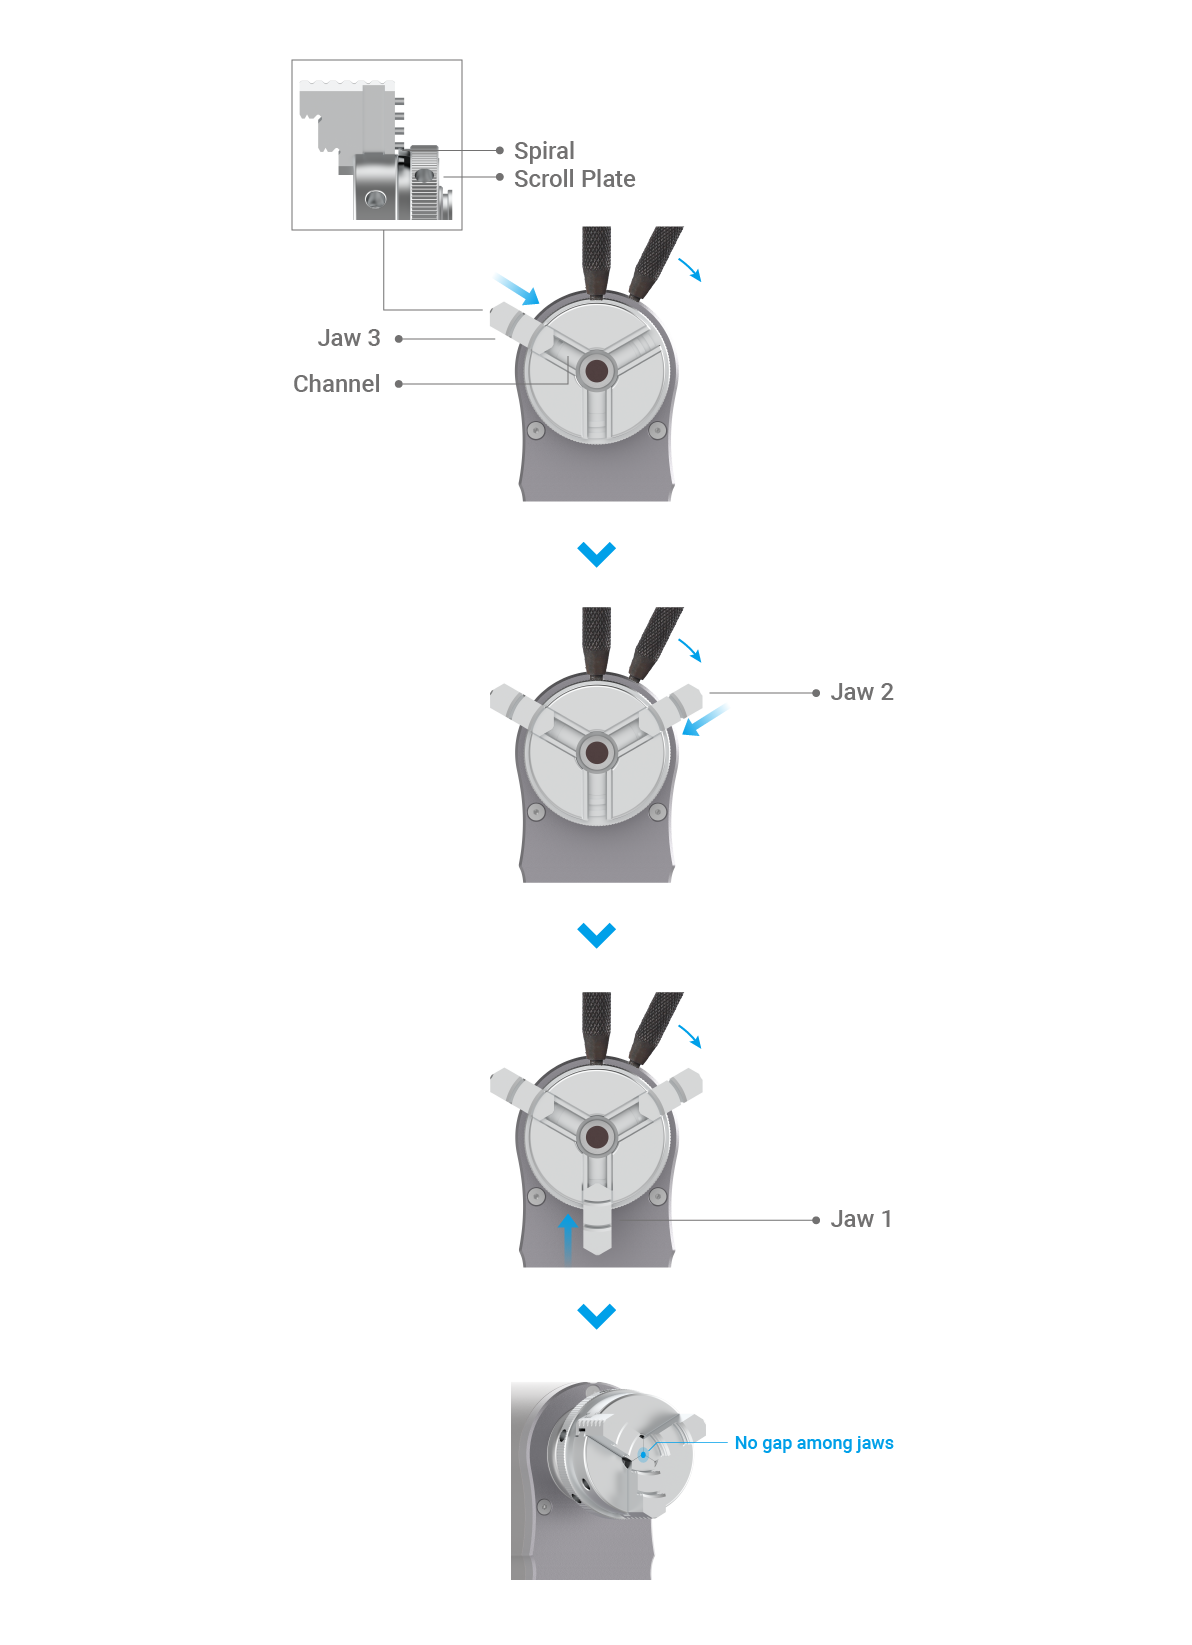
a. Inward-clamping
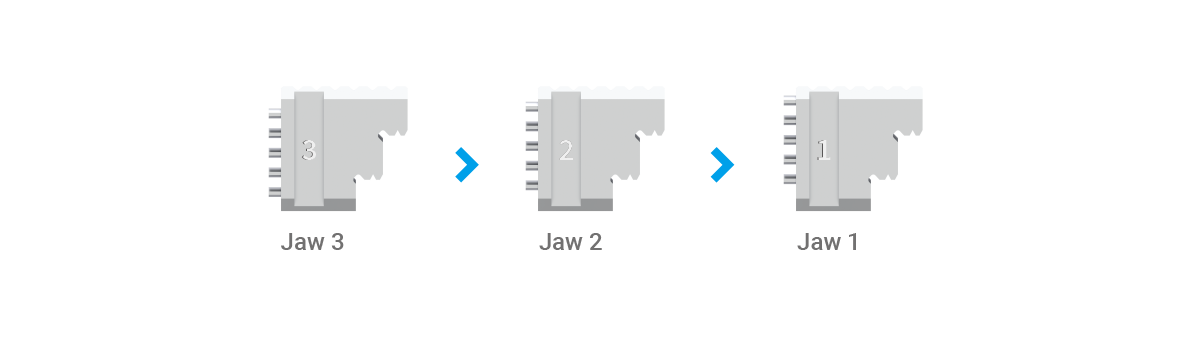
- The jaws are numbered, and we install them in reverse order (3 → 2 → 1).
- Slide the Jaw 3 into the channel, and press it inward. Rotate the spiral on the scroll plate through the groove between the teeth.
- Advance the scroll plate, and repeat for Jaw 2 and Jaw 1. Slide all jaws into channels, and keep turning the chuck wrenches until all jaws close up in the center.

![]()
![]()
![]()
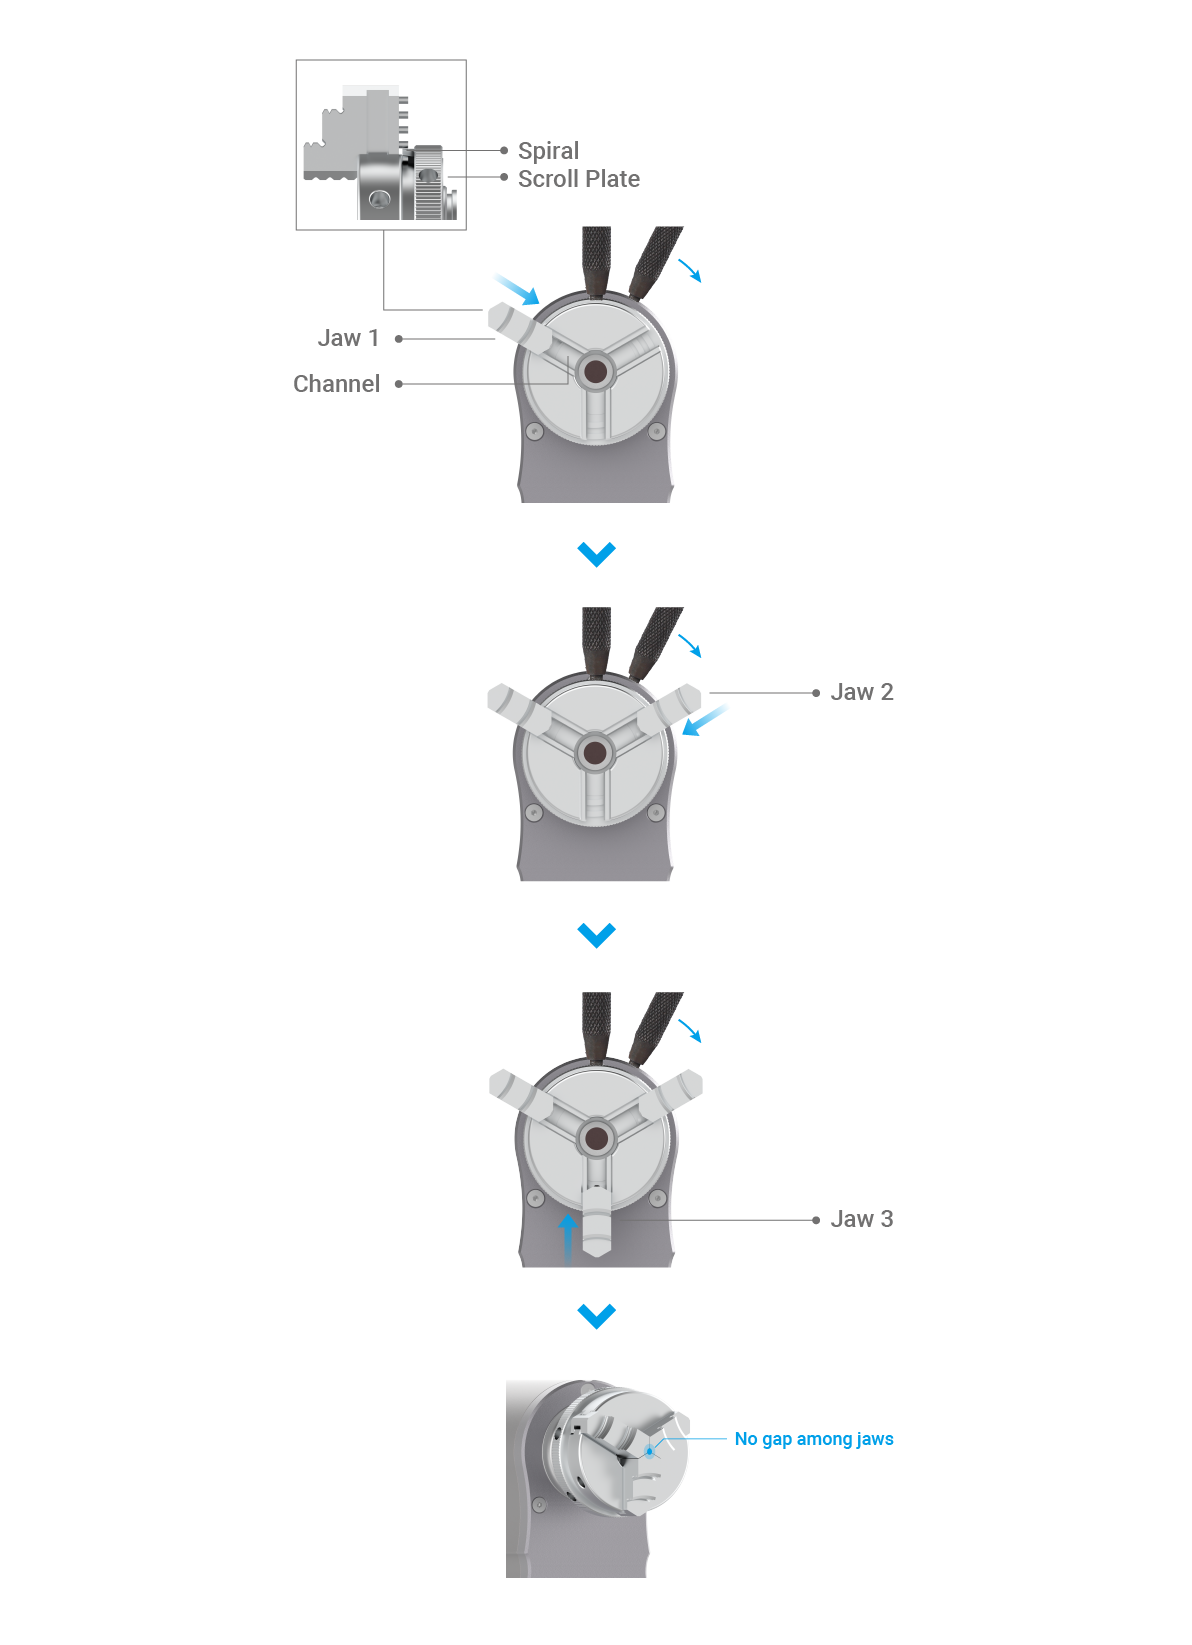
b. Outward-clamping
- The jaws are numbered, and we install them in positive order (1 → 2 → 3).
- Slide the Jaw 1 into the channel, and press it inward. Rotate the spiral on the scroll plate through the groove between the teeth.
- Advance the scroll plate, and repeat for Jaw 2 and Jaw 3. Slide all jaws into channels, and keep turning the chuck wrenches until all jaws close up in the center.
![]()

![]()
![]()
② How to Use the Chuck
Inward-clamping is designed primarily for clamping the external surface of workpieces, and outward-clamping basically for internal surfaces. In other words, outward-clamping can clamp both solid and hollow workpieces, but inward-clamping is solely for solid ones.
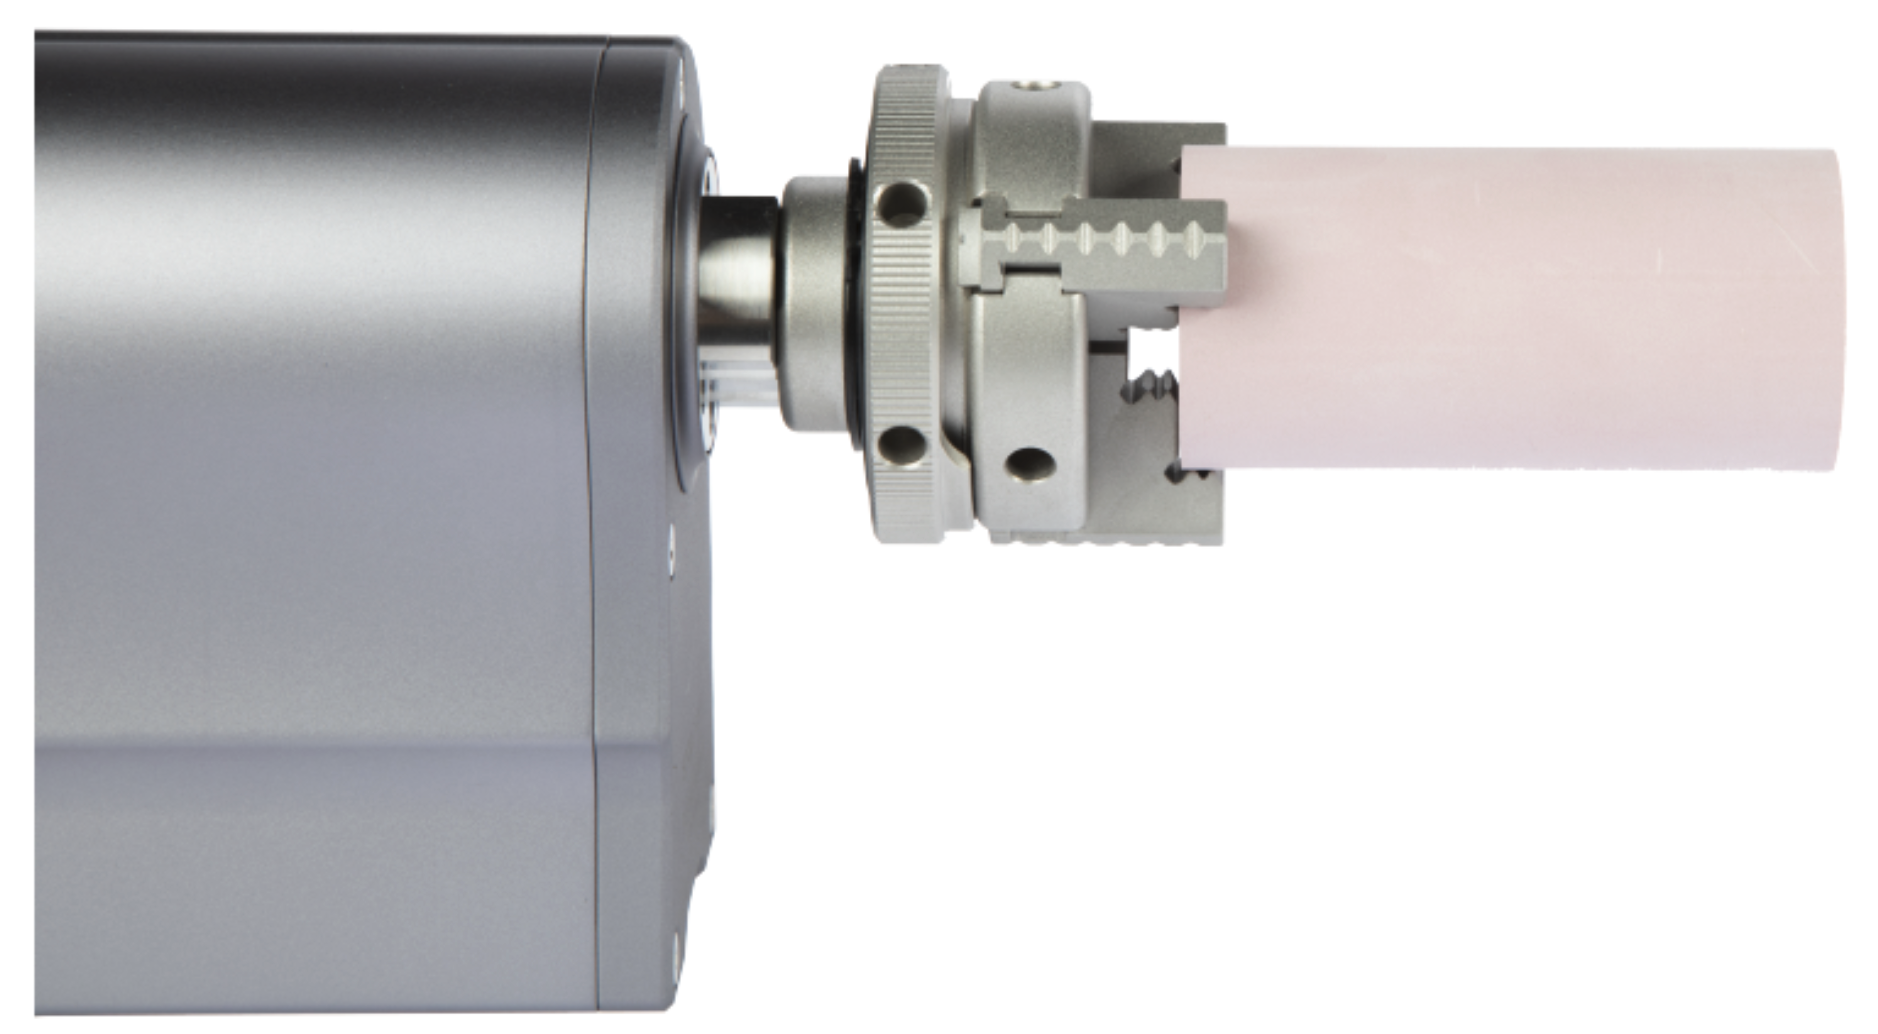
Inward-clamping with Solid CNC Material
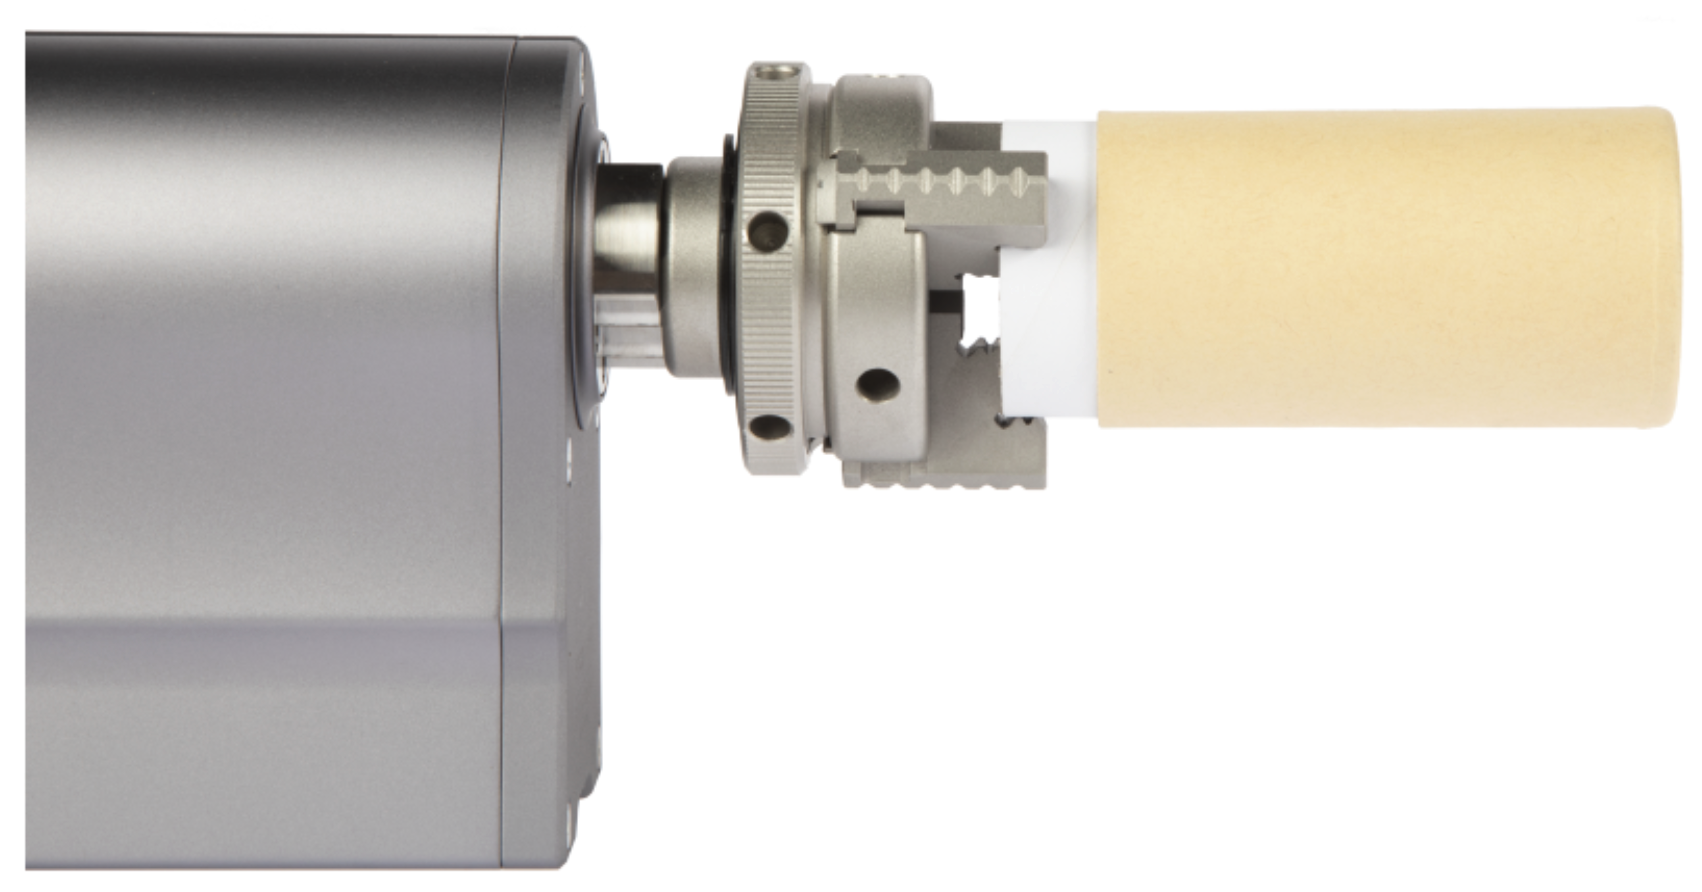
Inward-clamping with Hollow Laser Material
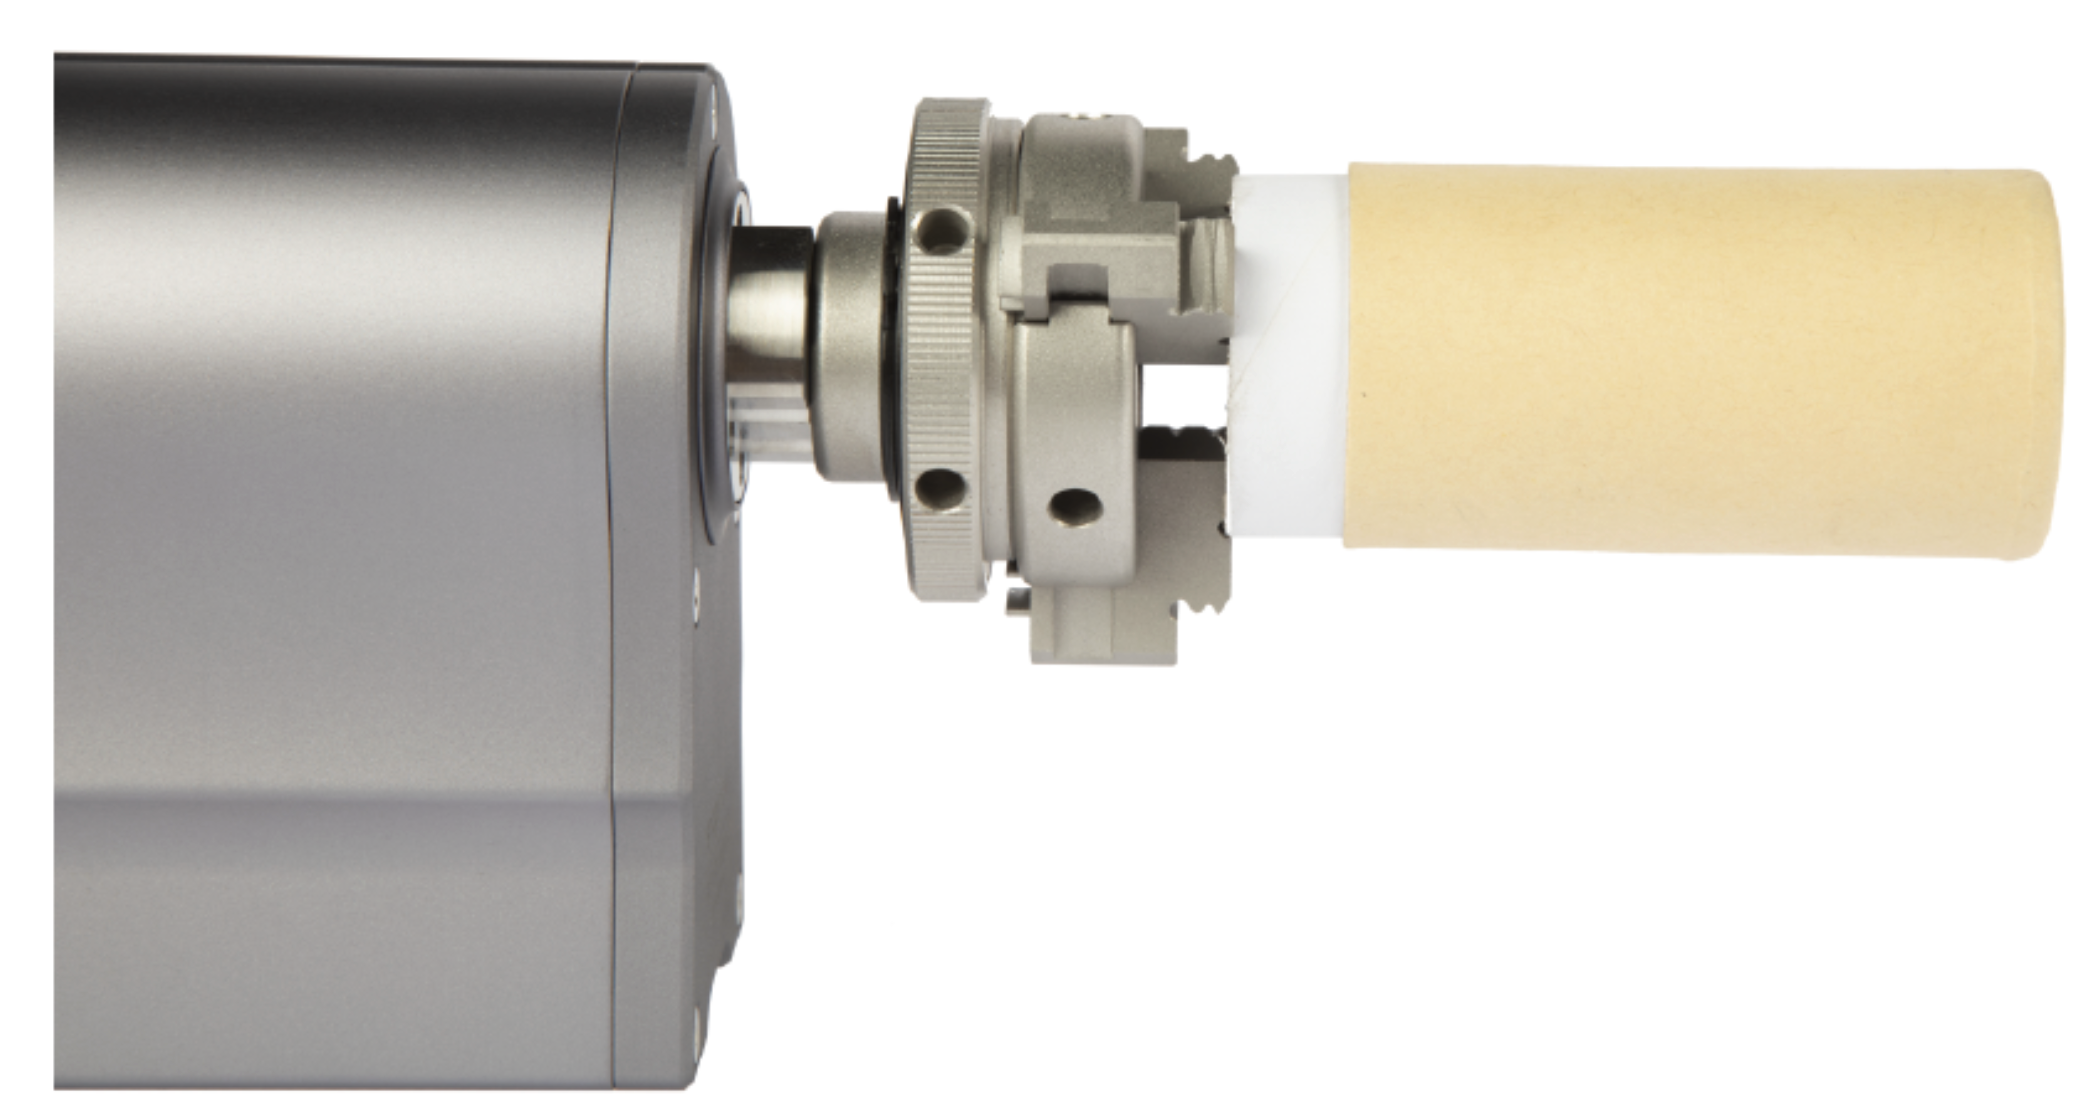
Outward-clamping with Hollow Laser Material
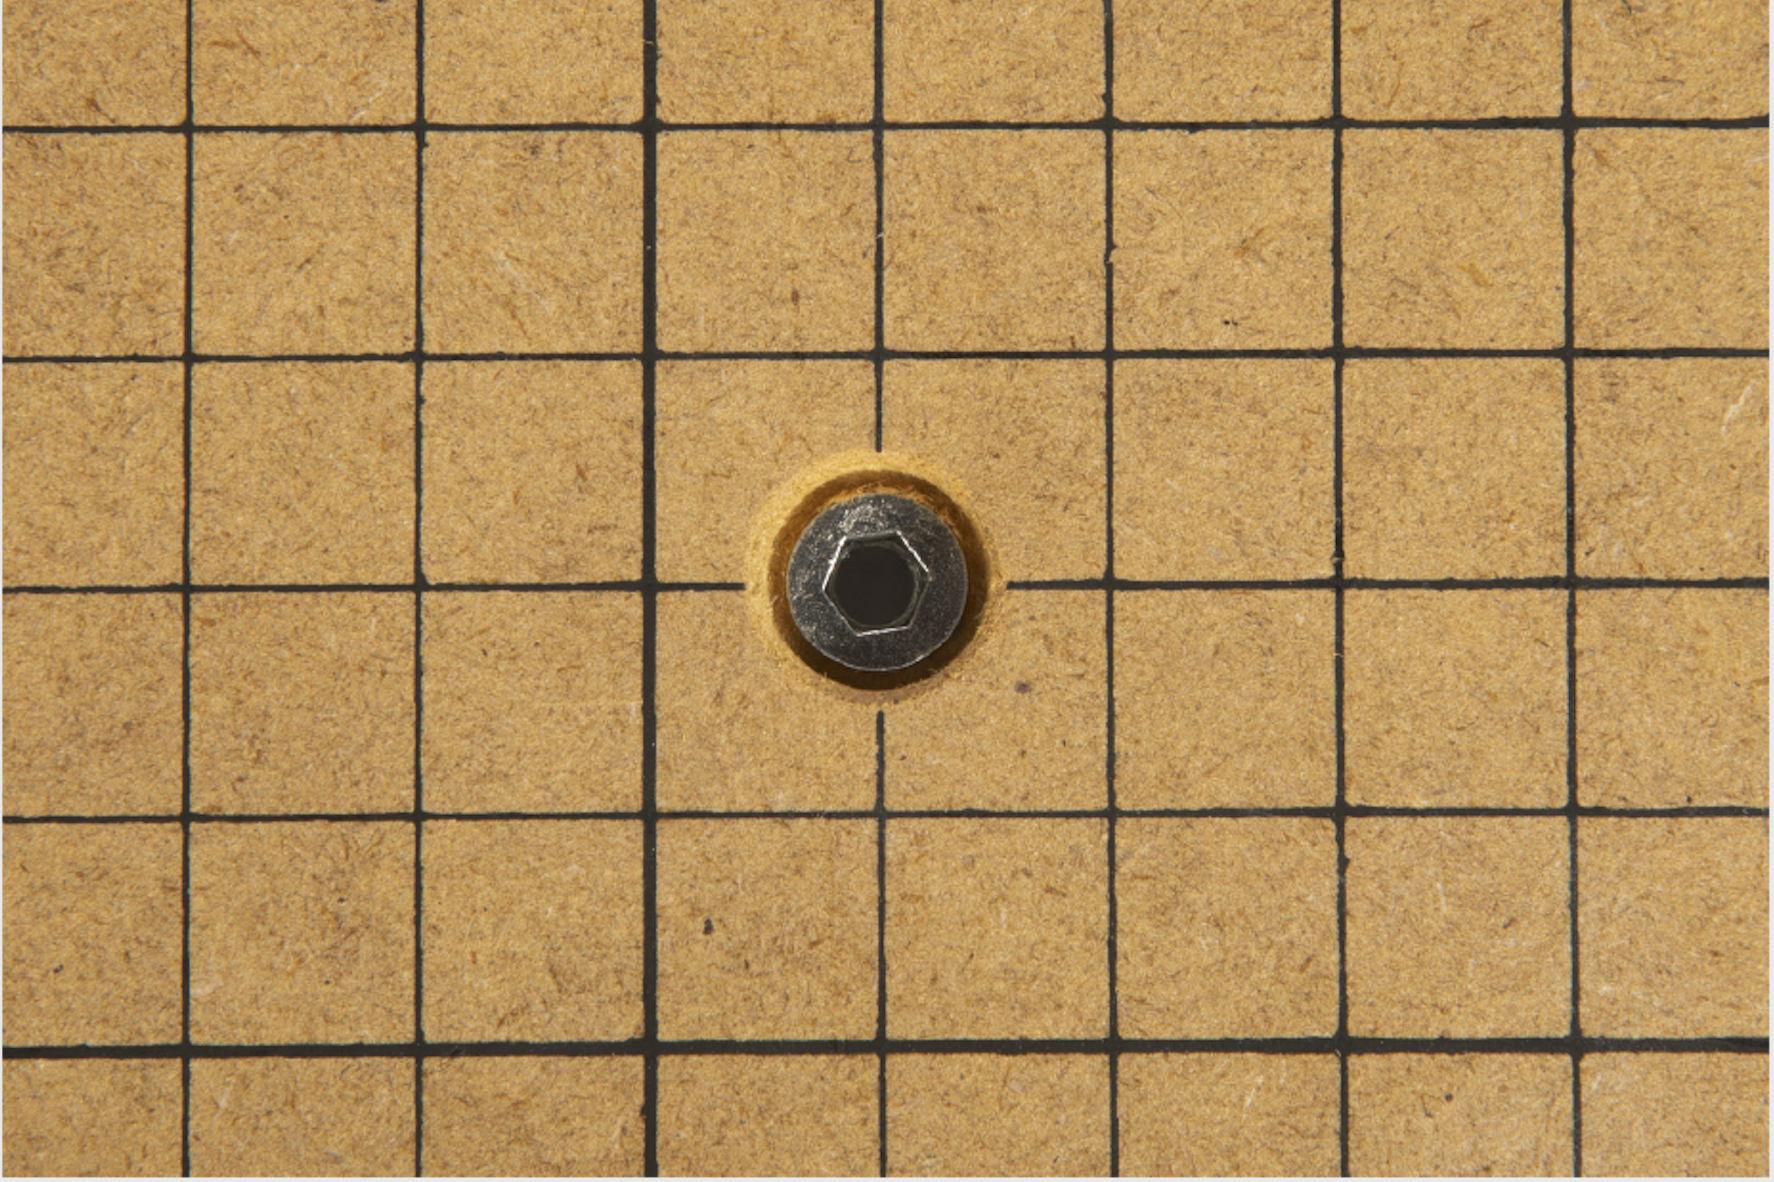
How to Glue the Nut into the CNC Platform
If the nut is screwed out of the CNC Carving Platform, glue it back in the following steps.
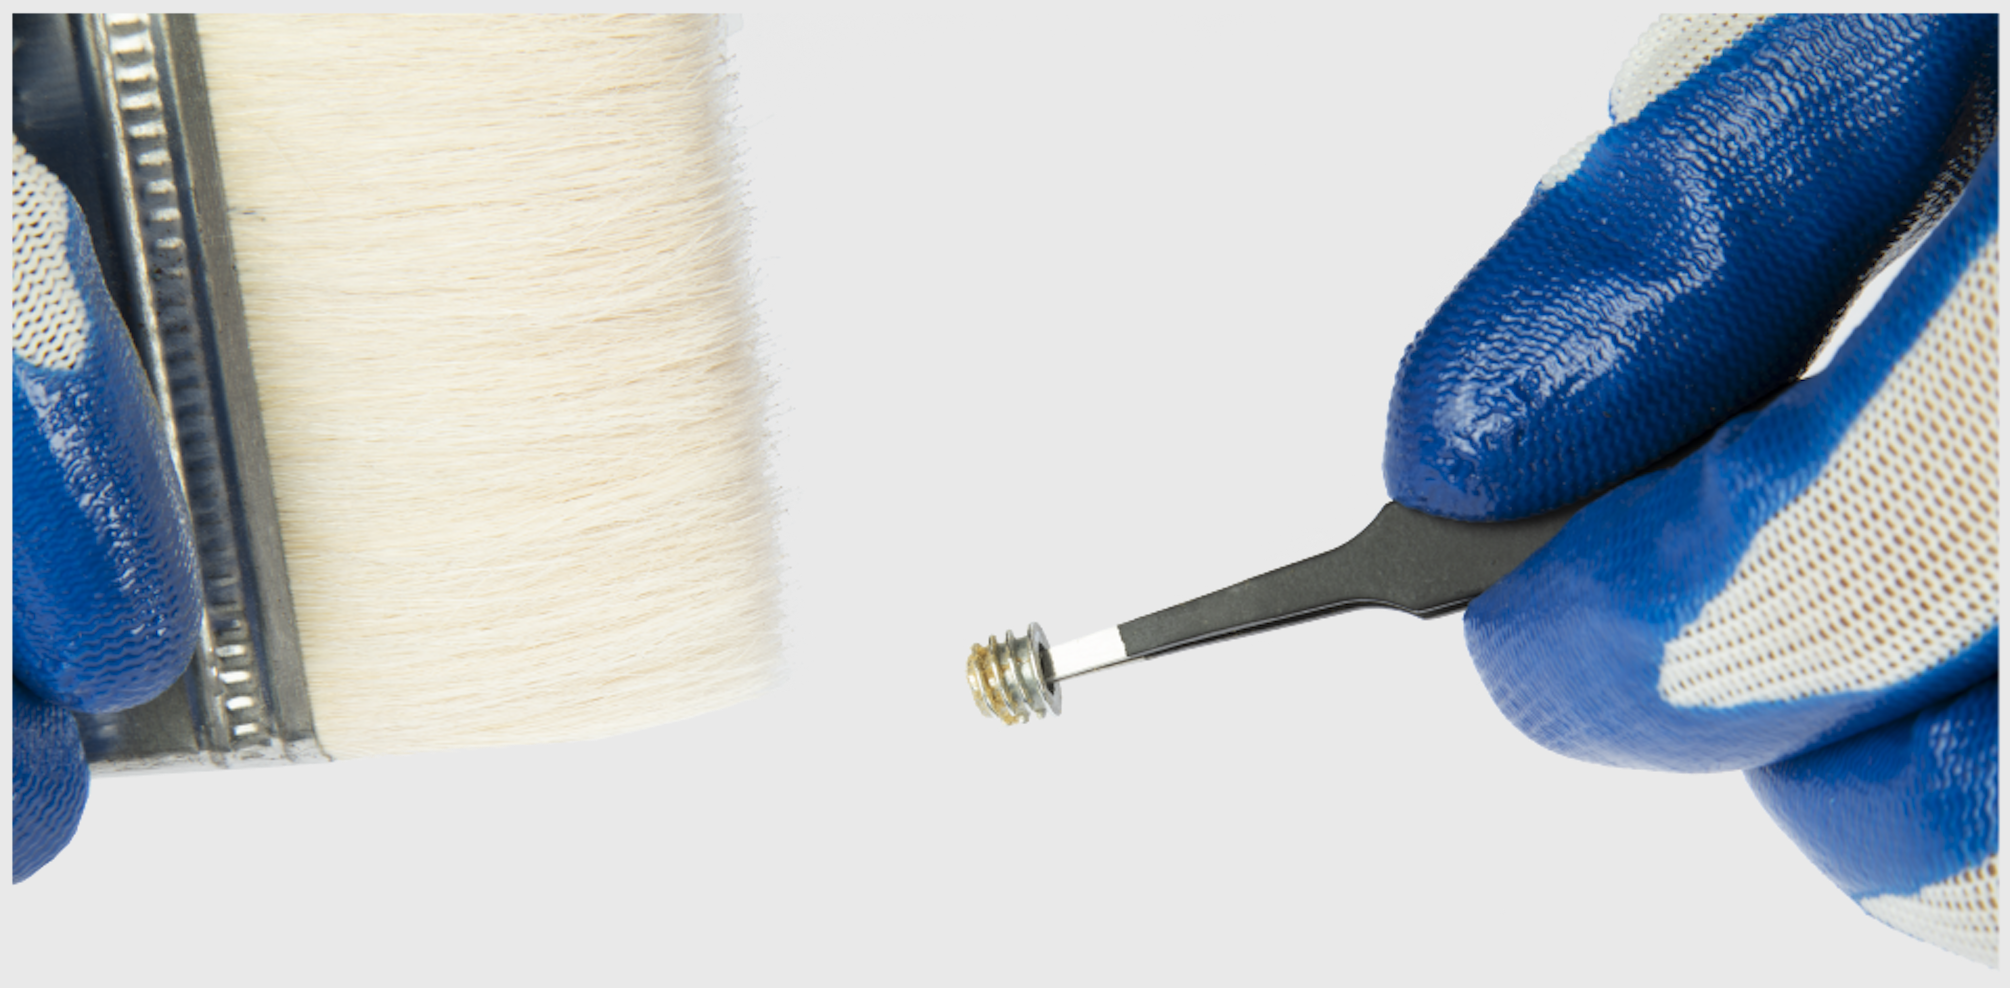
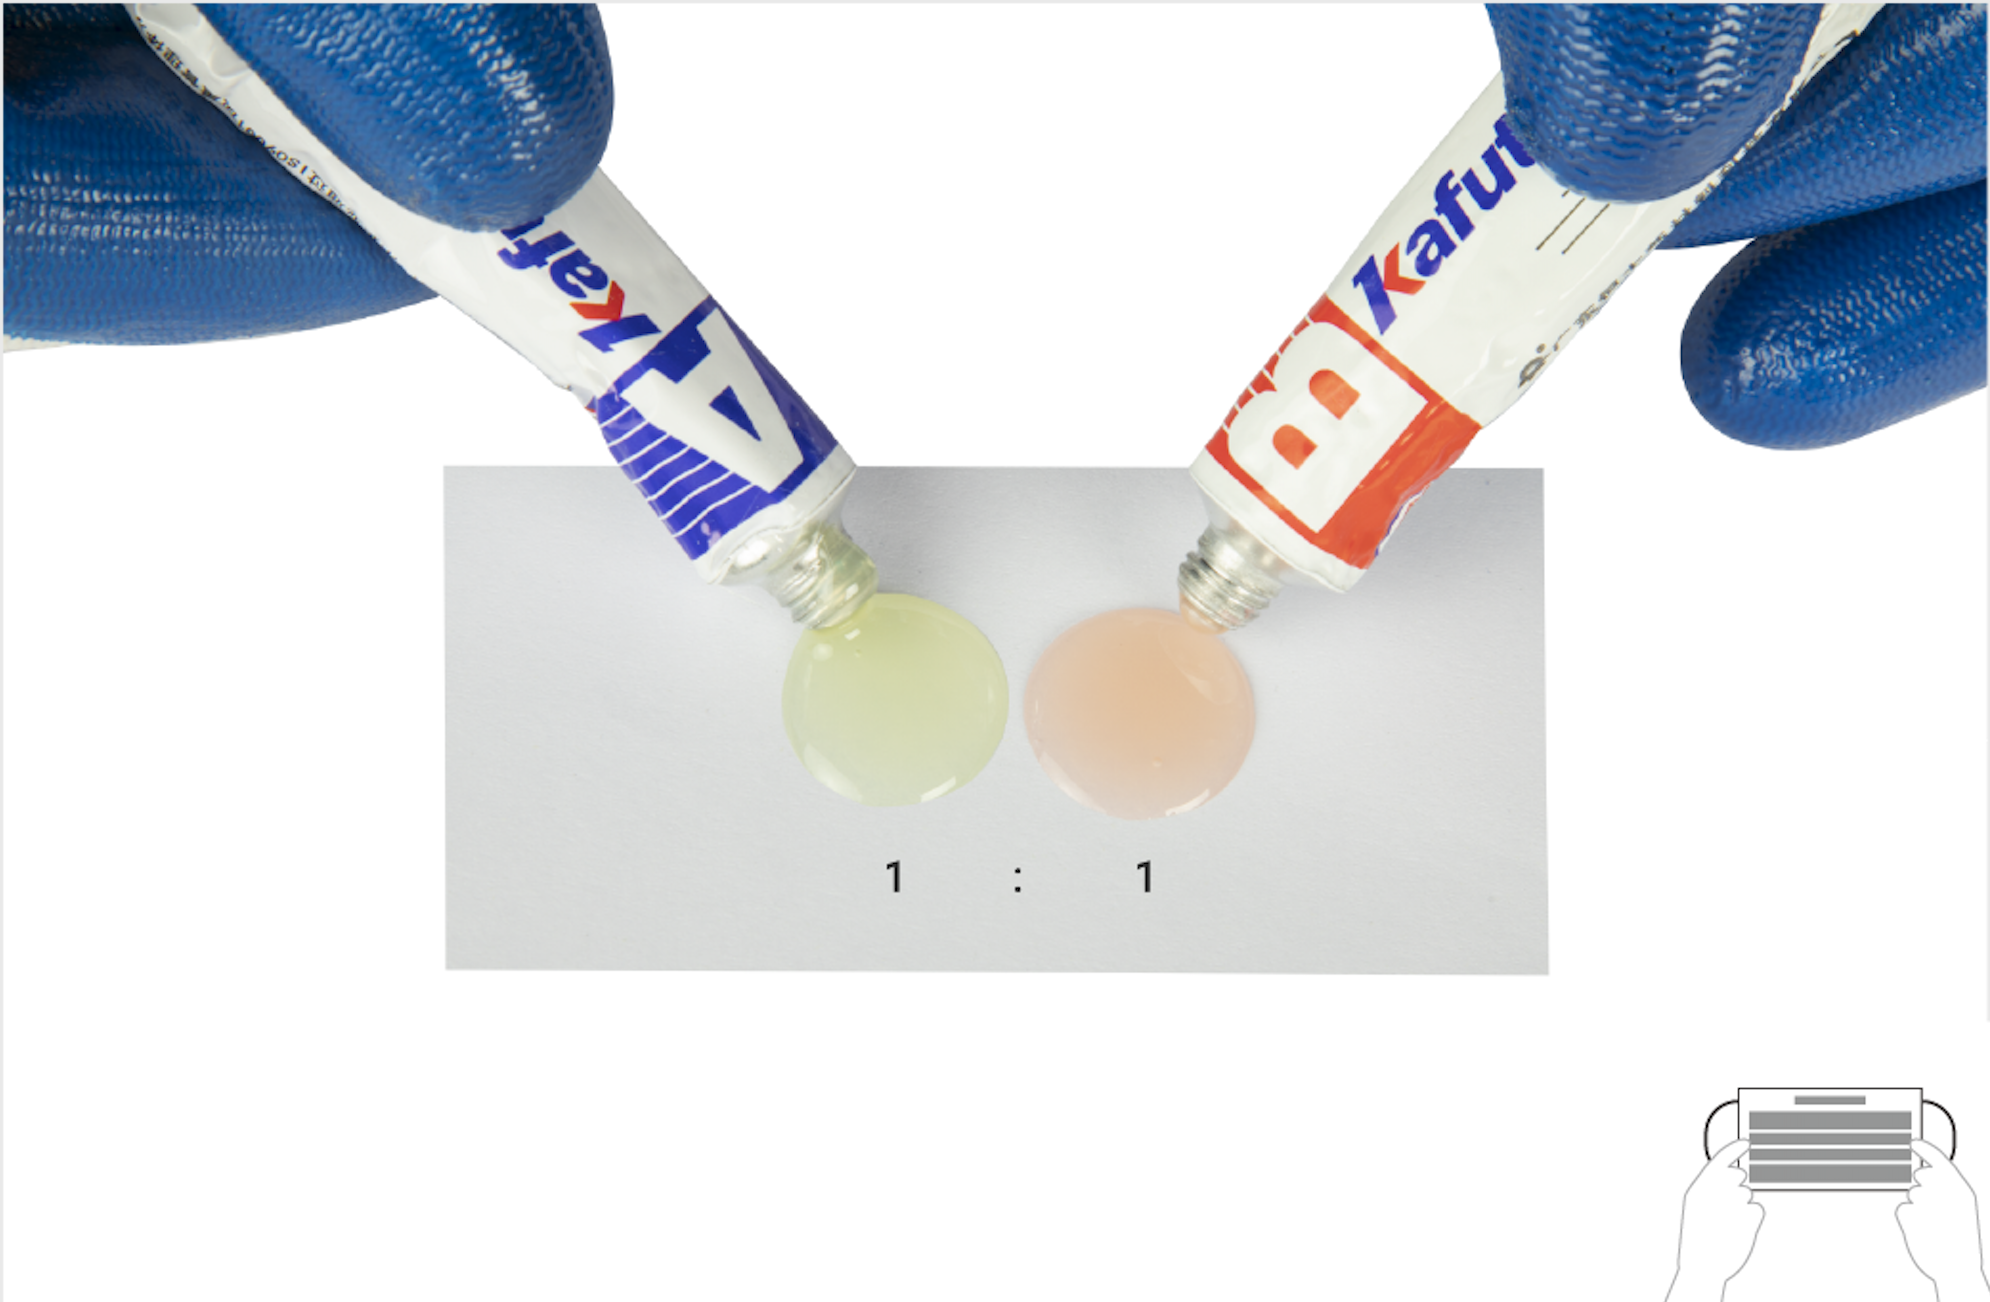
![]() Before use, wear protective gloves to prevent contact with the toxic AB glue. Wear our provided mask to avoid inhaling the pungent smell of the glue. Do not misuse the A glue lid on the B one.
Before use, wear protective gloves to prevent contact with the toxic AB glue. Wear our provided mask to avoid inhaling the pungent smell of the glue. Do not misuse the A glue lid on the B one.
① Clear the sawdust on the nut.
② Squeeze out the A glue and B glue in a 1:1 proportion.
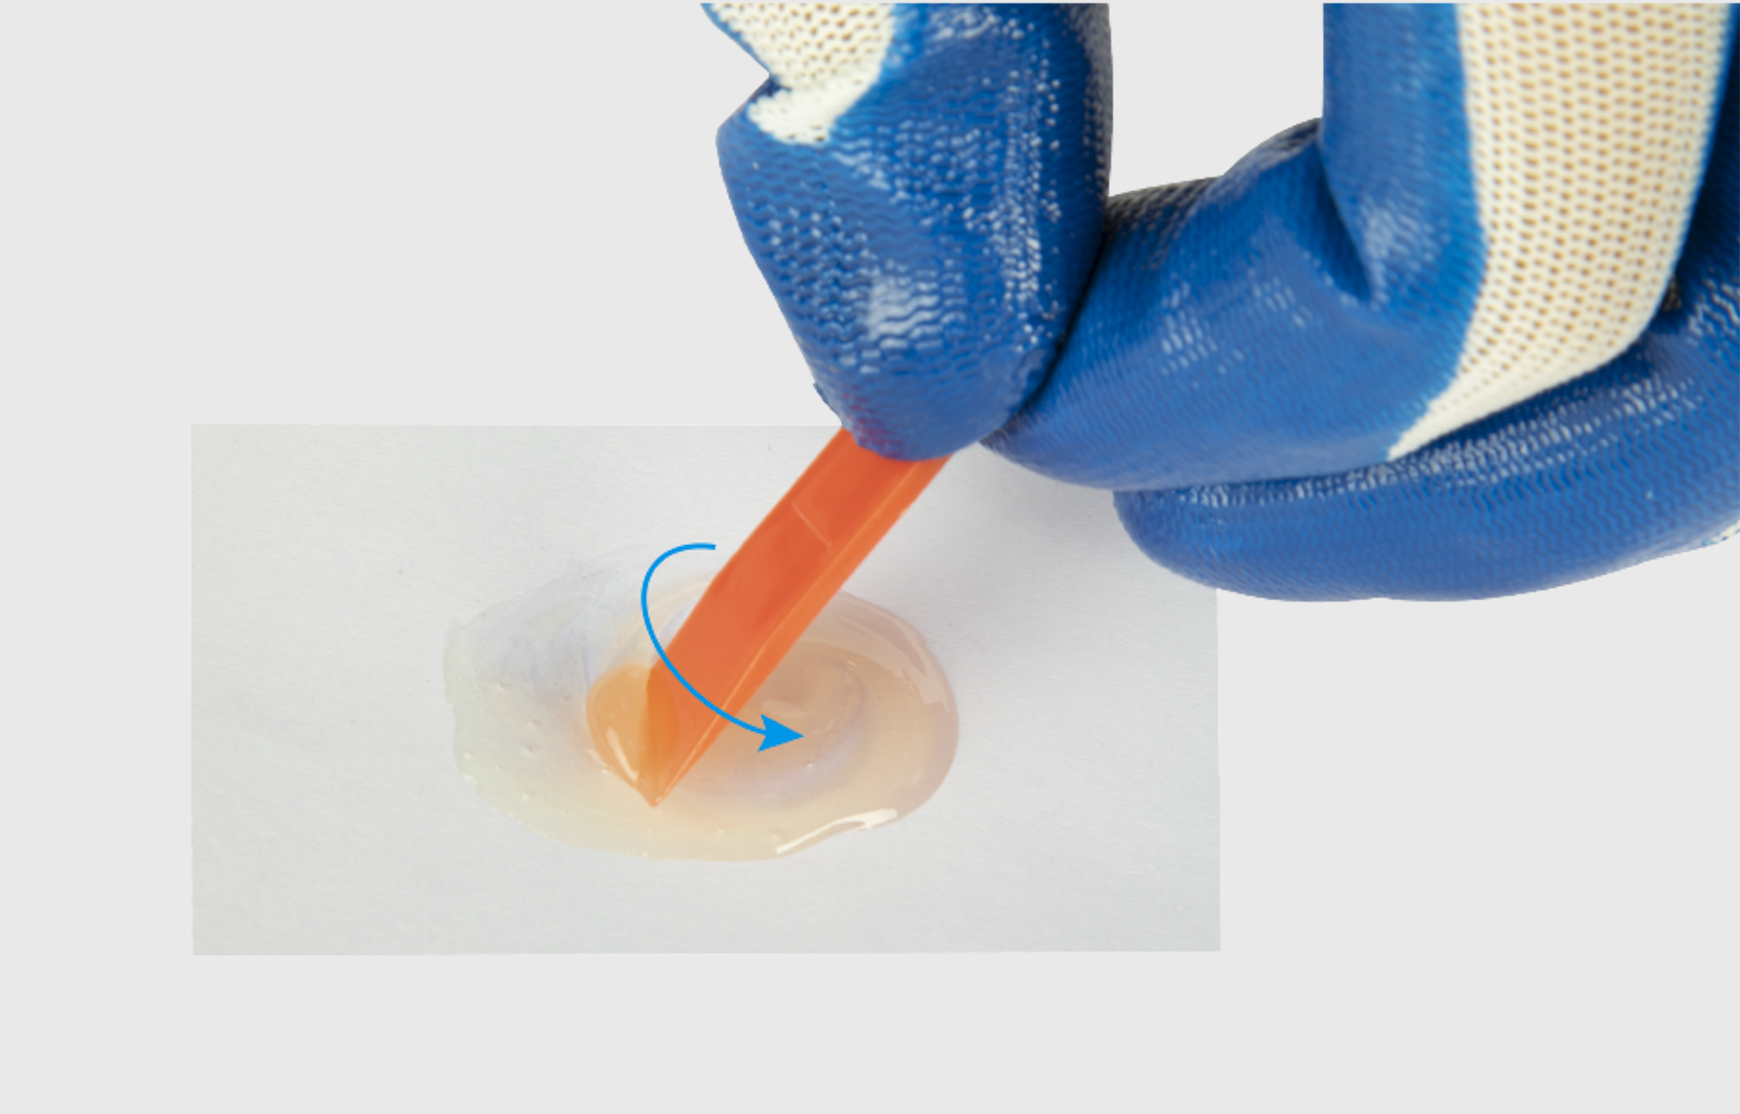
③ Mix the A glue with the B glue using the red mixing stick, and stir them evenly.
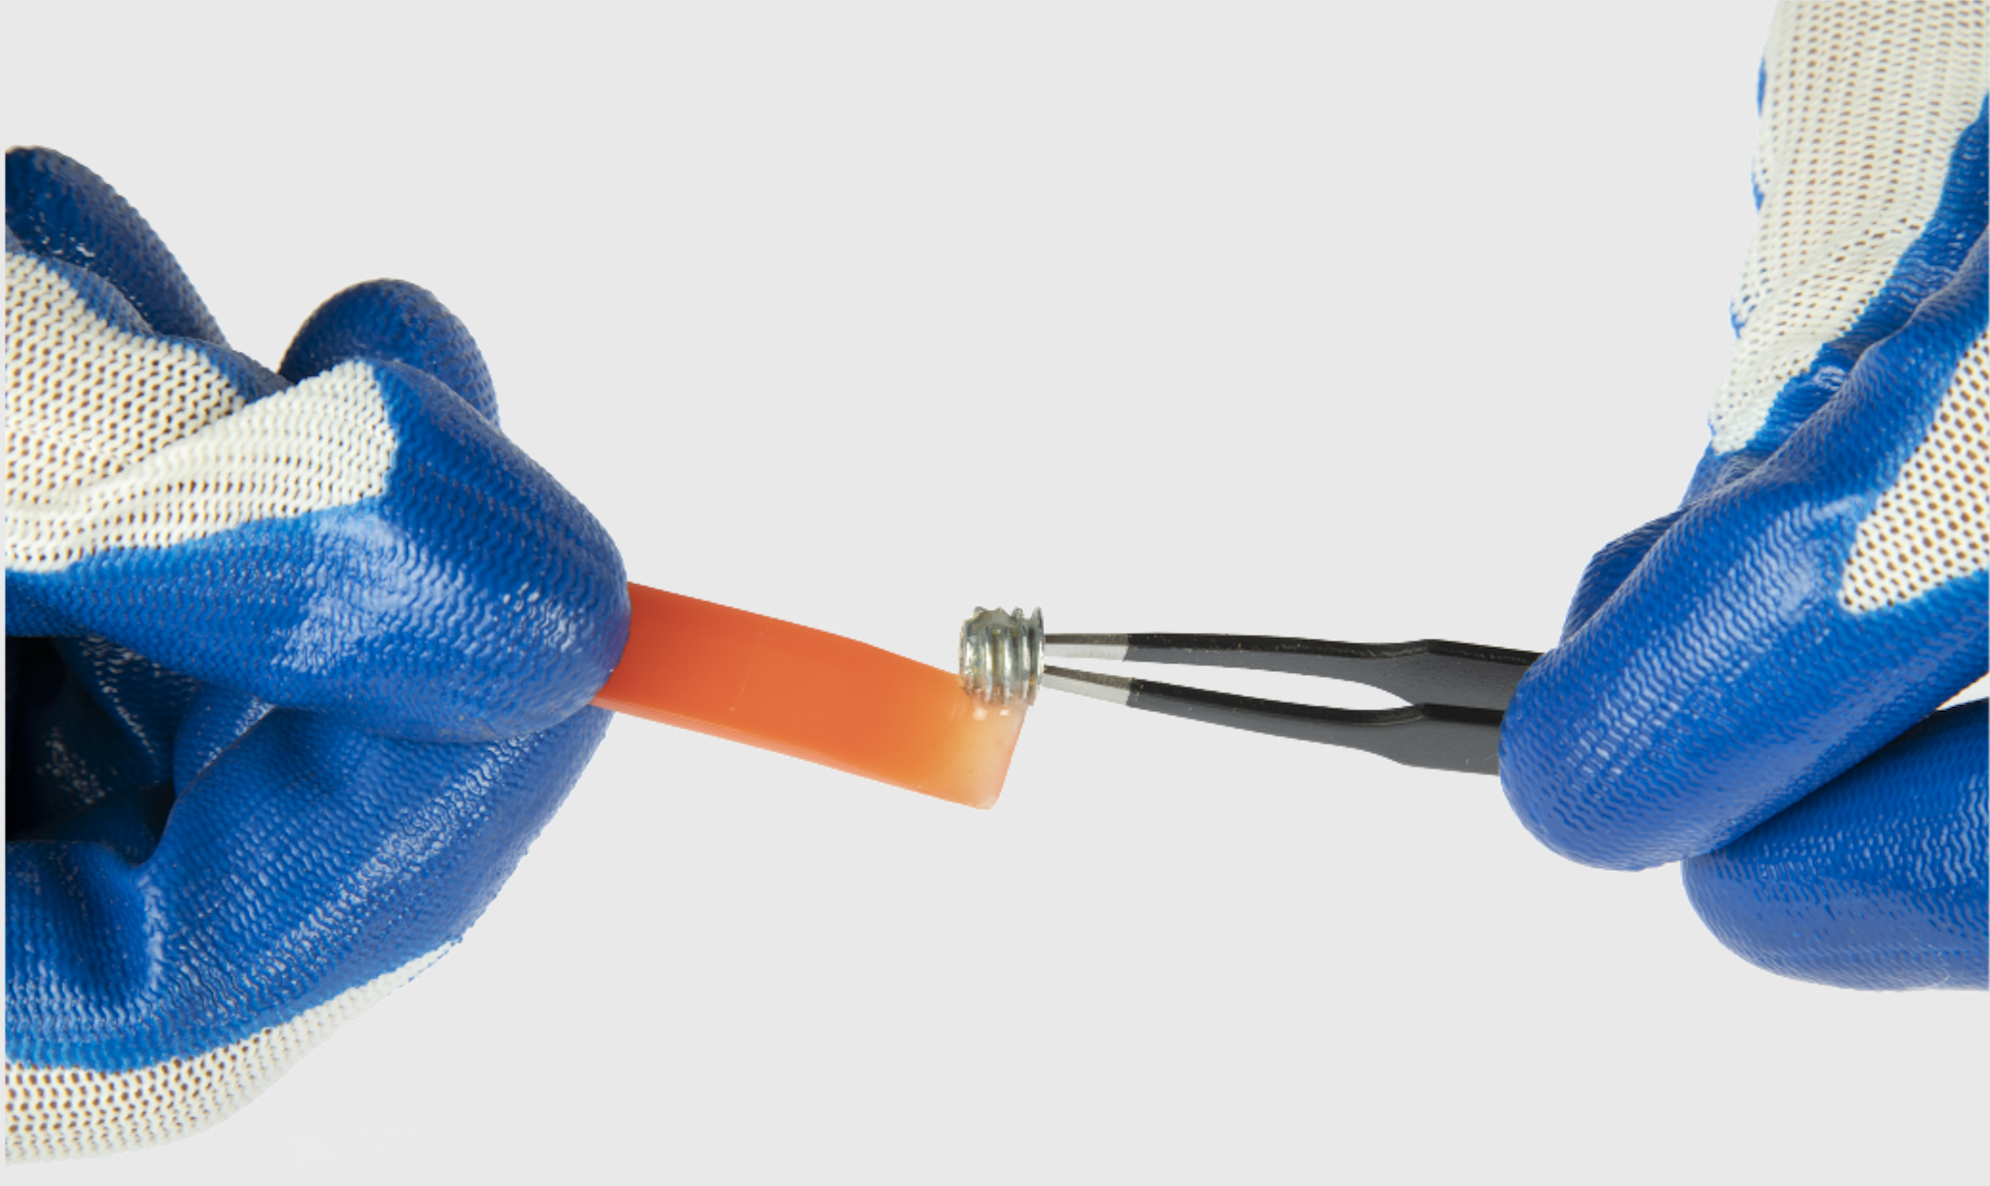
④ Tweeze the nut out, and apply the mixed glue to the screw thread of the bottom of the nut.
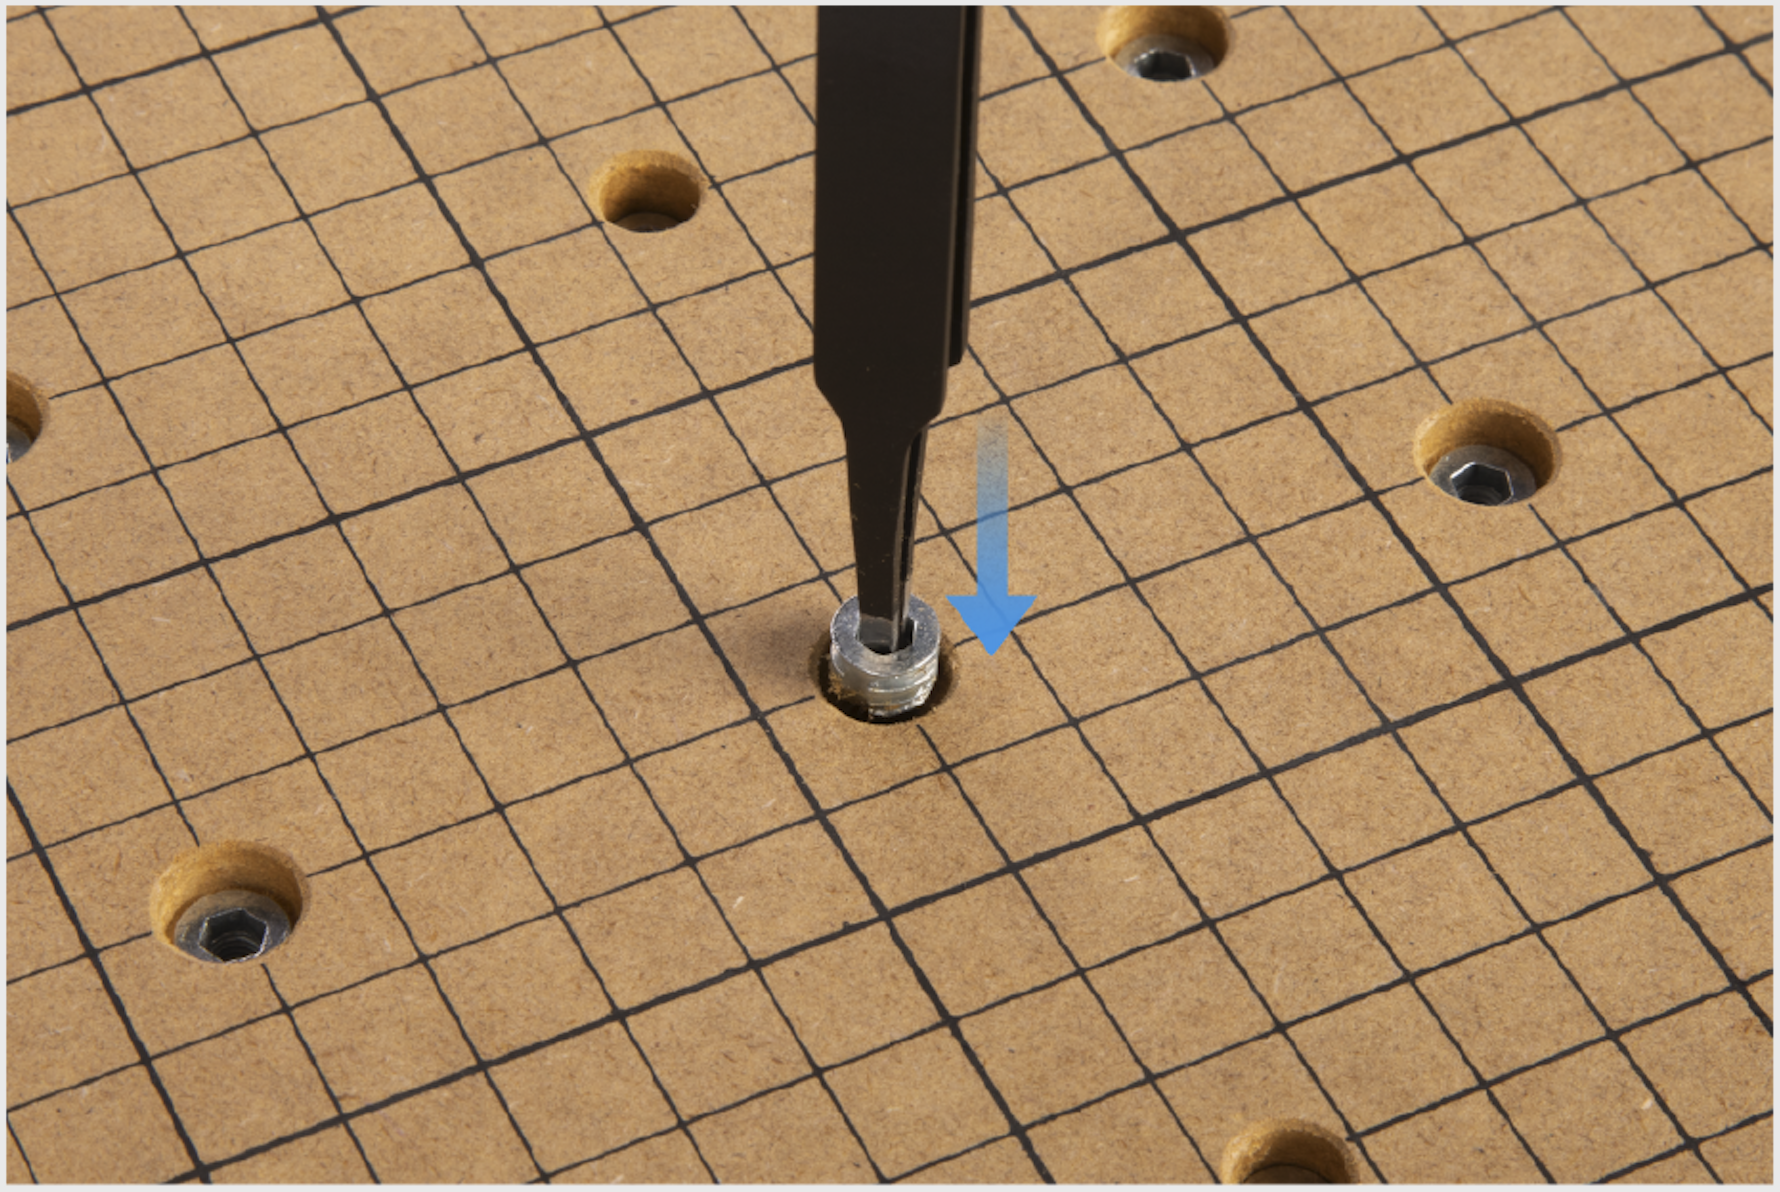
⑤ Tweeze the nut back into the hole of the CNC Carving Platform, and press it for a while.
⑥ Wait for at least 24 hours to ensure that the mixed glue is cured before reuse.