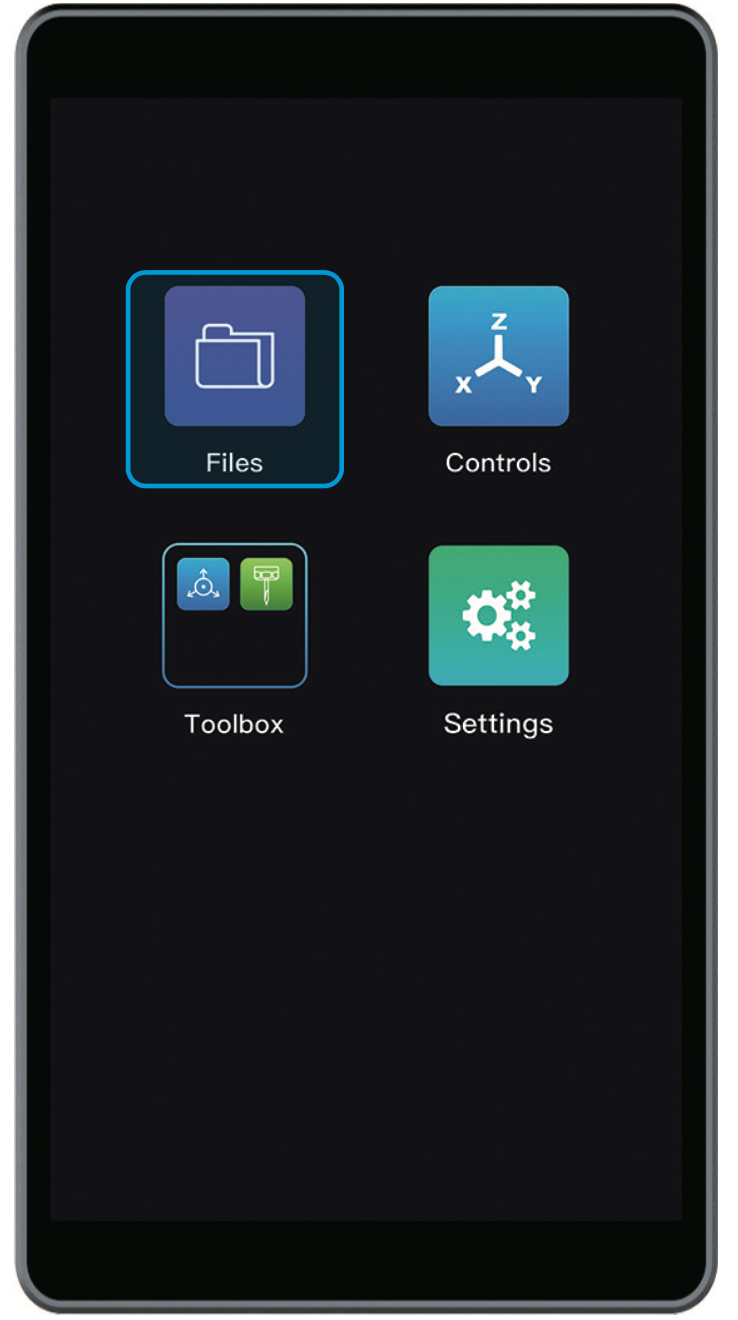
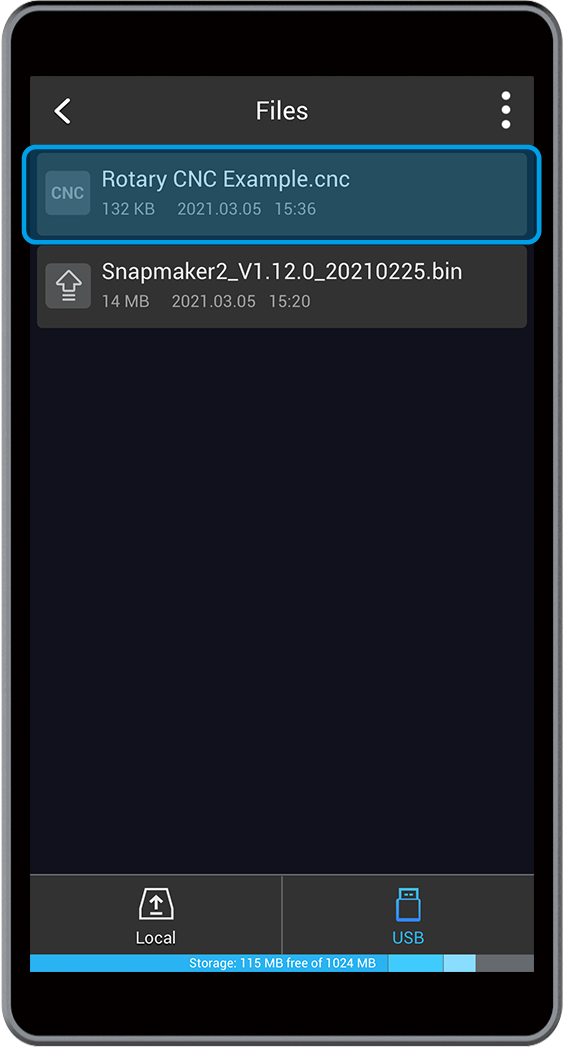
7.1 Preview the File
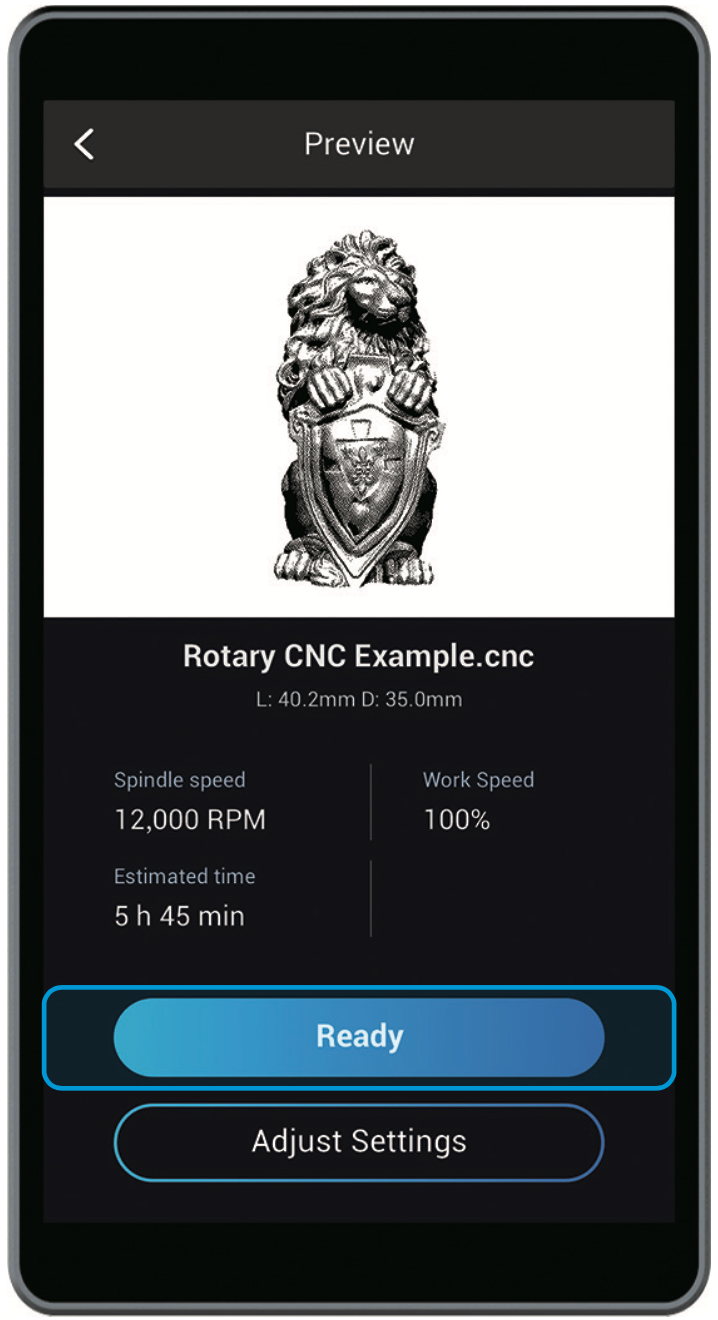
After the G-code file is transferred, tap Files and select the G-code file in USB or Local. Preview the file, and tap Ready.
![]()
![]()
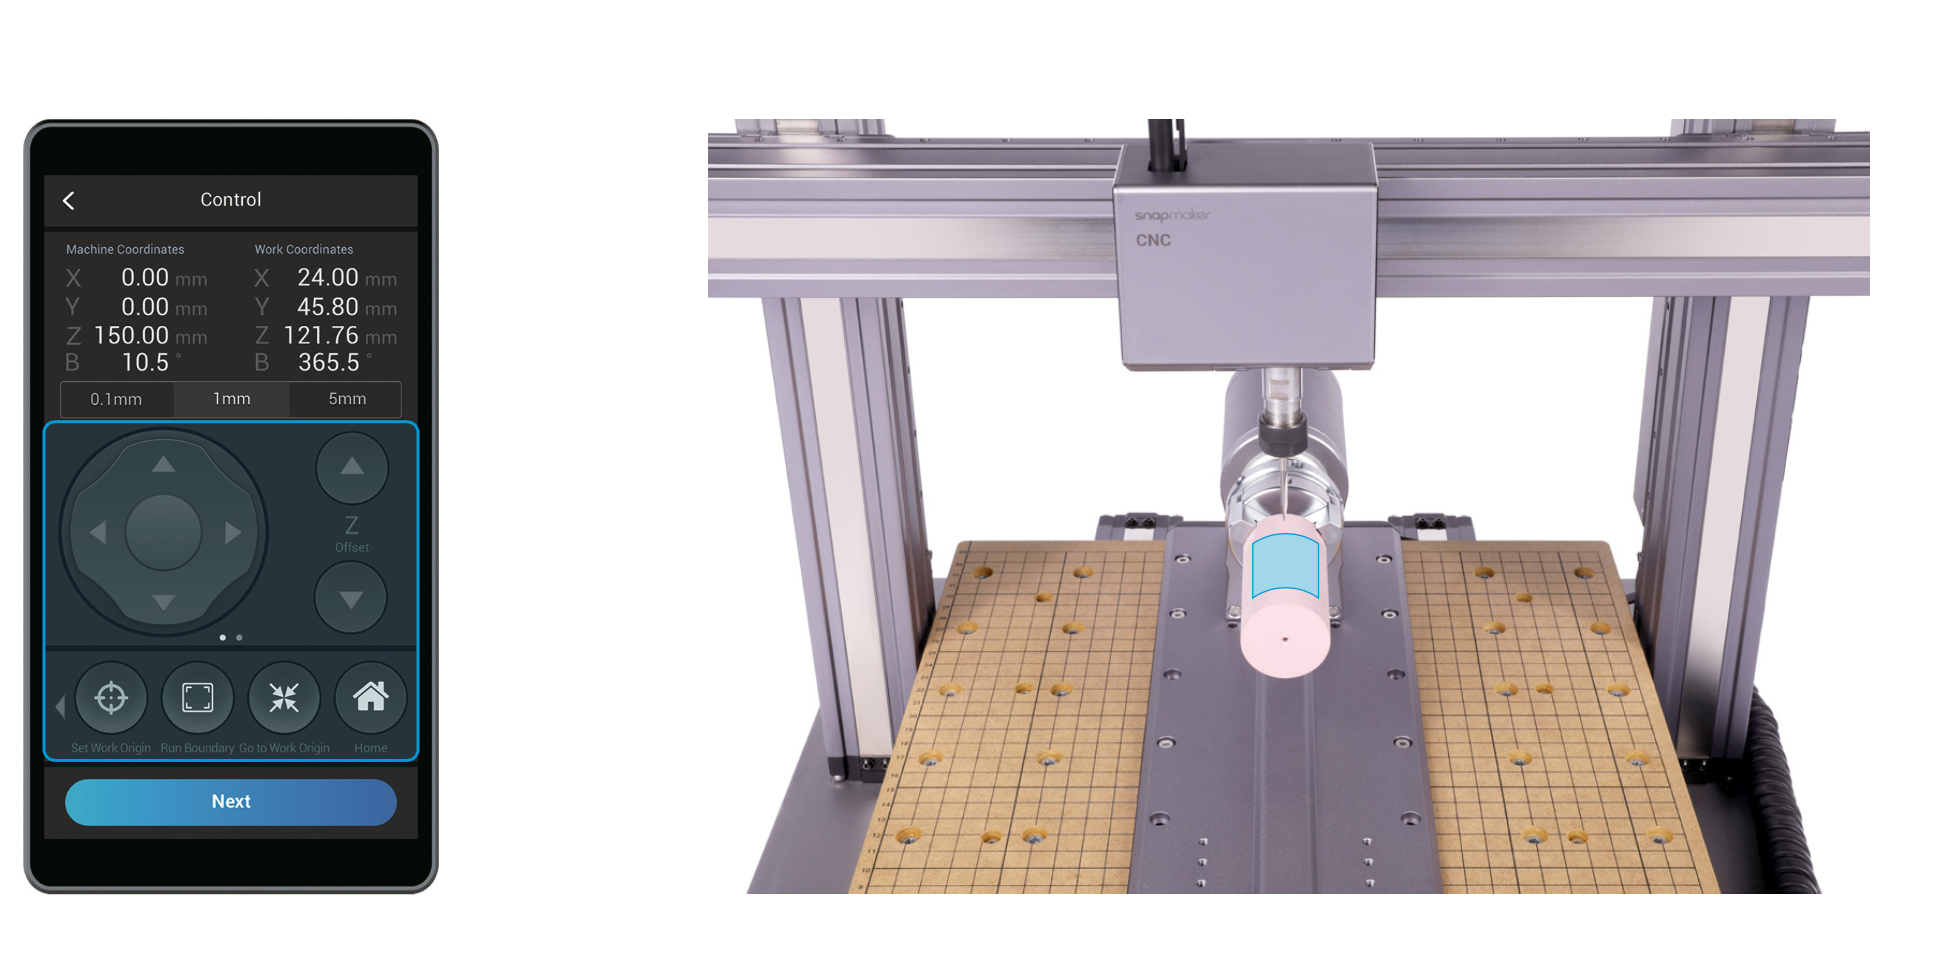
7.2 Run Boundary
Read the instruction on Set Work Origin, and ensure you have worn the CNC Safety Goggles. Use Z Offset to lift the CNC bit above the Rotary Headstock, and then tap Run Boundary to check the work area. If the work area is inappropriate, reset the work origin.
![]() If the CNC bit bumps into the machine, turn off the machine immediately or press the Emergency Stop Button
If the CNC bit bumps into the machine, turn off the machine immediately or press the Emergency Stop Button ![]() .
.
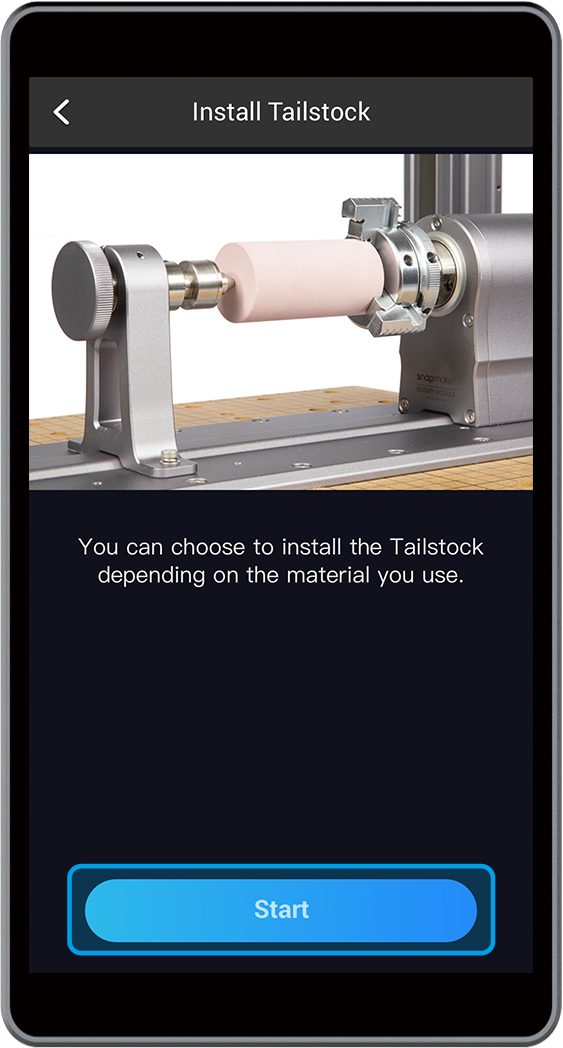
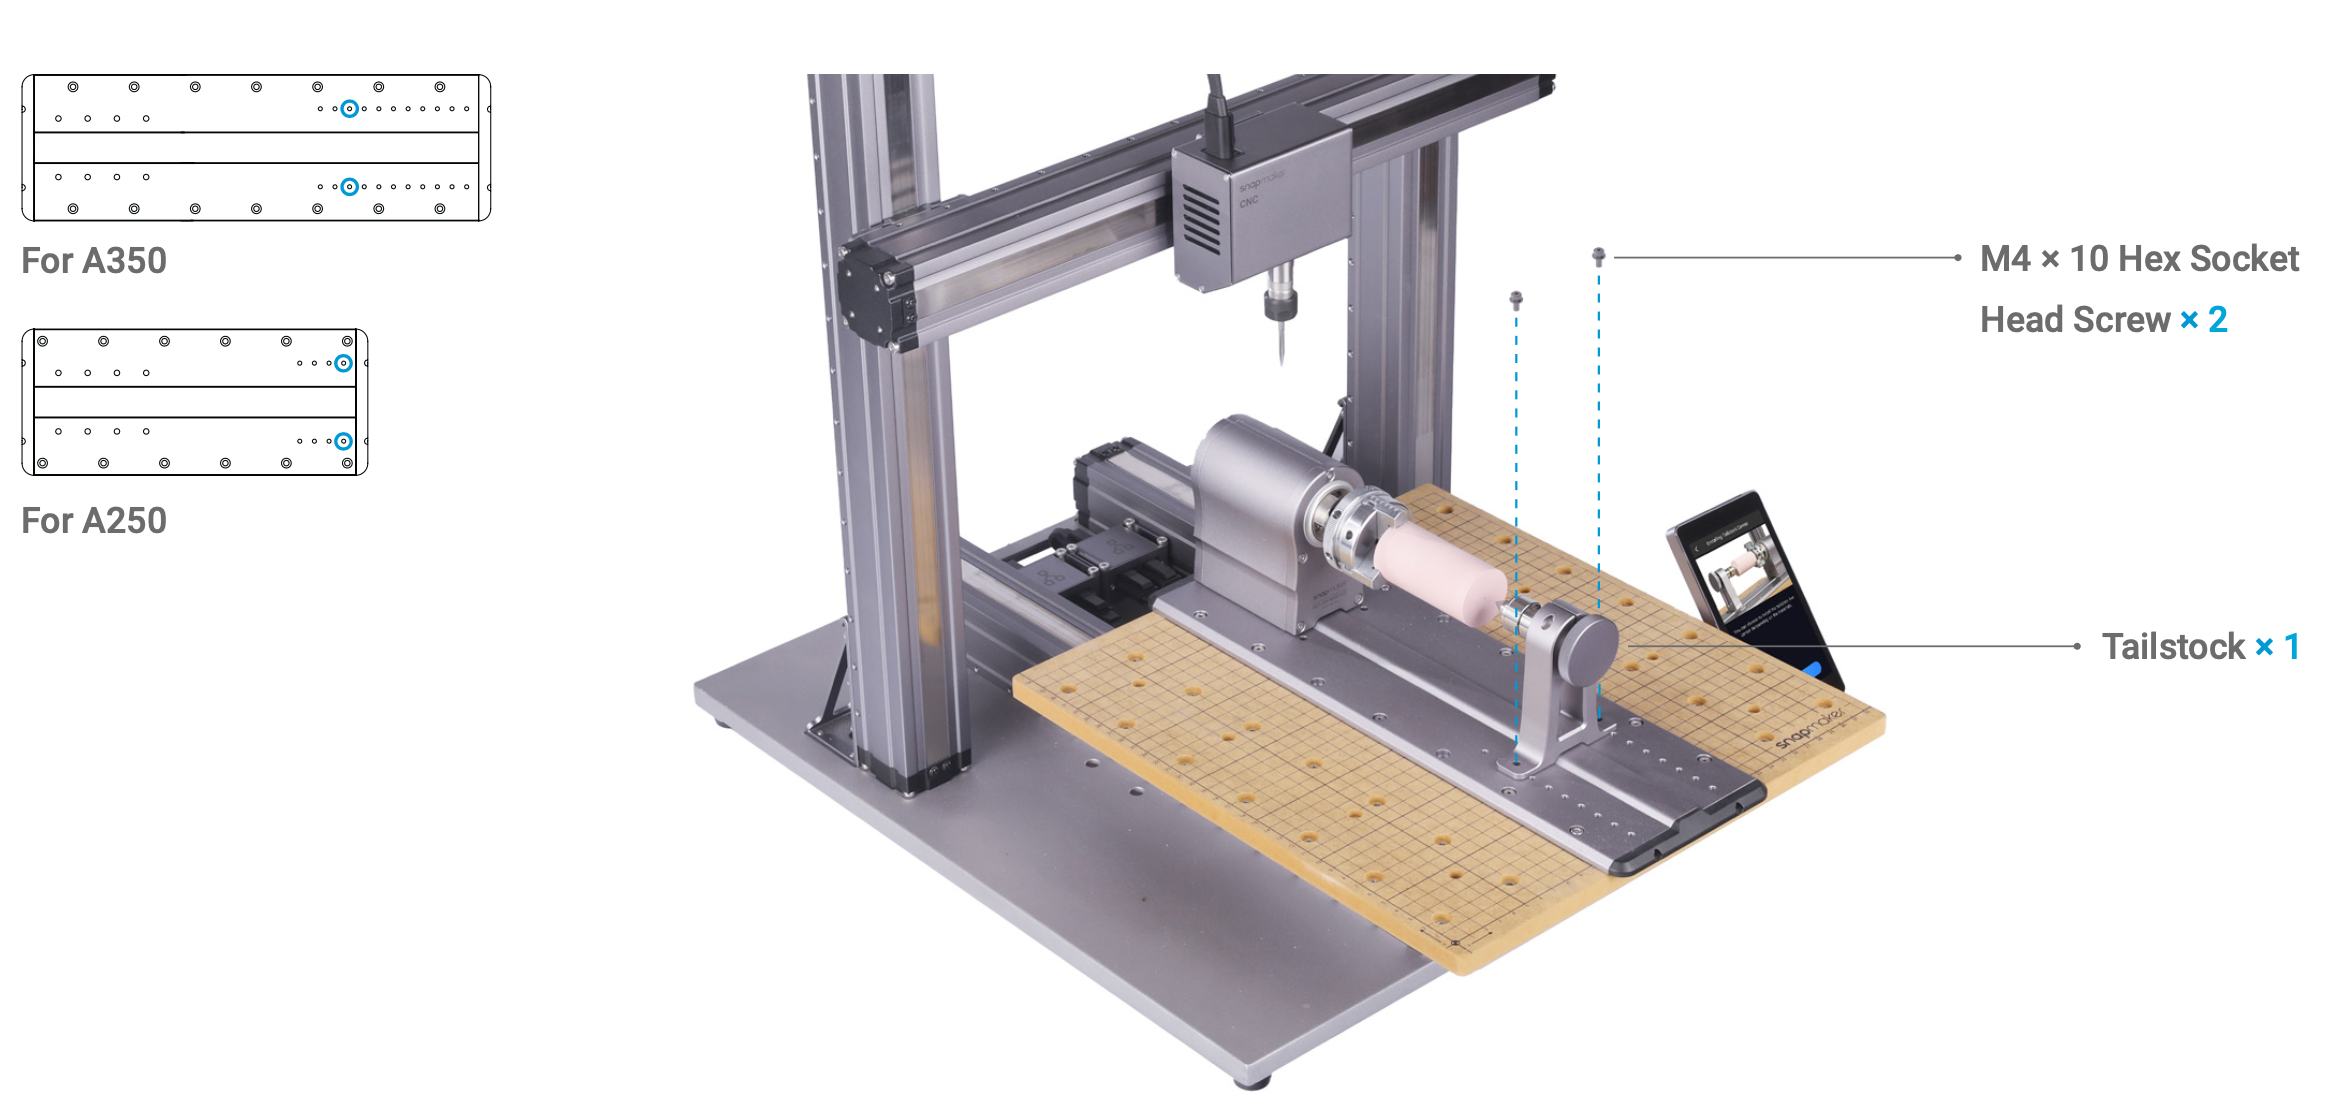
7.3 Attach the Tailstock (Optional)
Clamping the material with the Chuck and Tailstock improves stability and precision. If your material is long or heavy, use the Tailstock. Here are the steps:
Select two holes on the Base to attach the Tailstock.
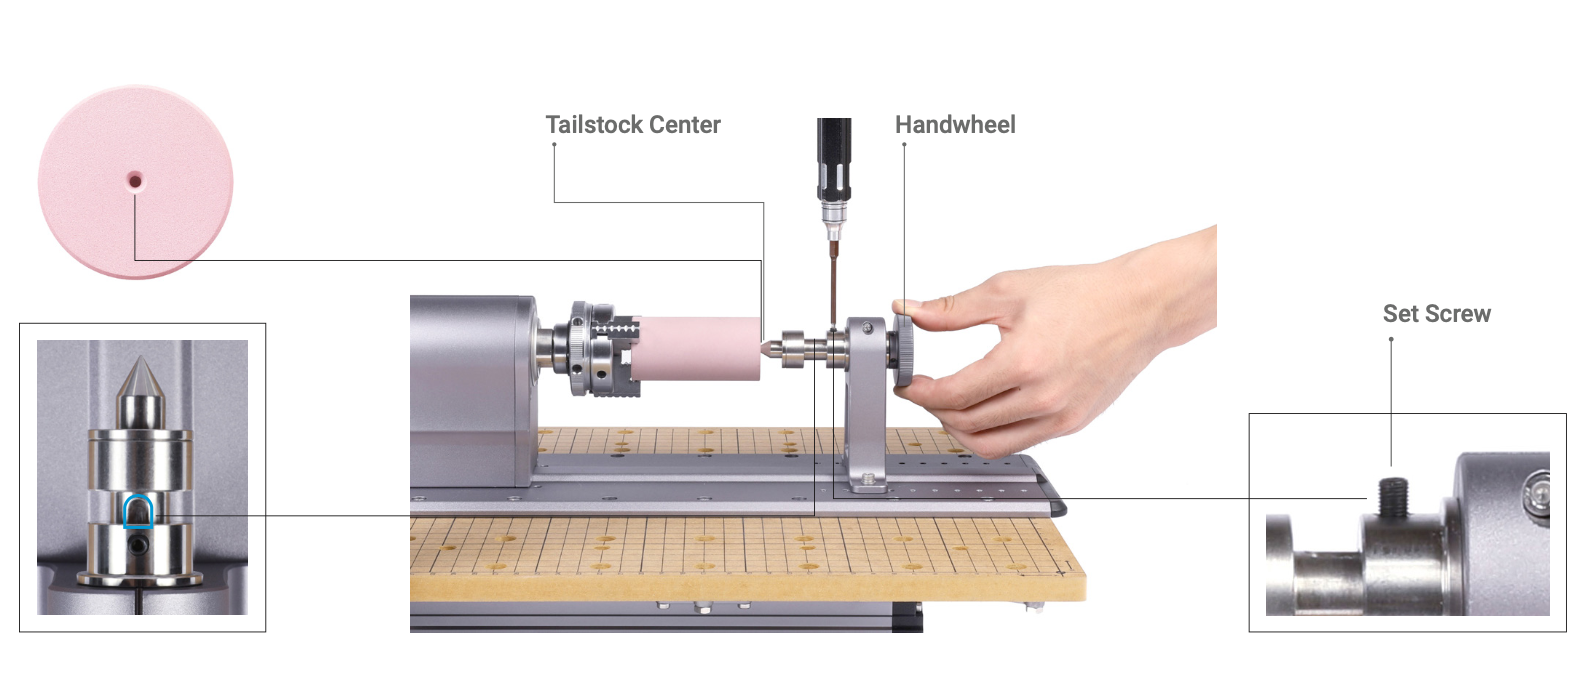
Use the H2.0 screw bit to loosen the set screw, and screw the Handwheel forward until the Tailstock Center presses against the central point of the bottom surface of the material. Align the groove on the Tailstock Center with the set screw, and tighten the set screw.
![]() Ensure that you did not drag the object to the bottom line of the rectangle (X axis) in step 4. Generate the G-code File. Otherwise, the CNC bit will bump into Tailstock Center during carving.
Ensure that you did not drag the object to the bottom line of the rectangle (X axis) in step 4. Generate the G-code File. Otherwise, the CNC bit will bump into Tailstock Center during carving.
7.4 Check Before Carving
Check the following steps before carving:
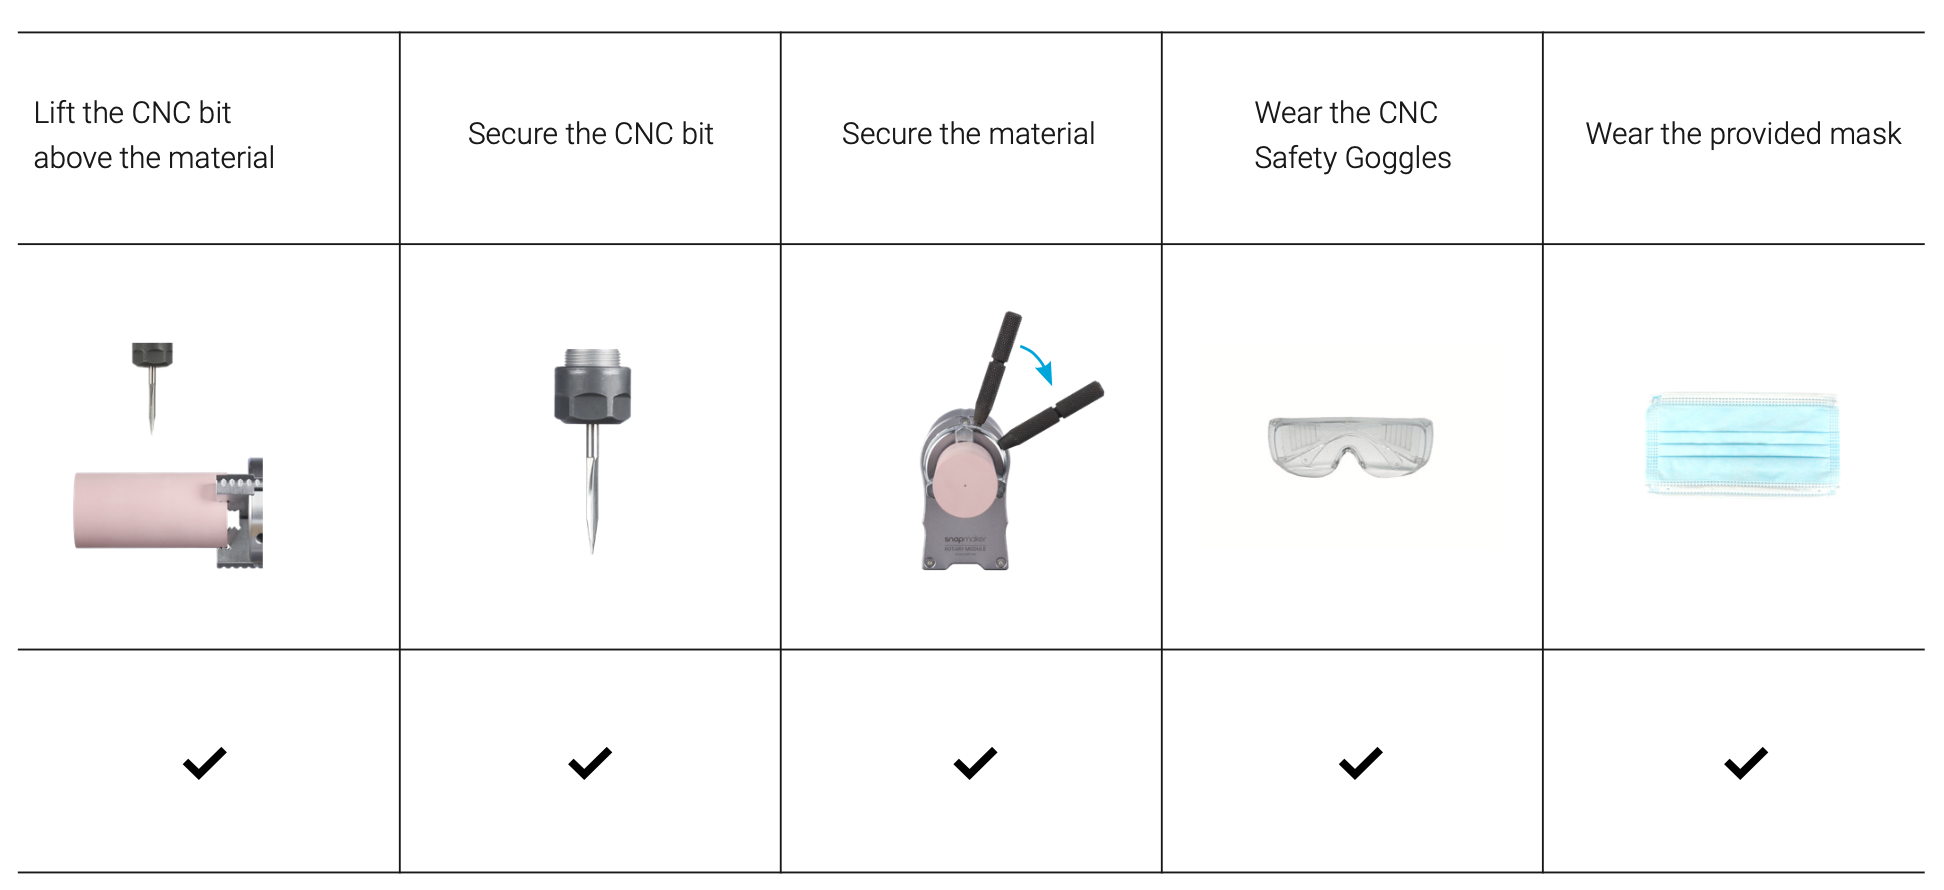
If you are all set, tap Start on the Touchscreen.