
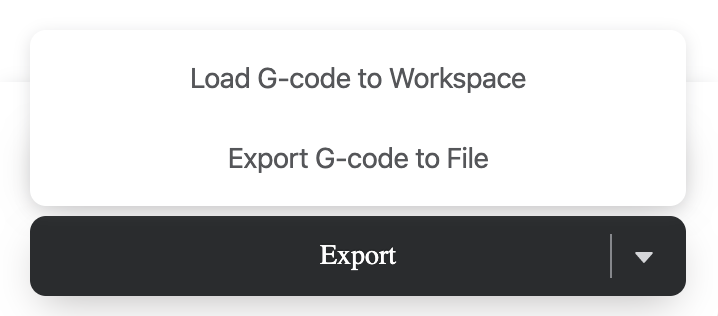
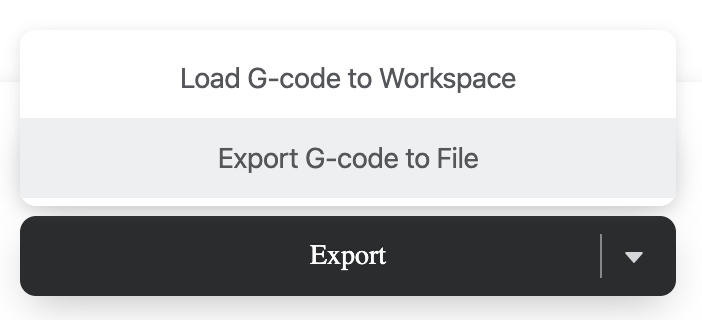
After clicking Export, you can click either Load G-code to Workspace or Export G-code to File to transfer the G-code file. The Touchscreen instructs you to fix the material, calibrate the focal length, and set the work origin. So if you are a novice, we recommend you transfer the file to Touchscreen. If you are not, Luban is an alternative.
To send it to the Touchscreen, see 5.1 Transfer the G-code to Touchscreen; To keep it in Luban, see 5.2 Keep the G-code in Luban.
5.1 Transfer the G-code to Touchscreen
Turn on the machine. Transfer the G-code file to Touchscreen via Wi-Fi or USB flash drive.
5.1.1 Transfer via Wi-Fi
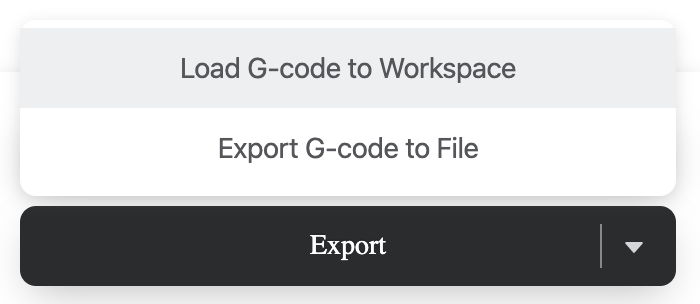
![]() : Click Load G-code to Workspace > Wi-Fi > Refresh
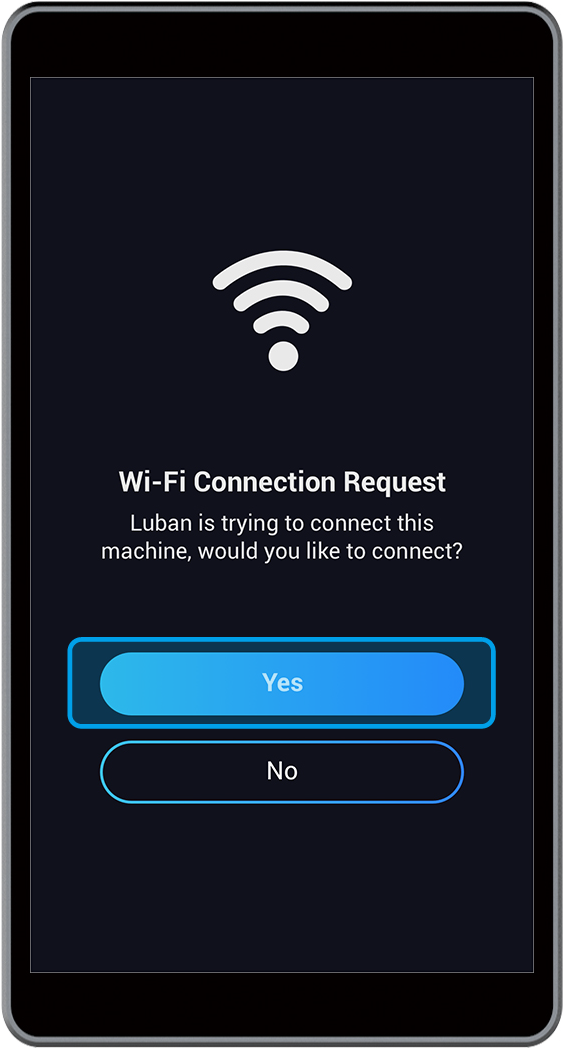
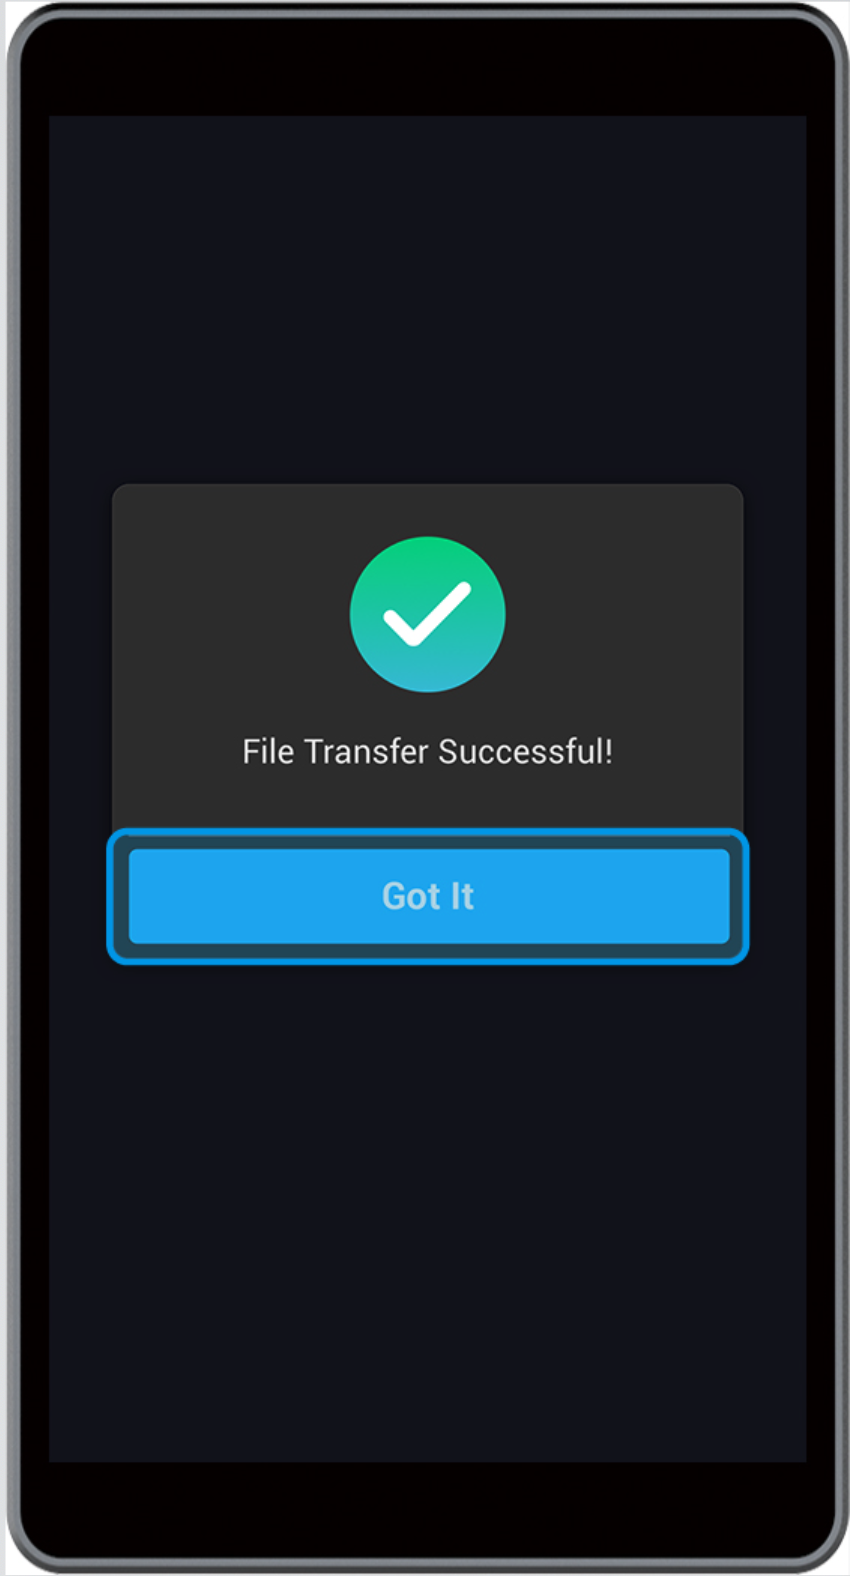
: Click Load G-code to Workspace > Wi-Fi > Refresh ![]() > Select your machine in the drop-down list > Click Connect > Tap Yes on the Touchscreen to grant Wi-Fi connection > Click Send to Device via Wi-Fi in Luban > Tap Got It on the Touchscreen to receive the G-code file. After the G-code file is transferred, see 6. Calibration.
> Select your machine in the drop-down list > Click Connect > Tap Yes on the Touchscreen to grant Wi-Fi connection > Click Send to Device via Wi-Fi in Luban > Tap Got It on the Touchscreen to receive the G-code file. After the G-code file is transferred, see 6. Calibration.
![]()

![]()
![]()
![]()
![]()
![]() Find the file later on the Touchscreen: Swipe left on the Home Screen > Files > Local.
Find the file later on the Touchscreen: Swipe left on the Home Screen > Files > Local.
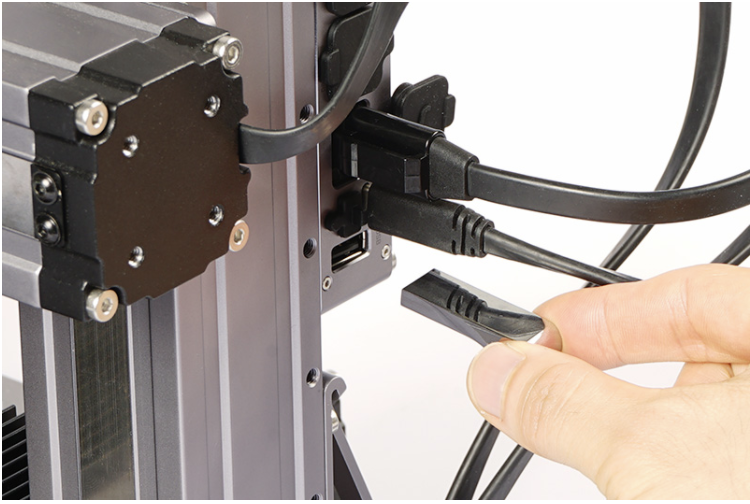
5.1.2 Transfer via USB Flash Drive
![]() : Insert the USB flash drive into the Controller > Click Export G-code to File > Save the G-code file to your USB flash drive. After the G-code file is transferred, see 6. Calibration.
: Insert the USB flash drive into the Controller > Click Export G-code to File > Save the G-code file to your USB flash drive. After the G-code file is transferred, see 6. Calibration.
![]()
![]() Find the file later on the Touchscreen: Swipe left on the Home Screen > Files > USB.
Find the file later on the Touchscreen: Swipe left on the Home Screen > Files > USB.
5.2 Keep the G-code in Luban
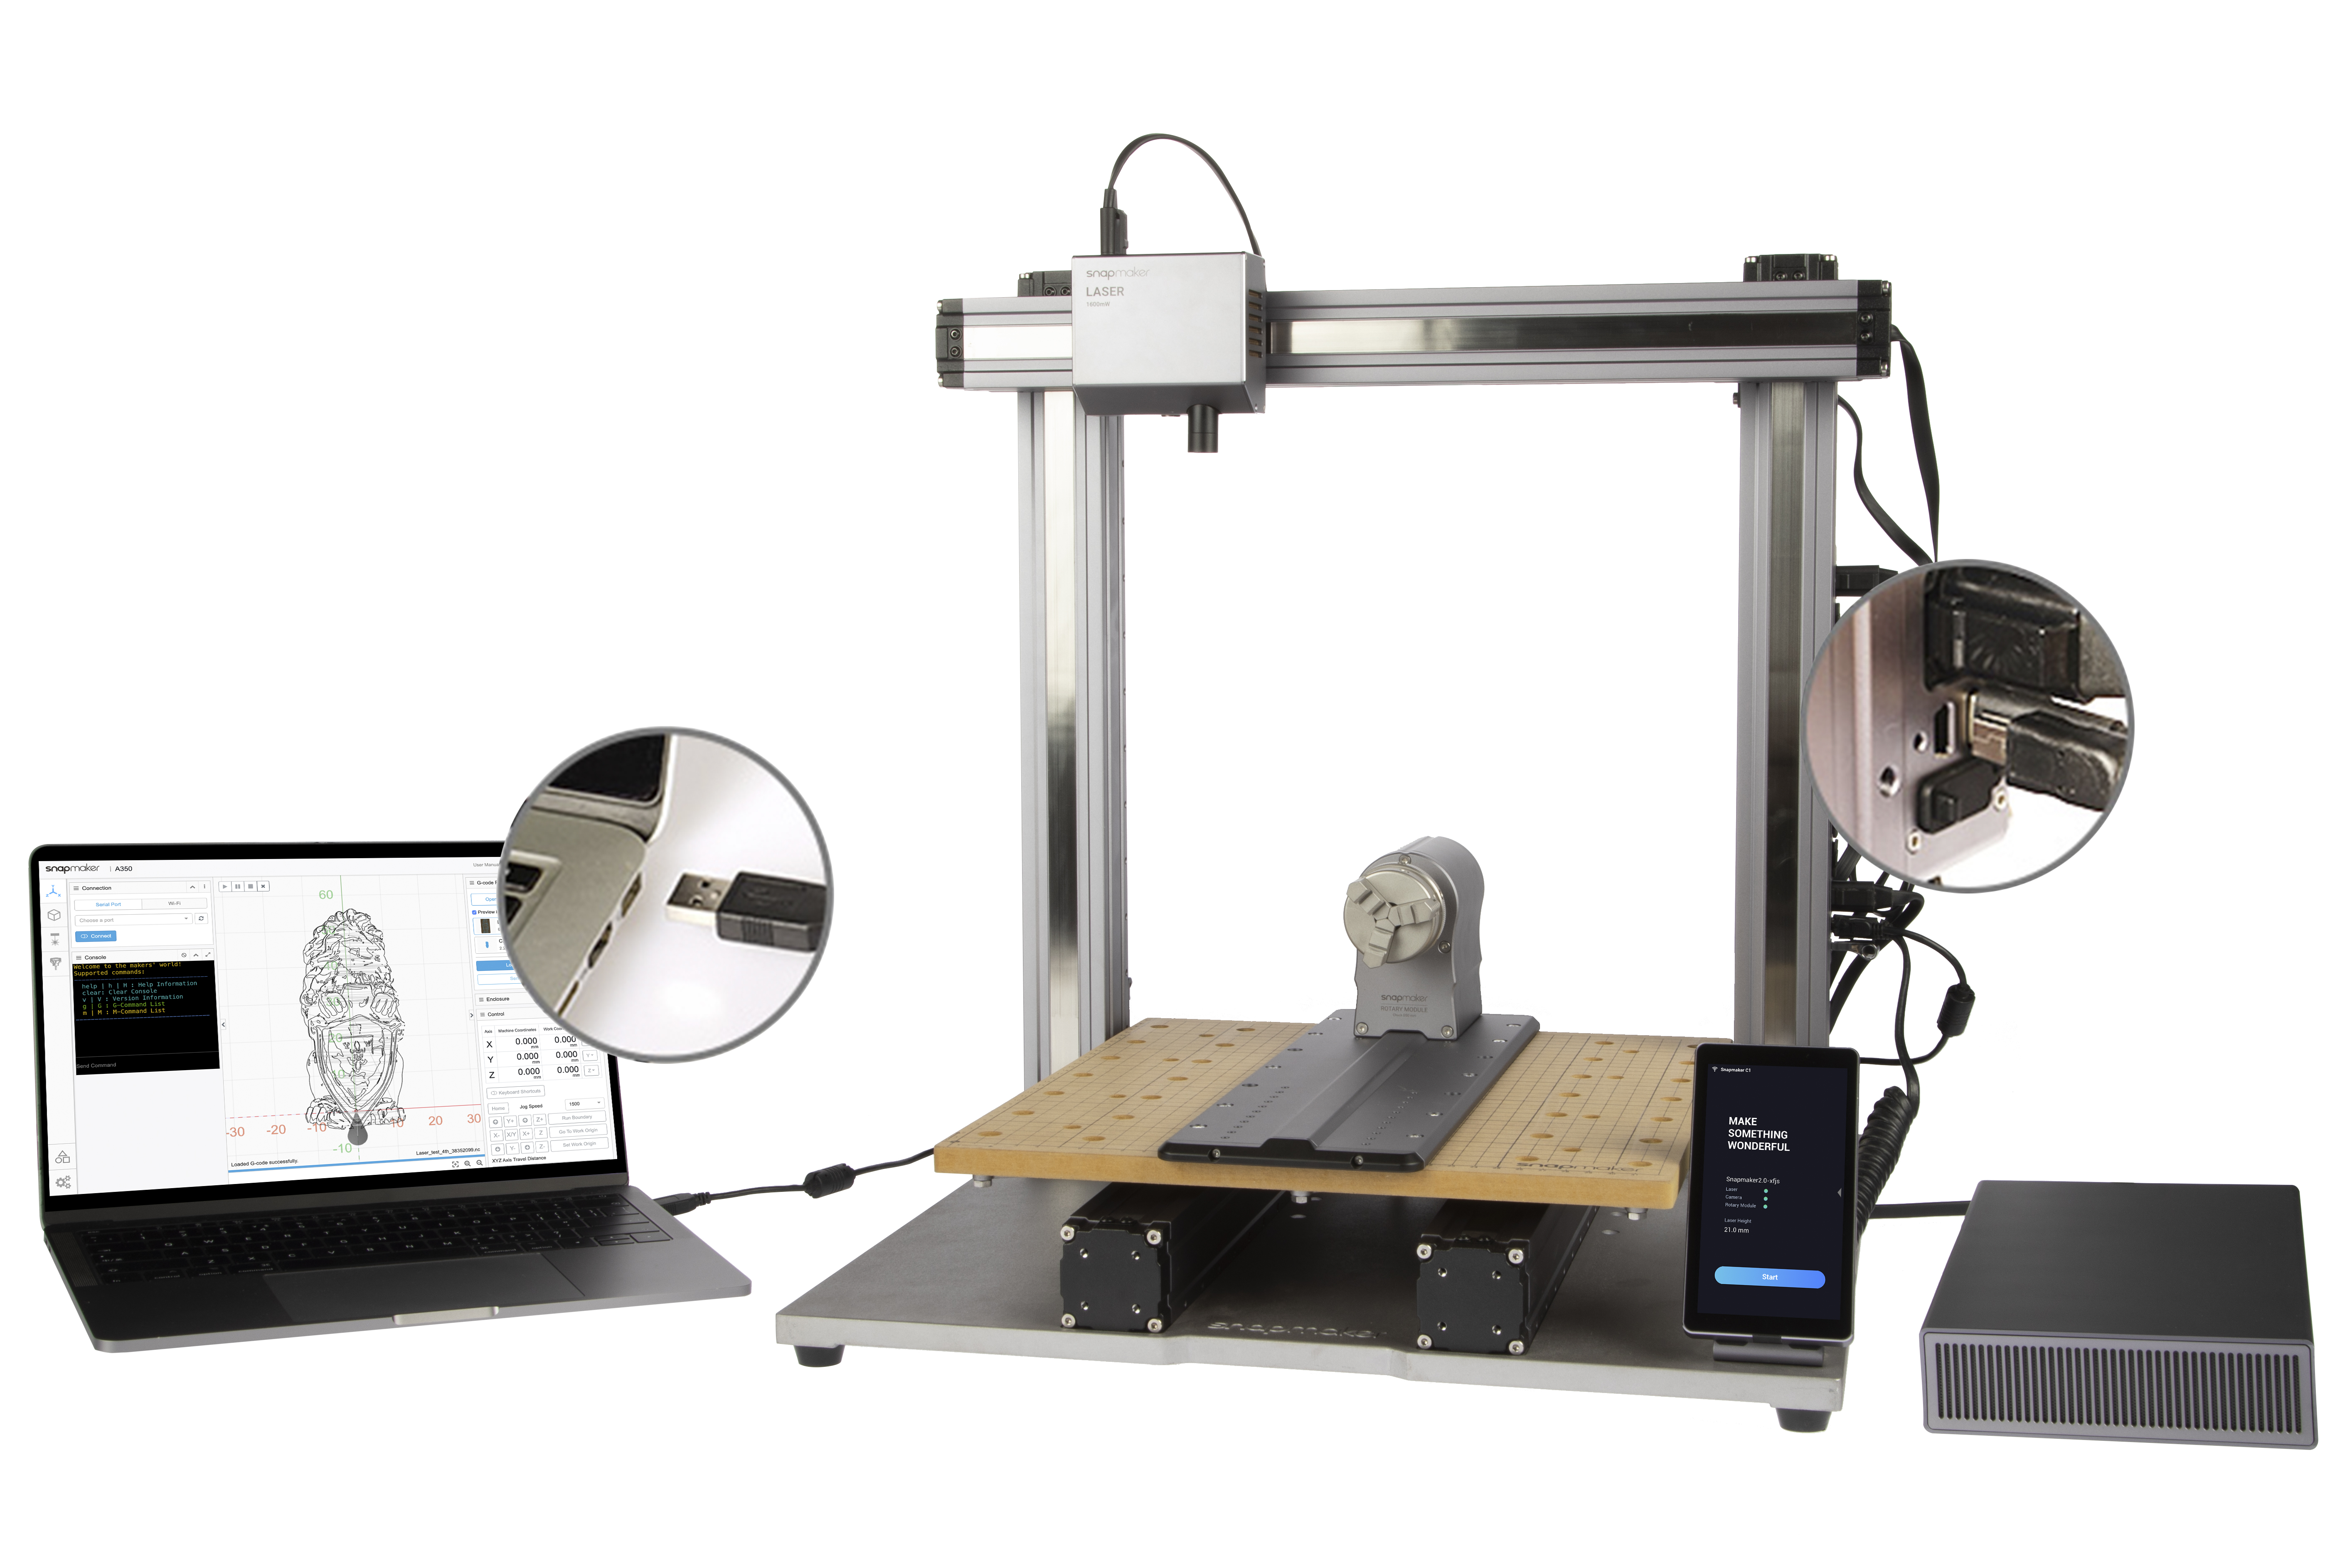
5.2.1 Connect Luban to Machine
Should you keep the G-code file in Luban, you can set the work origin and start engraving in Luban by connecting the machine via Wi-Fi or USB cable.
![]() : Click Load G-code to Workspace > Wi-Fi > Refresh
: Click Load G-code to Workspace > Wi-Fi > Refresh ![]() > Select your machine in the drop-down list > Connect Luban to your machine > Tap Yes on the Touchscreen to grant Wi-Fi connection.
> Select your machine in the drop-down list > Connect Luban to your machine > Tap Yes on the Touchscreen to grant Wi-Fi connection.
![]()
![]()
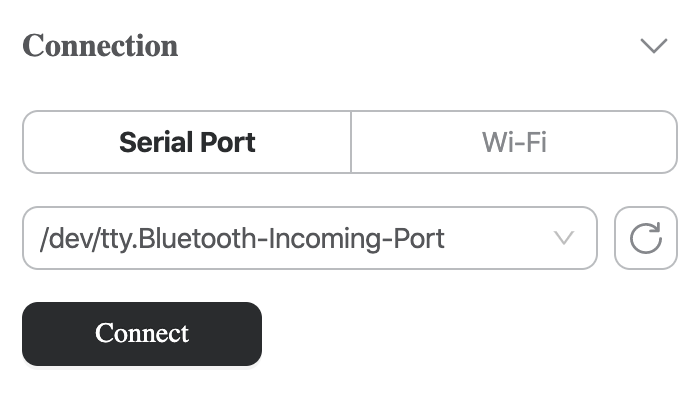
![]() : Insert the USB cable into your computer and the machine > Click Load G-code to Workspace > Serial Port > Refresh
: Insert the USB cable into your computer and the machine > Click Load G-code to Workspace > Serial Port > Refresh ![]() > Select a port in the drop-down list > Connect Luban to your machine.
> Select a port in the drop-down list > Connect Luban to your machine.
![]()
![]()
5.2.2 Set the Work Origin and Start Engraving
Fix the Material, and wear the Laser Safety Goggles.
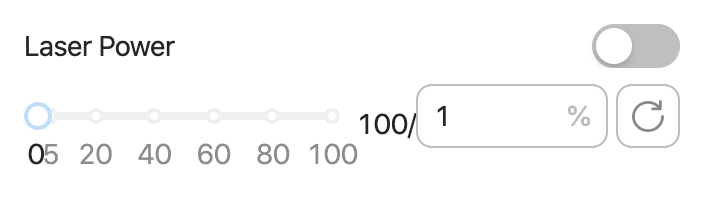
With the machine connected to Luban, set the Laser Power to a small value (e.g. 1%) to avoid laser hazards. Then turn on the Laser Power toggle.
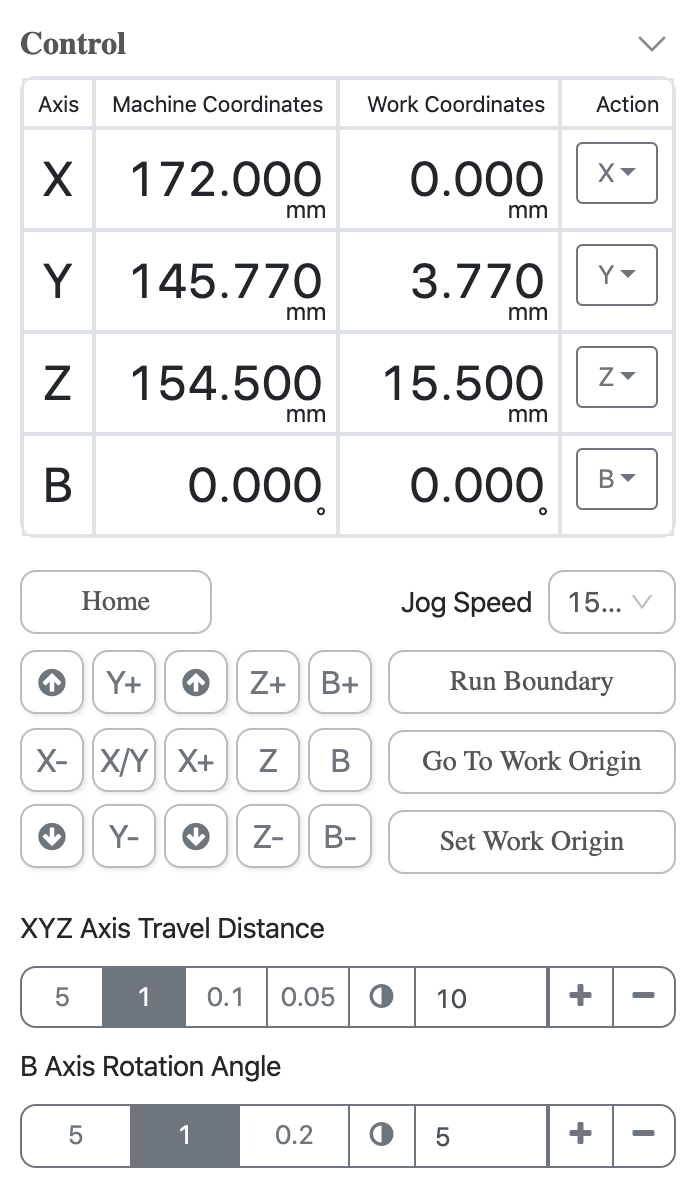
Adjust the Z offset to calibrate the focal length. Carefully lower the laser spot to the material surface until the spot appears the smallest one. Next, adjust the X, Y, and B offsets to Set Work Origin, and click Run Boundary to check the work area. If the work area is inappropriate, reset the work origin.
If your material is long or heavy, see 7.3 Attach the Tailstock. Now you are all set. Click Run ![]() in Workspace
in Workspace ![]() to start engraving.
to start engraving.
![]() If you connect via Wi-Fi, the machine won't stop engraving even if the Wi-Fi disconnects halfway. If via USB cable, keep your computer and machine connected throughout engraving.
If you connect via Wi-Fi, the machine won't stop engraving even if the Wi-Fi disconnects halfway. If via USB cable, keep your computer and machine connected throughout engraving.