
1. Assemble the Z-axis extension module according to this tutorial video: https://youtu.be/7aL-AWA8KJQ
2. Please upgrade the firmware and the software to the latest version. You can download the firmware files on this website: 3-in-1 3D Printer – Snapmaker
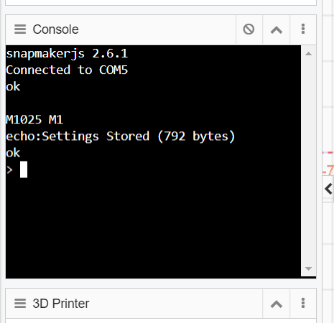
3. Please modify the parameter in Snapmaker Luban so that the new module can be recognized by the controller. Please connect the machine with a computer, and then open the console in Snapmaker Luban software.
Enter the command “M1025 M1” and press “Enter” to set the Z-axis Extension Module.
If you want to set the build volume back to 125 x 125 x 125 mm, enter the command “M1025 M0” and press “Enter”.
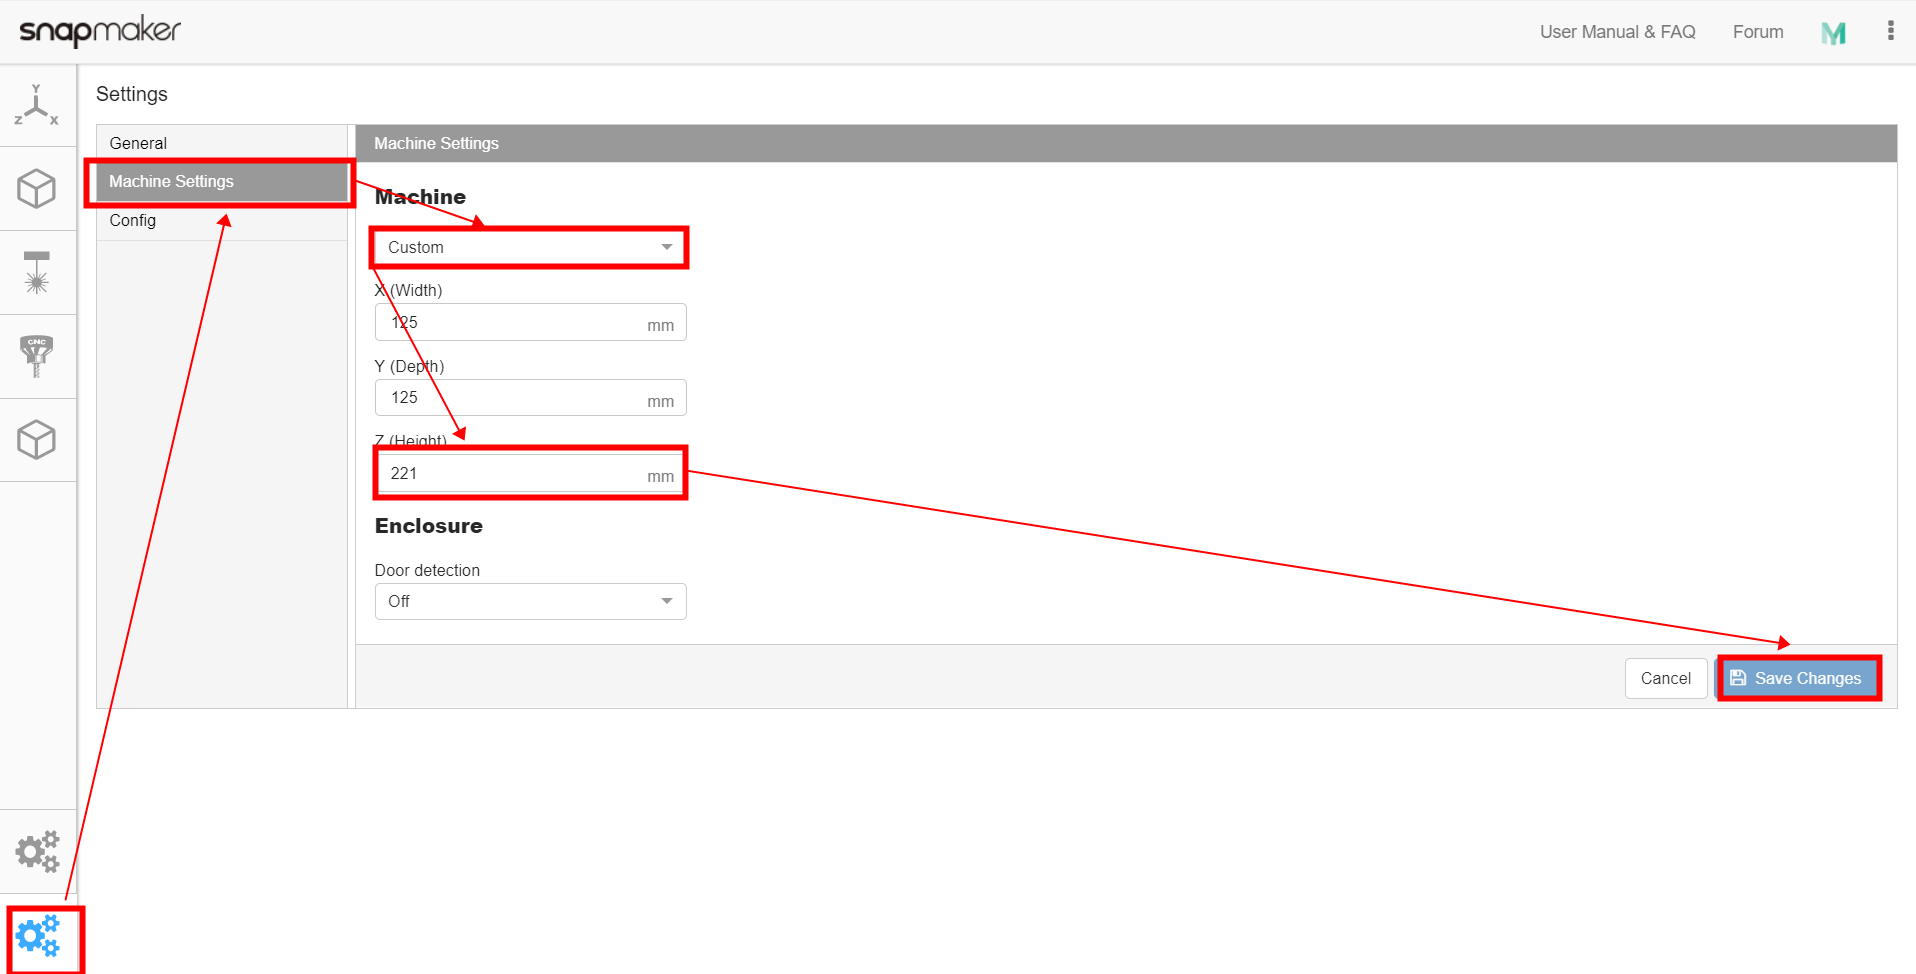
4. Follow the steps in the below picture to change the settings of the machine in Snapmaker Luban to generate G-codes for taller models.
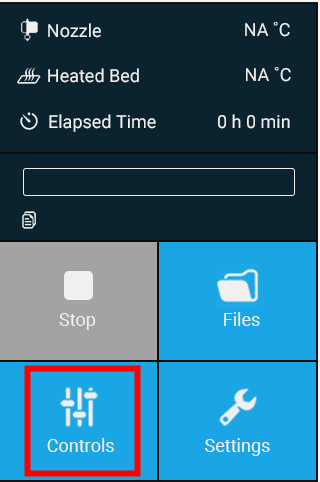
5. Please tap Controls > Home Axes on the touchscreen to let the toolhead back to the home axes.
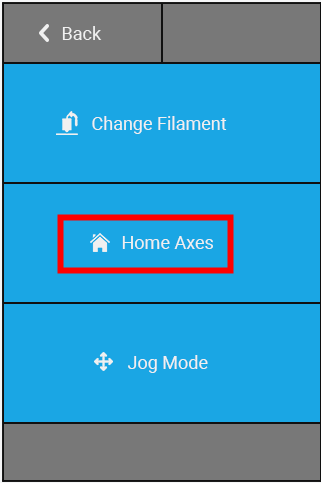
Now, you can use the Z-axis Extension Module. Have fun!