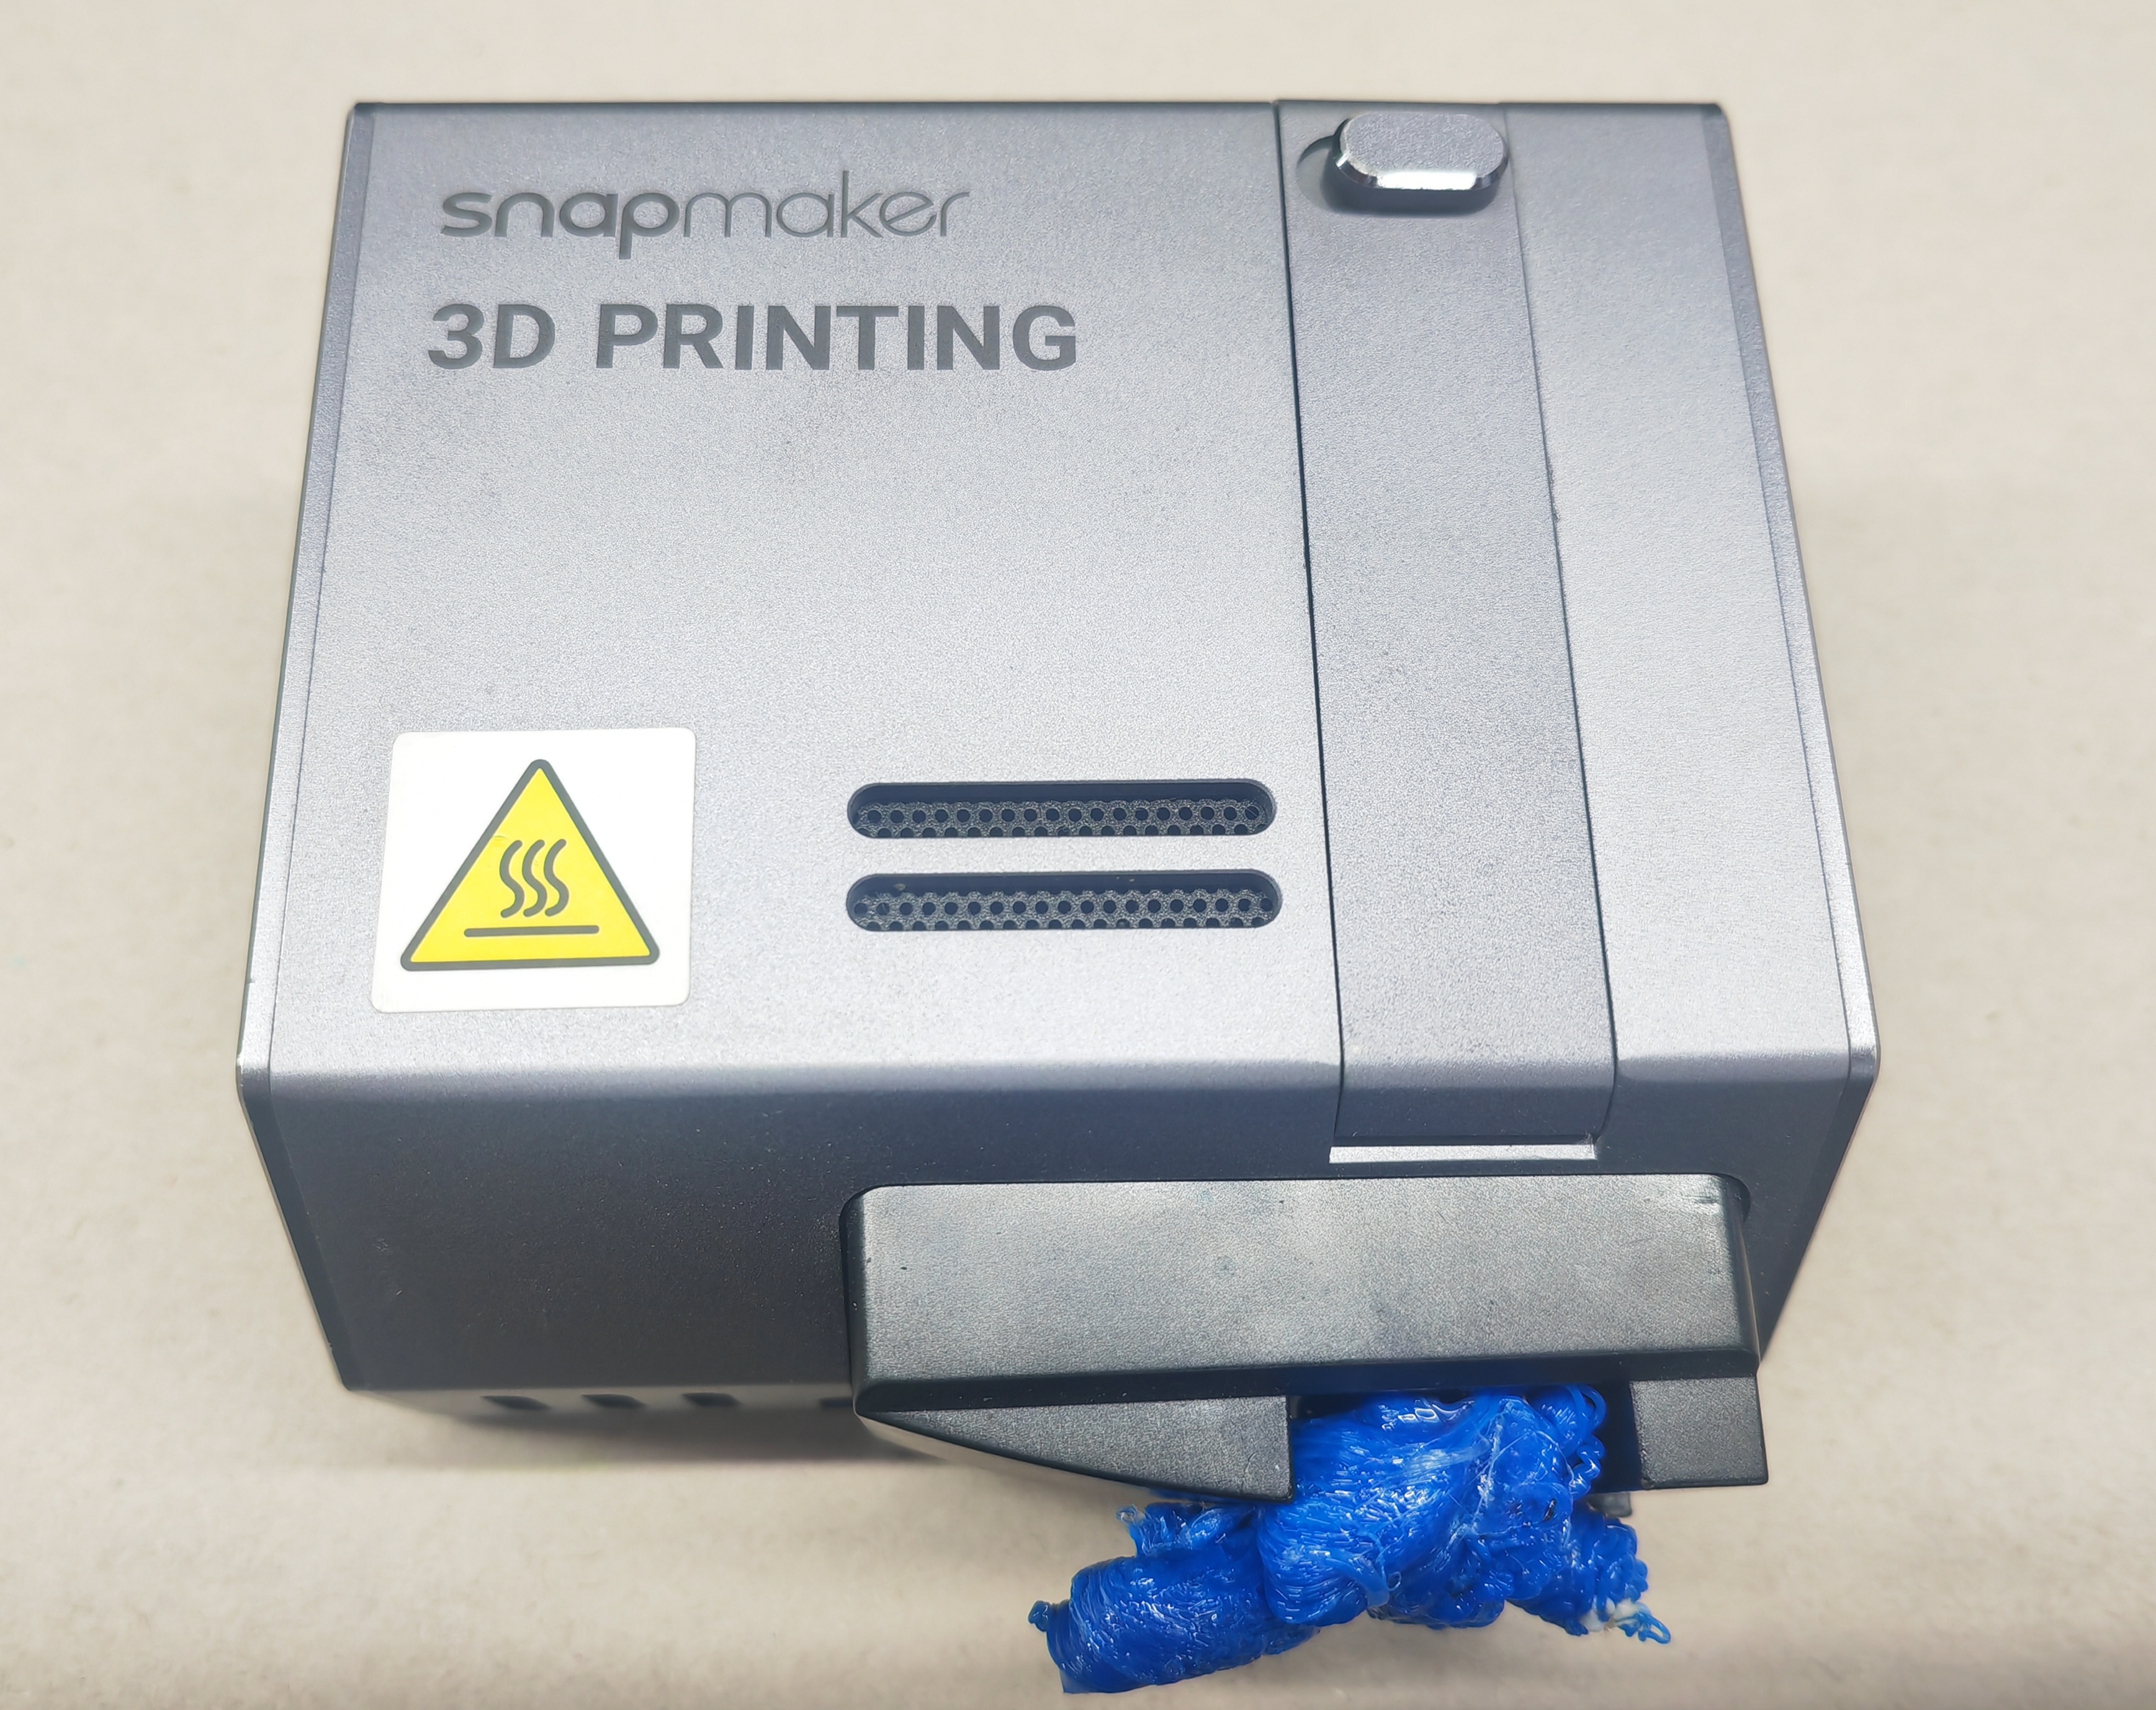
Phenomenon Description
A blob (see picture below) refers to a mass of filament accumulated around the nozzle.The reasons for this issue can be varied. For most cases, if the first layer fails to stick to the bed and the nozzle keeps printing in the air, it will easily lead to a blob of extruded filament on the hot end.
Possible Causes
- The first layer printing speed is too fast.
- The first layer fails to stick to the Print Sheet.
Tools needed: Screwdriver, pliers, cloth(or tissue), tweezer.
When there is a blob at the nozzle, please repair it according to the following two situations according to the severity of the blob.
CASE 1
The blob at the nozzle is relatively small, and the blob is not in contact with the fan duct near the nozzle or the proximity switch sensor.
Step 1
Heat the nozzle on the machine screen. If blob occurs when printing PLA, please set the nozzle temperature to 220~ 230 ° C; if blob occurs when printing ABS, please set the nozzle temperature to 260~ 270 ° C.
Step 2
When the nozzle reaches the set temperature, use tweezer to remove the blob
Step 3
Please use a cloth (or or tissue) to wipe the filament residue of the nozzle attachment clean.
Please take care to avoid direct contact with the nozzle caused by burns.
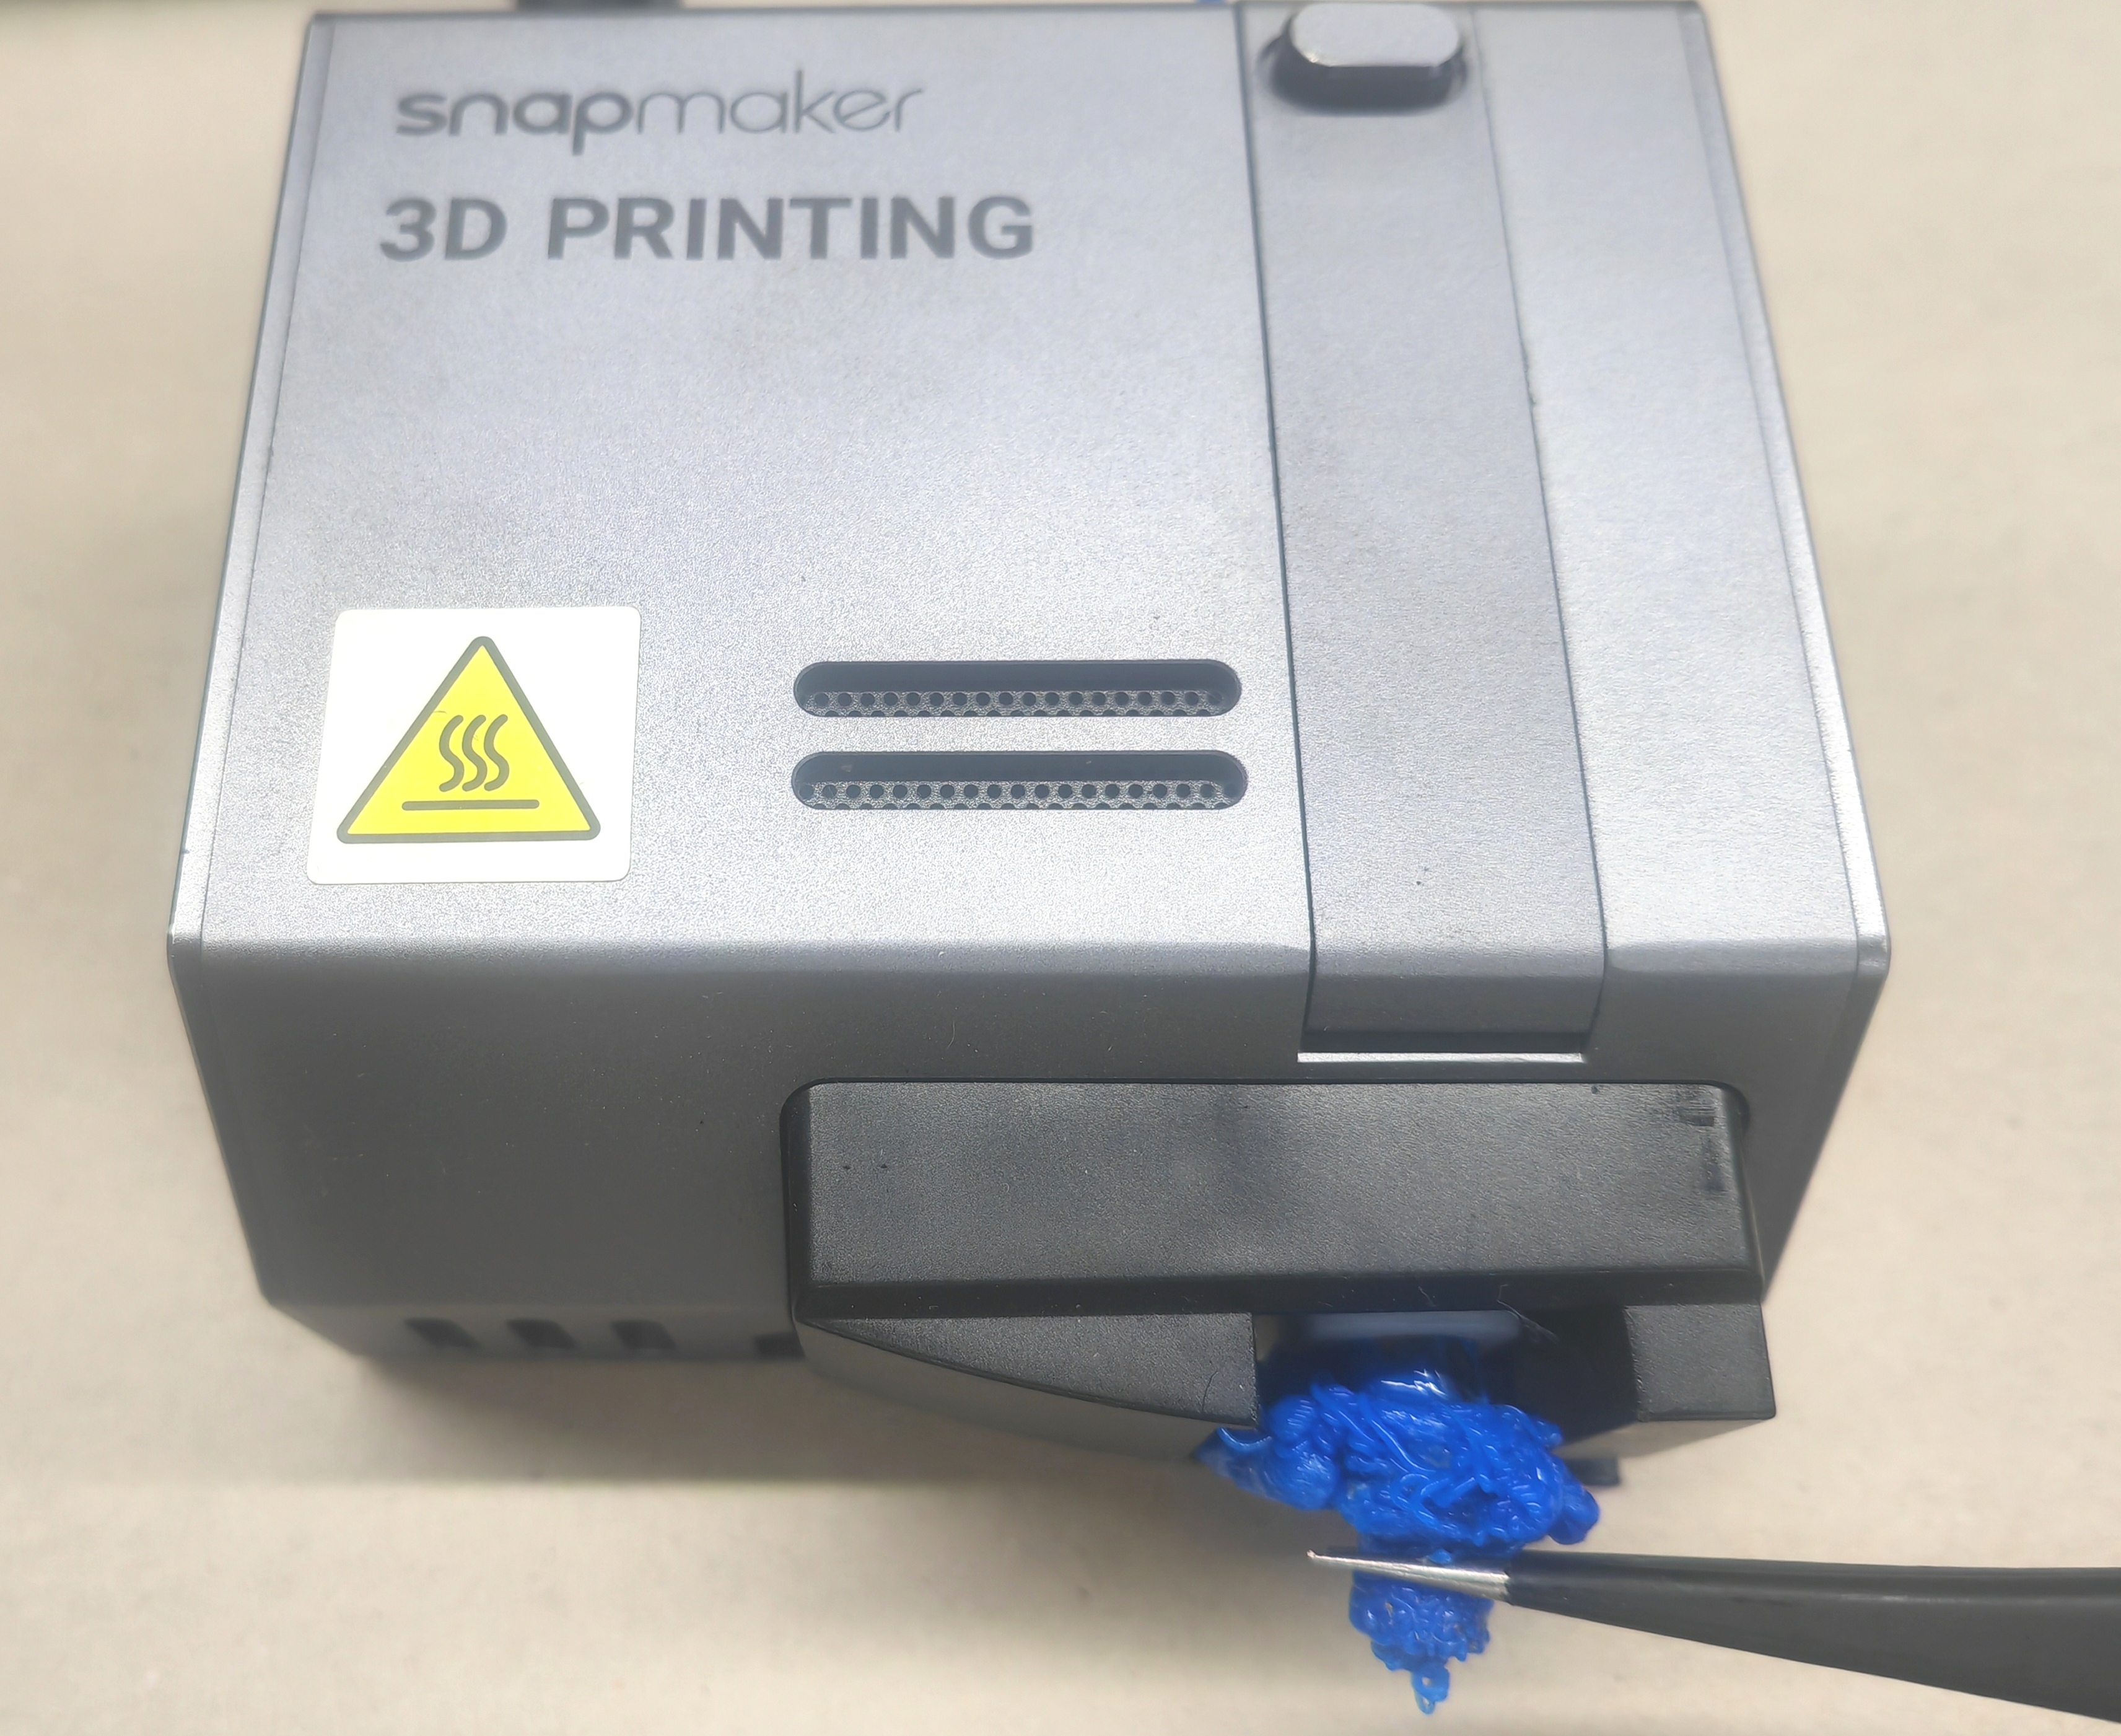
CASE 2
The blob at the nozzle is big, and the blob is in contact with the fan duct near the nozzle or the proximity switch sensor.
Step 1
Use the sleek side of the screwshank to pry up the hot end cable and pull it out.
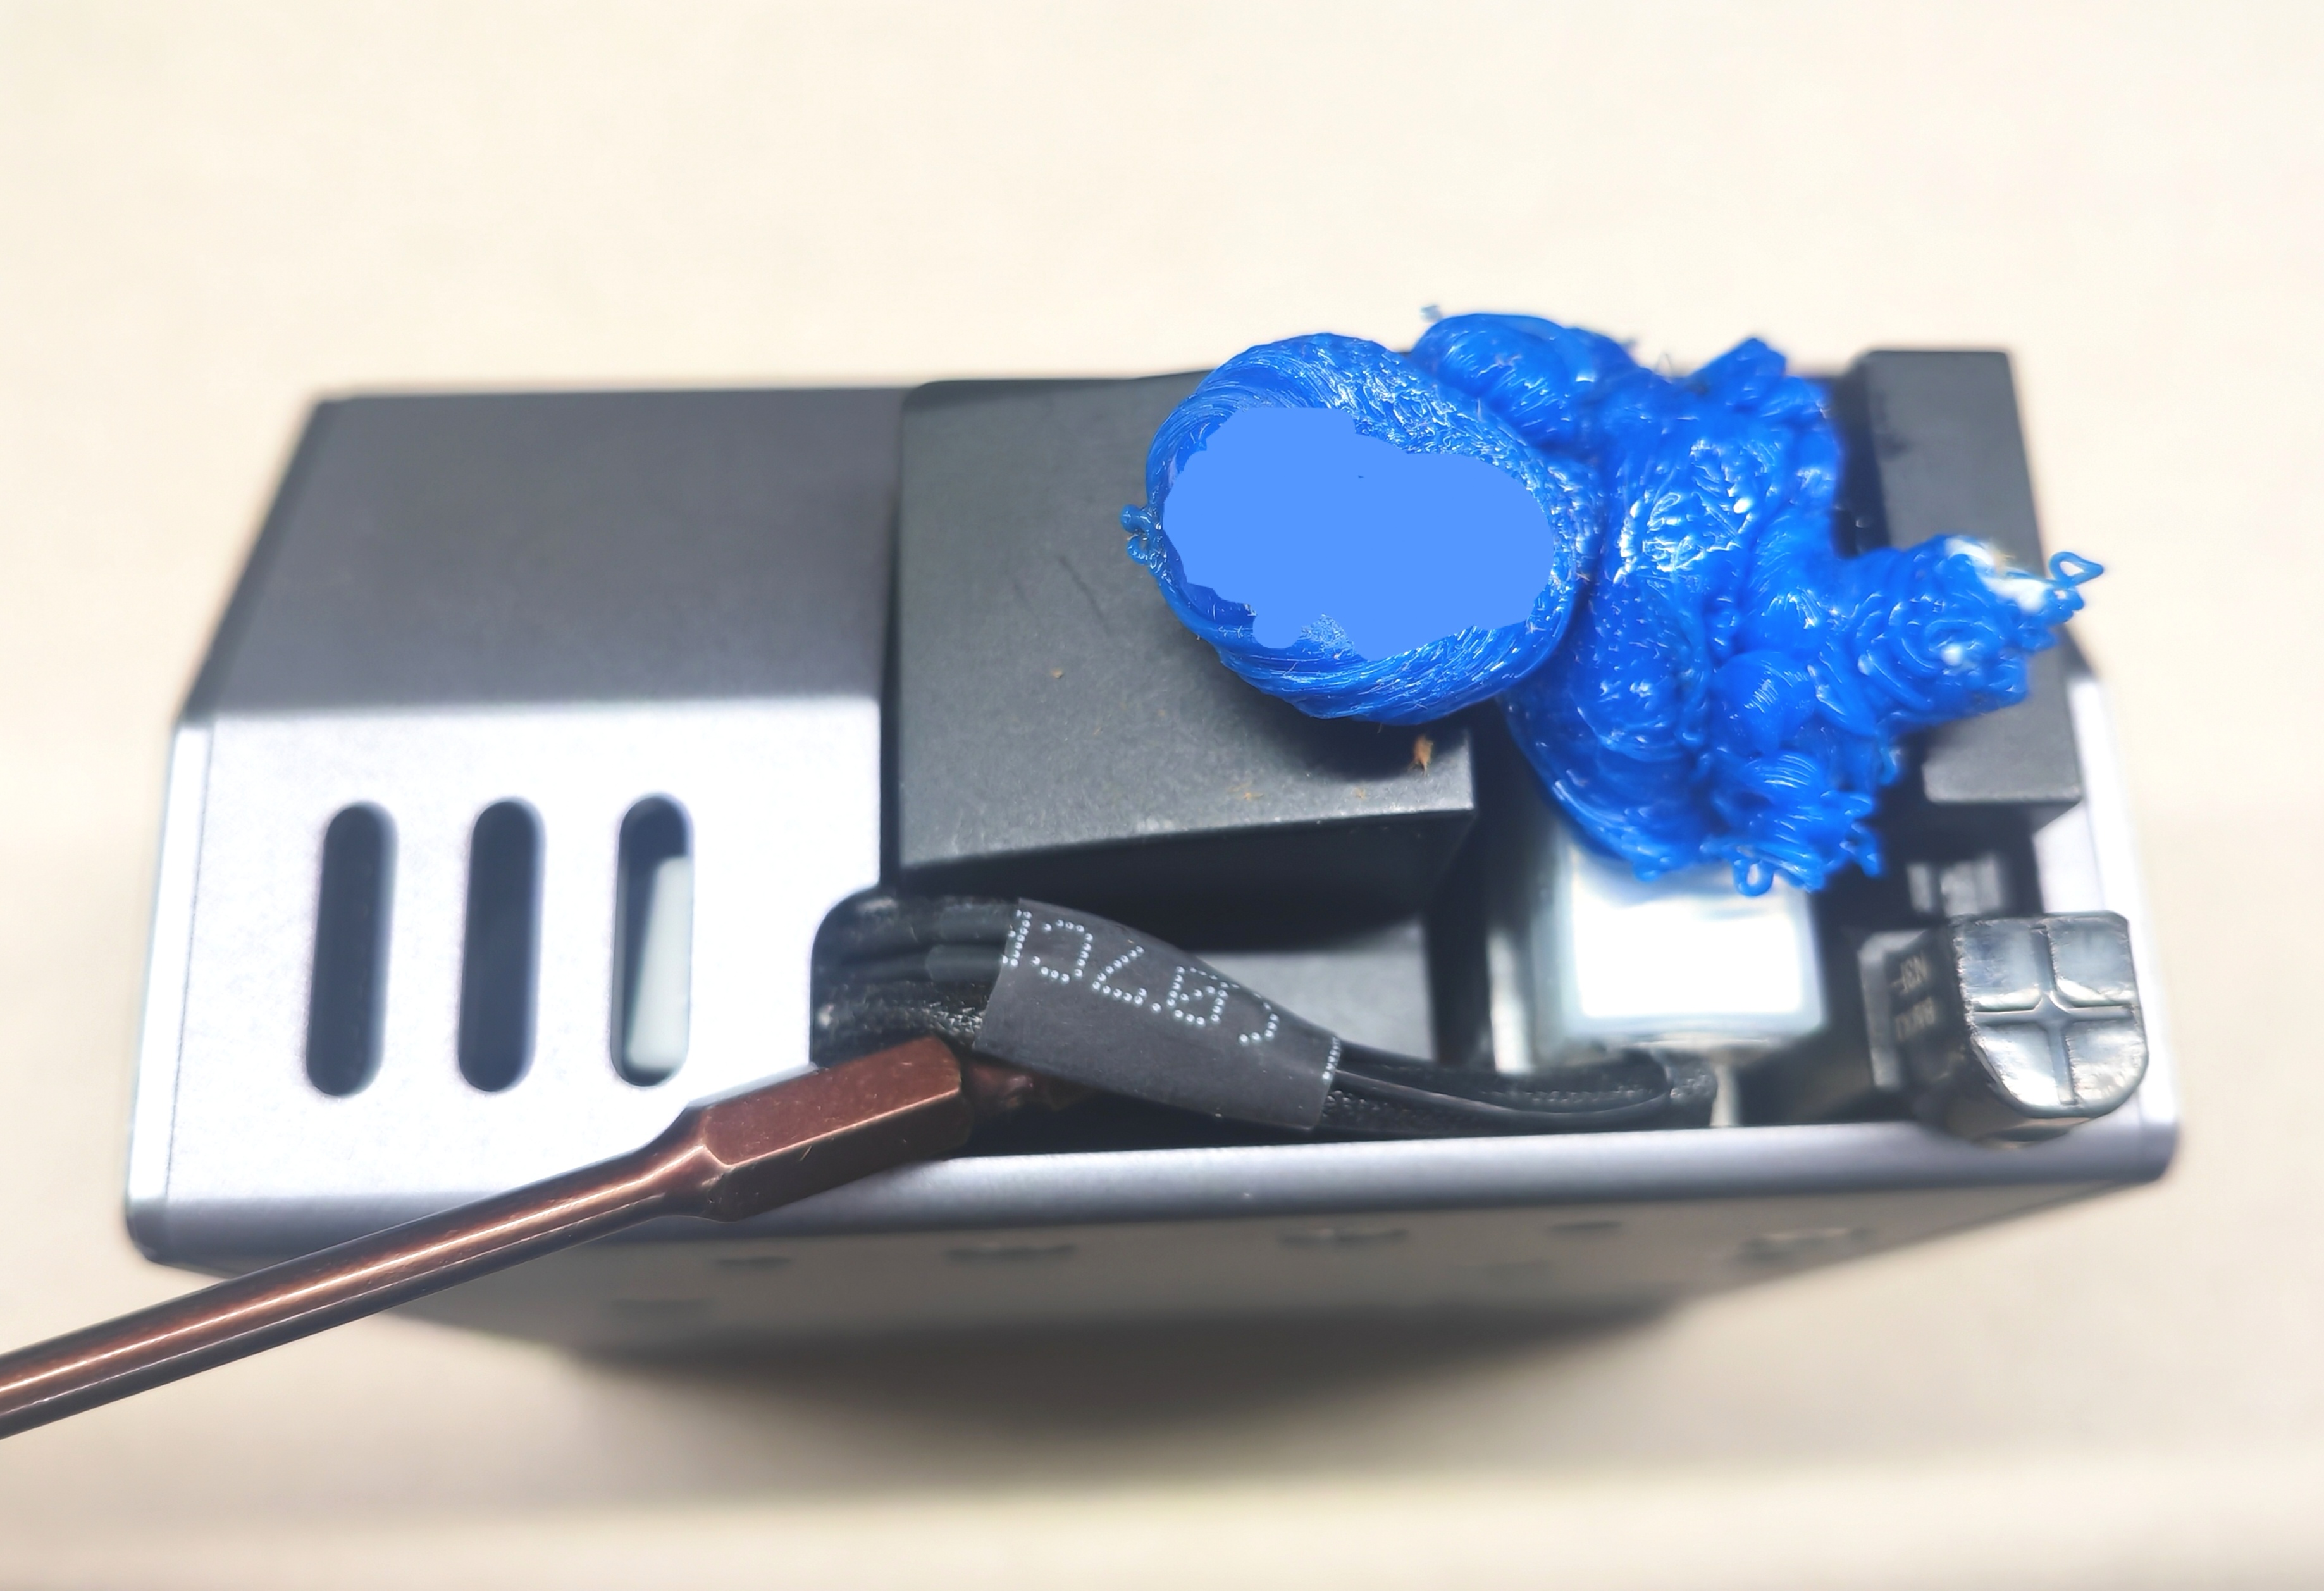
Step 2
Separated hot end cable.
Step 3
Loosen the bolt that holds the hot end.
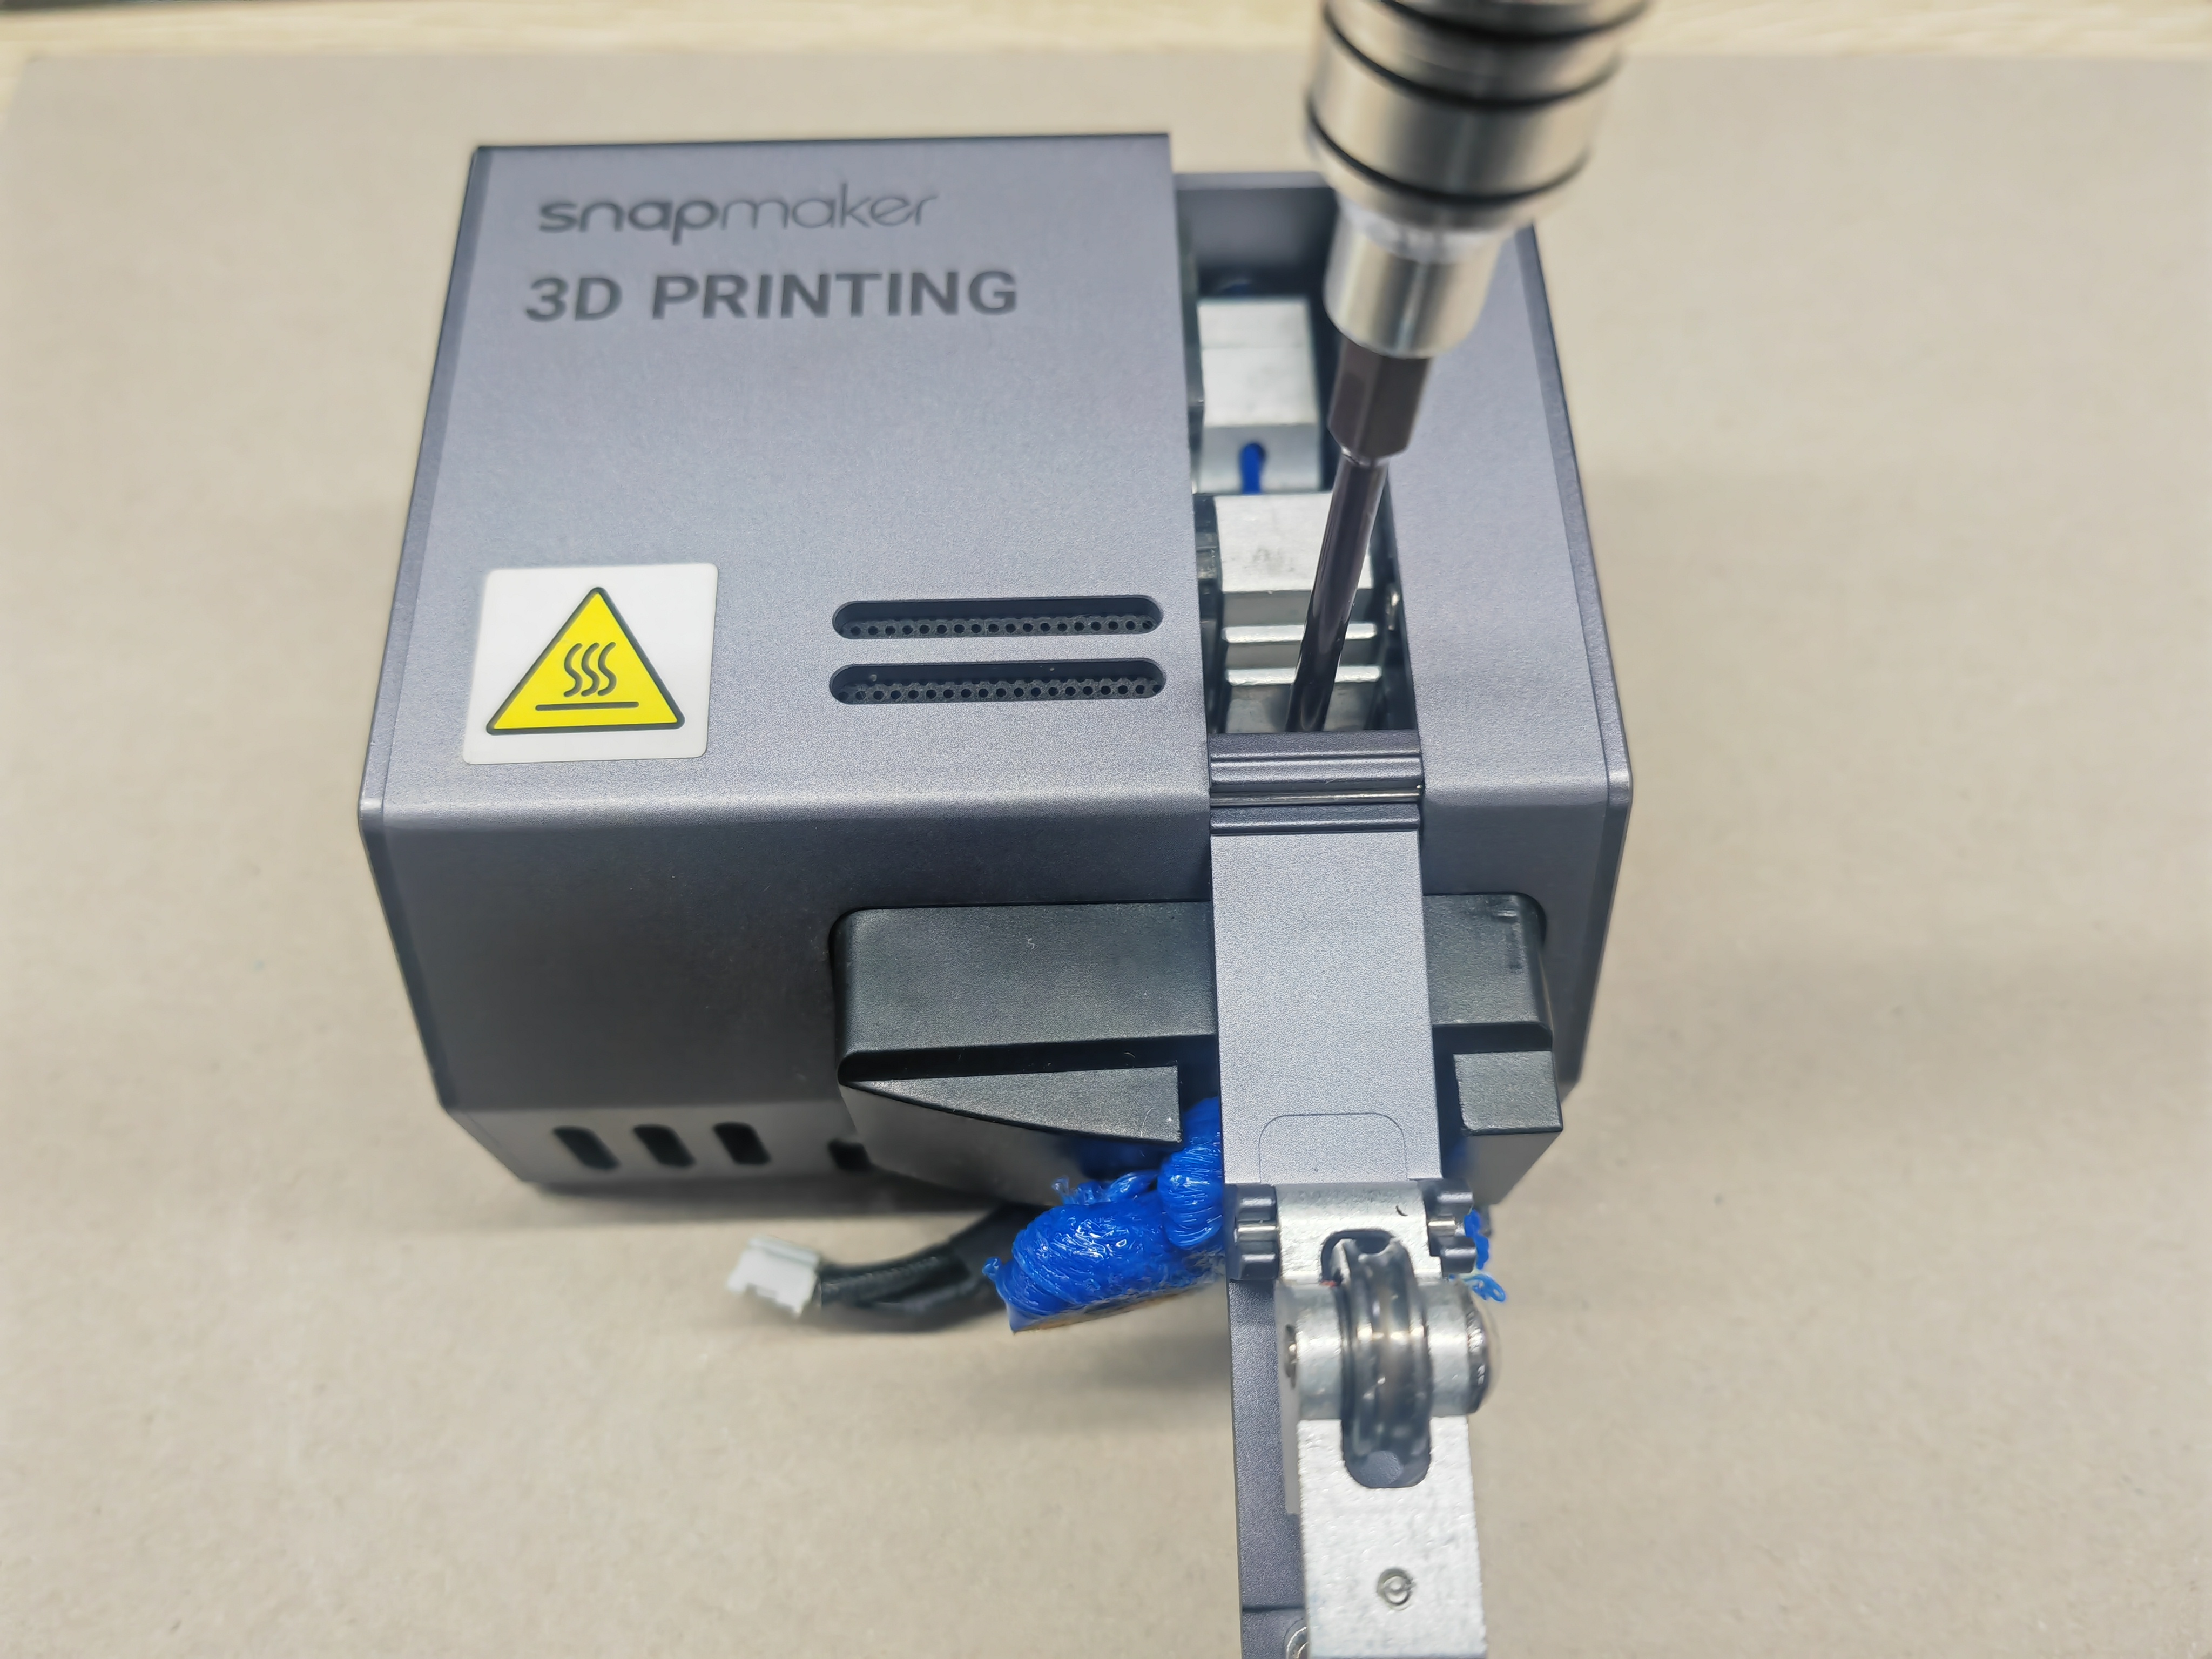
Step 4
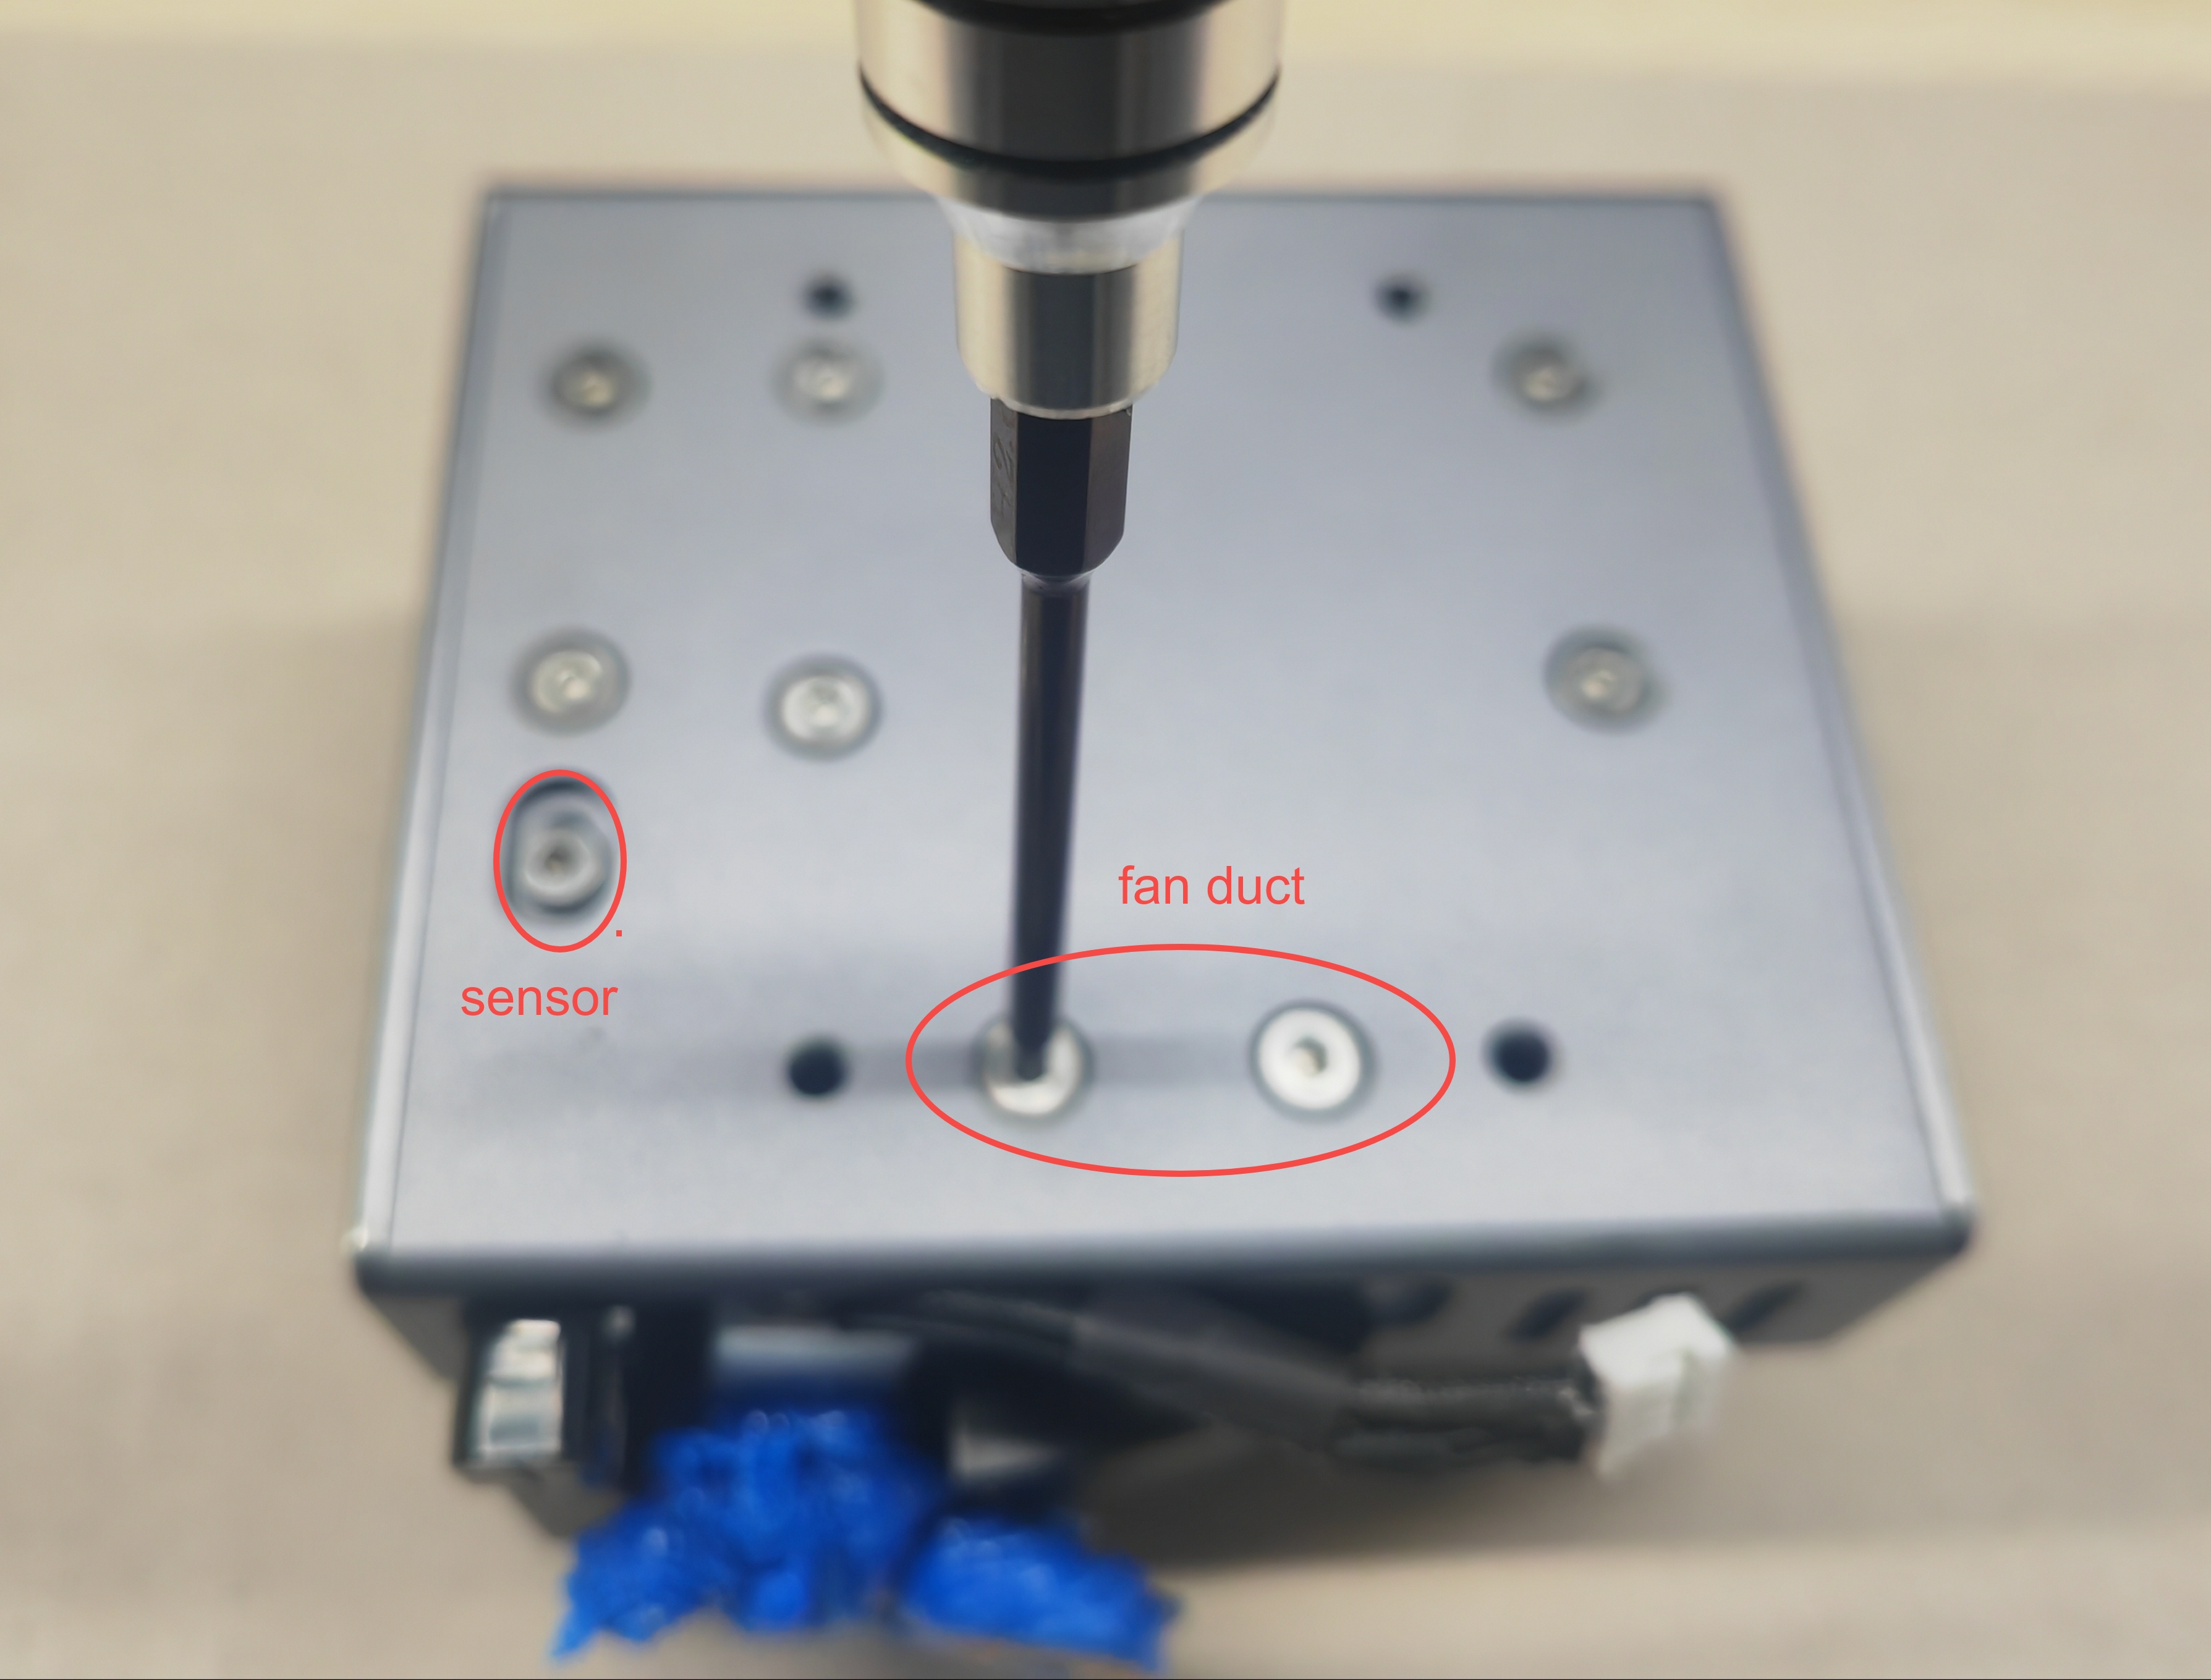
Loosen the bolt holding the fan duct (if the blob is in contact with the proximity switch sensor, also loosen the bolt holding the proximity switch sensor).
Step 5
Slowly remove the blobs, fan ducts, and hot ends from the bottom of the print head.
Step 6
Check whether the blob can be separated from the hot end and fan duct, if not, please contact support to replace the corresponding parts.
Actions
1. Please refer to this video to remove the blob on the nozzle and replace related parts if needed.
For replacement of the parts needed, please contact us at support@snapmaker.com.
2. Try the following methods to prevent this from happening again.
- Lower the printing speed in Snapmaker Luban.
- Recalibrate. For detailed instruction on calibration, refer to the Quick Start Guide.
- Store your filament in a dry environment.
After following the troubleshooting steps, if you find it difficult to resolve your issue, kindly submit a support ticket through https://snapmaker.formcrafts.com/support-ticket and share your troubleshooting results with some pictures/videos.
Our dedicated support team will be more than willing to assist you in resolving the issue.
